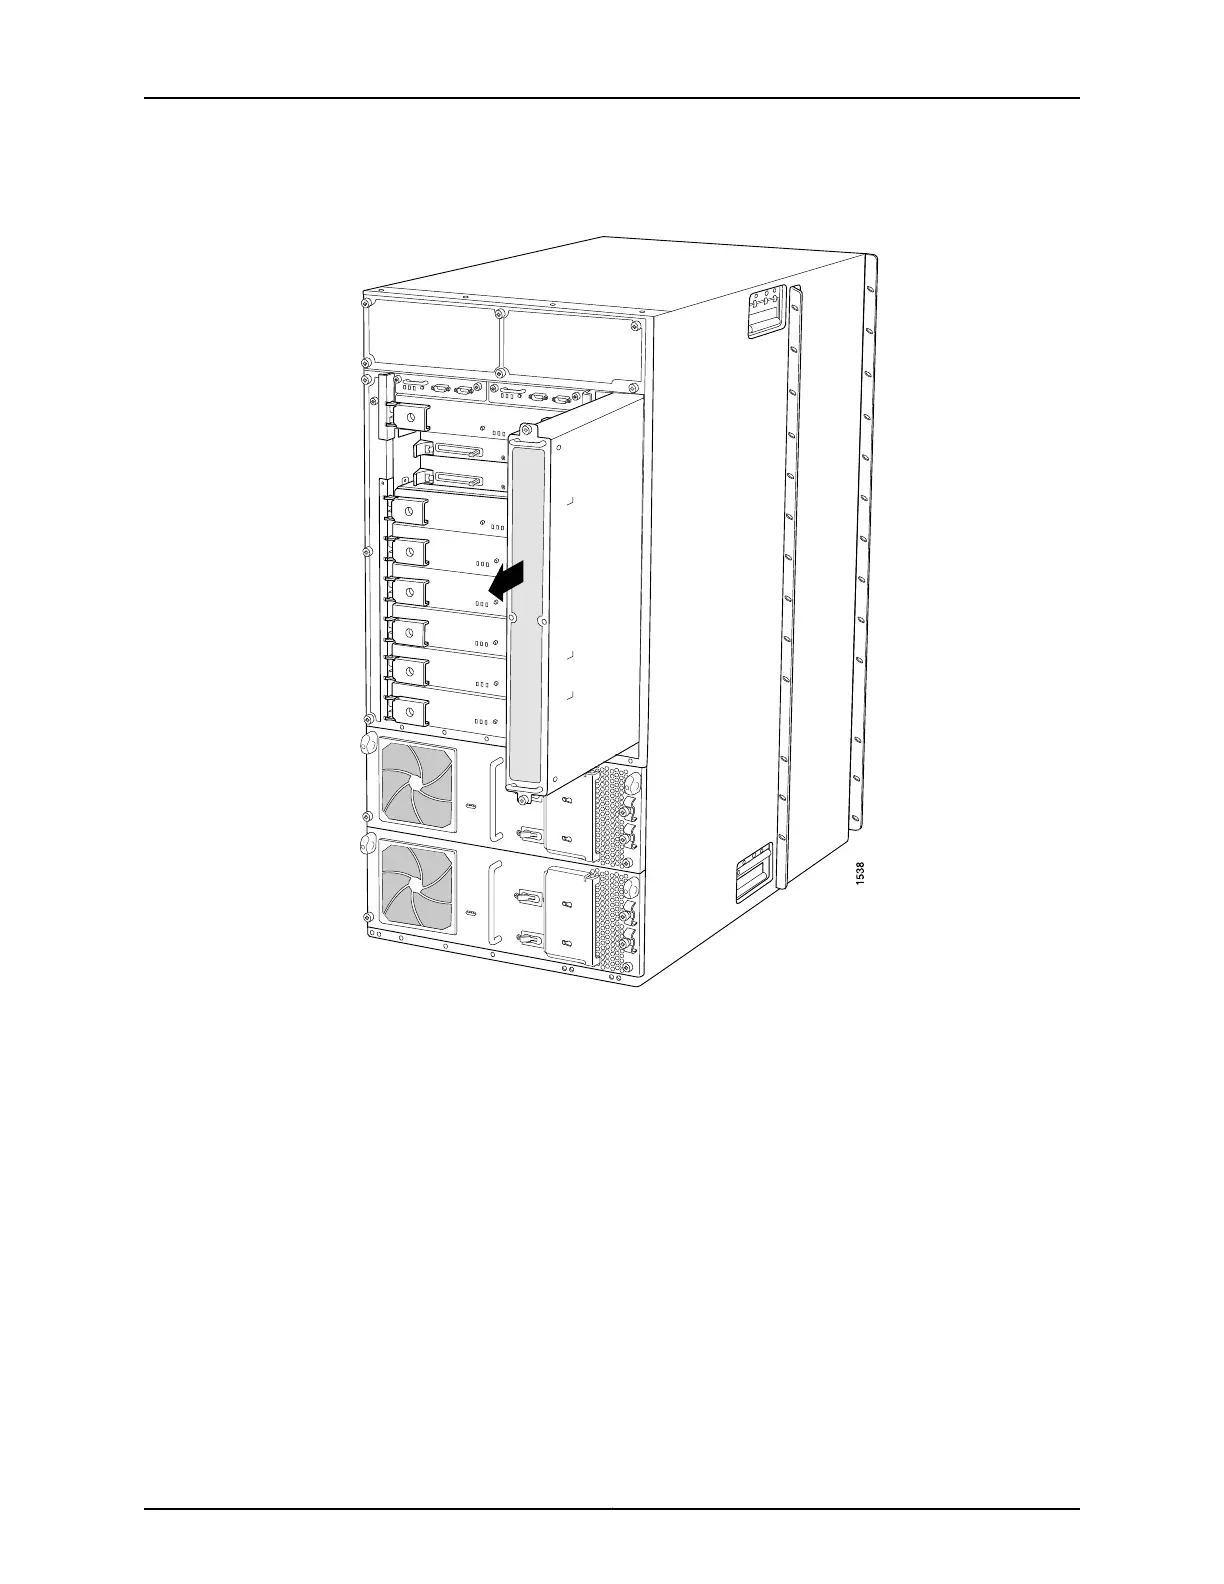
Figure 132: Removing the Standard Rear Fan Tray
Installing the T640 Standard Rear Fan Tray
To install a replacement standard rear fan tray (see Figure 133 on page 292):
1. Attach an electrostatic discharge (ESD) grounding strap to your bare wrist, and connect
the strap to one of the ESD points on the chassis.
2. Grasp the fan tray by its handles, and insert it straight into the chassis.
3. Tighten the captive screws on the fan tray faceplate to secure it in the chassis, using
a Phillips (+) screwdriver, number 2.
291Copyright © 2017, Juniper Networks, Inc.
Chapter 26: Replacing Cooling System Components

 Loading...


