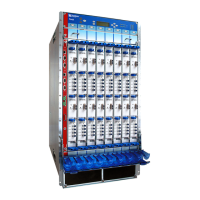
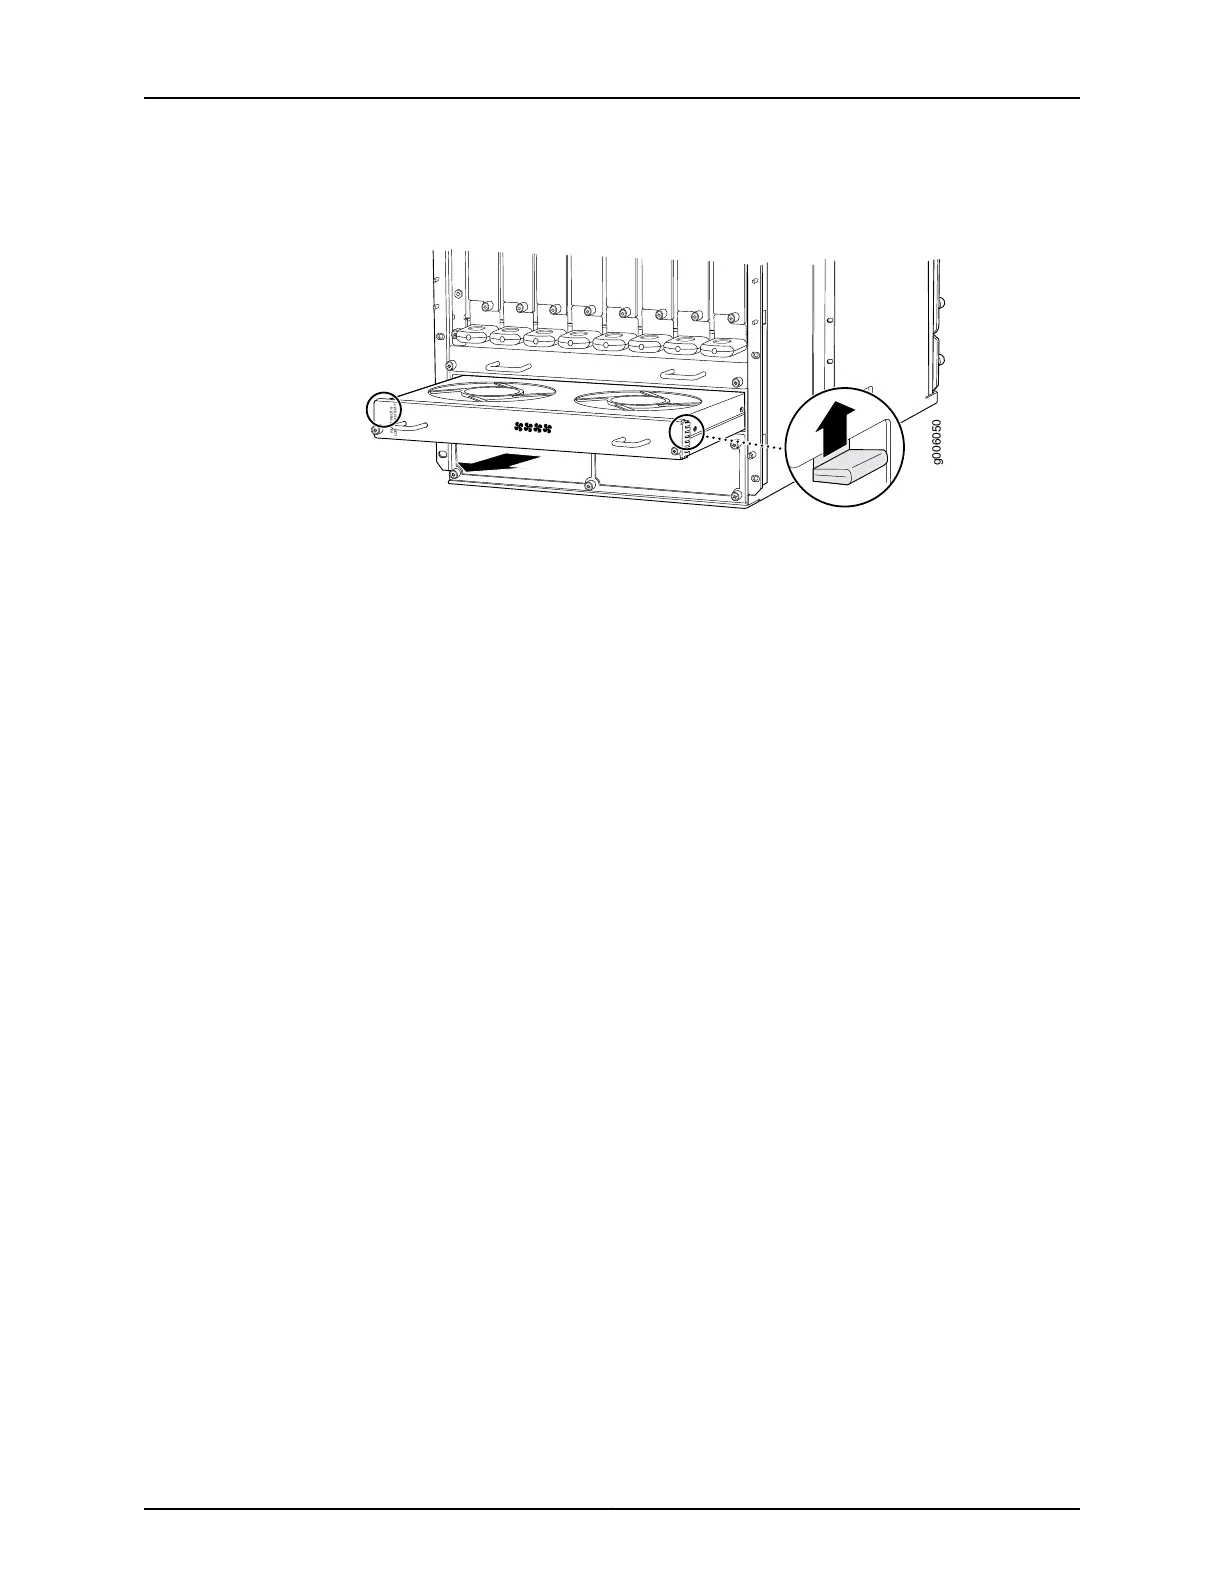
Figure 141: Removing the Quiet Lower Front Fan Tray
g006050
FA N T- FBOT- S
LOWER FA
N
TRA Y
Installing the T640 Quiet Lower Front Fan Tray
To install a quiet lower front fan tray (see Figure 142 on page 302):
1. Attach an electrostatic discharge (ESD) grounding strap to your wrist, and connect
the strap to one of the ESD points on the chassis.
2. Locate a replacement quiet lower fan tray labeled FAN-T-FBOT-S LOWER FANTRAY.
3. Grasp the quiet lower front fan tray by its handles and insert it straight into the chassis.
4. Press the two latches located on each side of the quiet lower front fan tray up, and
insert the fan tray straight into the lower front fan tray slot.
5. Tighten the captive screws on each side of the quiet lower front fan tray faceplate to
secure it in the chassis.
6. Unlock the cable management system and lower it to the fully lowered position.
7. Rearrange the PIC cables in the cable management system. For more information
about proper cable arrangement, see “Maintaining T640 PICs and PIC Cables” on
page 454.
301Copyright © 2017, Juniper Networks, Inc.
Chapter 26: Replacing Cooling System Components

 Loading...