the dust cover by tightening the thumbscrew and captive screw on the connector.
(Use the supplied small slotted screwdriver to tighten the captive screw.)
7. Move the fiber-optic array cables to the side of the T640-SIB so they do not interfere
with the removal of the T640-SIB.
8. Simultaneously turn both ejector handles on the top and bottom of the faceplate
counterclockwise to unseat the T640-SIB.
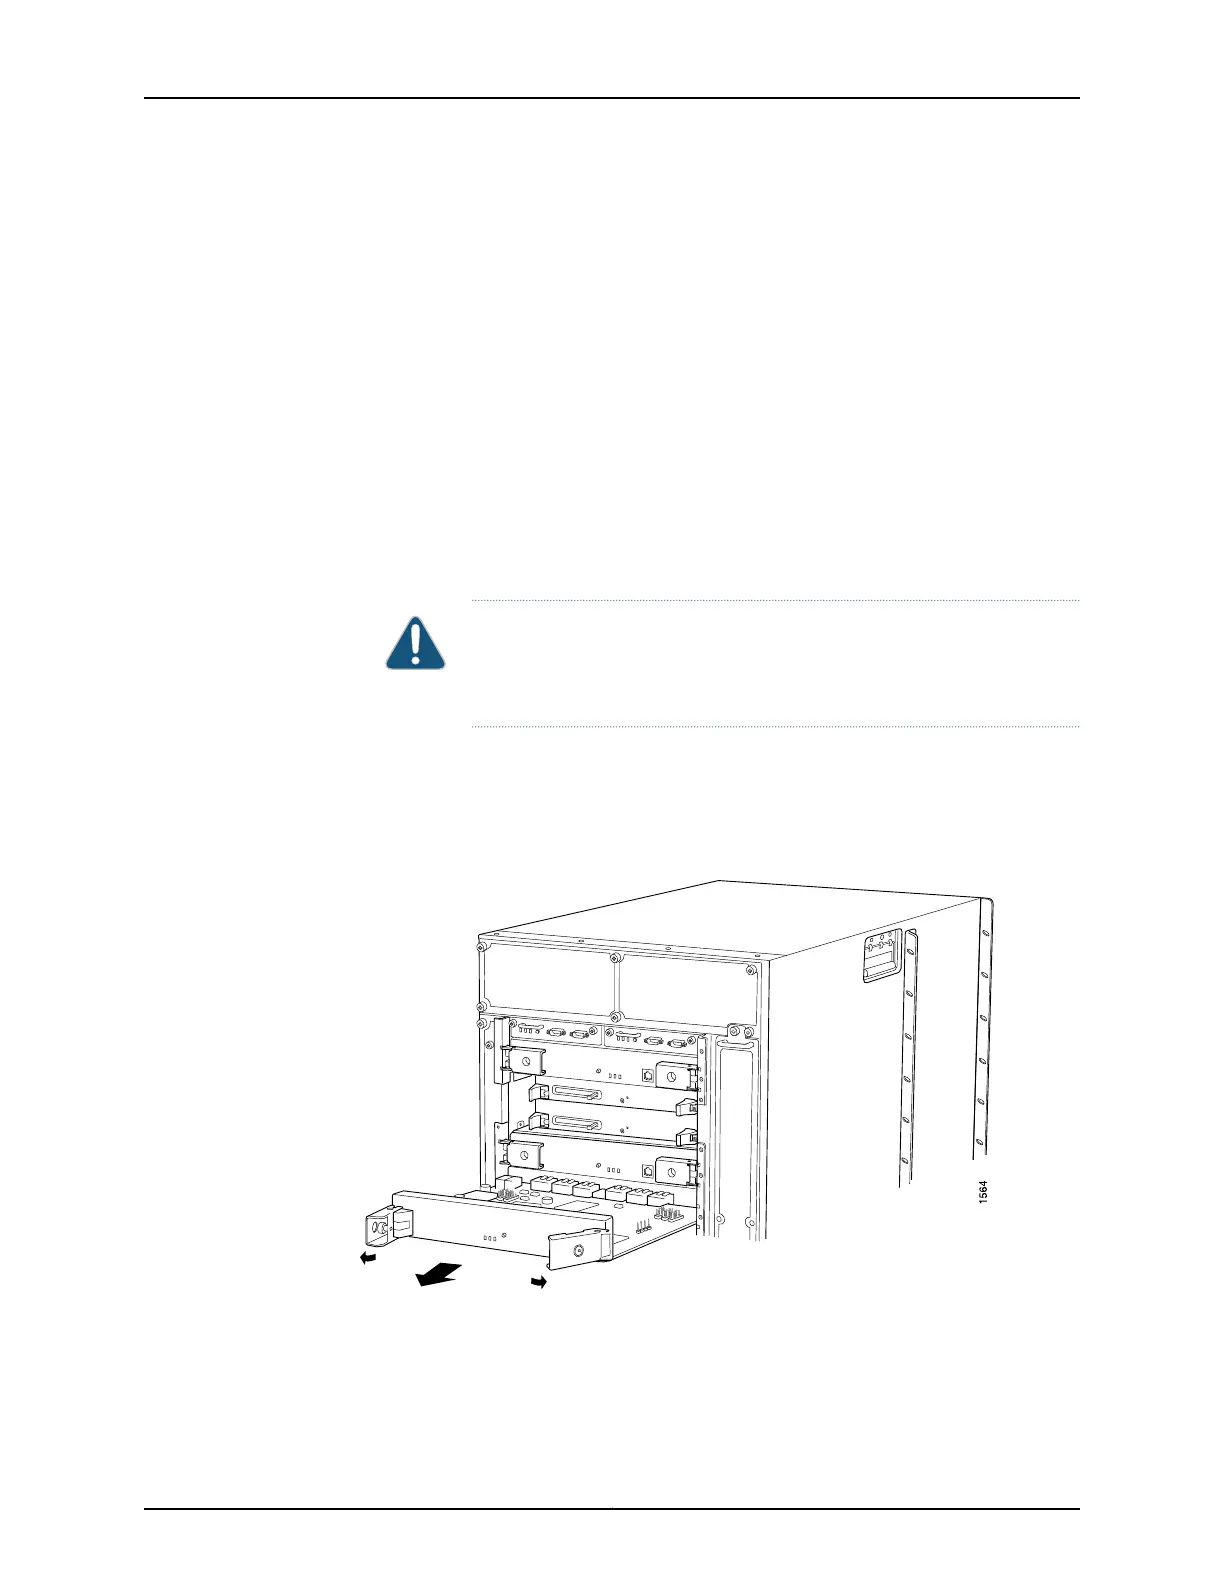
9. Grasp both ejector handles, pull firmly, and slide the T640-SIB about three-quarters
of the way out of the chassis.
10. Place one hand underneath the T640-SIB to support it and slide it completely out of
the chassis. Place it on the antistatic mat.
CAUTION: Do not stack hardware components on one another after you
remove them. Place each component on an antistatic mat resting on a
stable, flat surface.
11. If you are not reinstalling a SIB into the emptied SIB slot within a short time, install a
blank SIB panel over the slot to maintain proper airflow in the SIB card cage.
Figure 229: Removing a SIB
Installing a T640-SIB
Use this procedure to install a T640-SIB in a T640 router that is connected to a TX Matrix
platform. To convert the switching plane from standard SIBs to T640-SIBs, see the
procedures in the TX Matrix Router Hardware Guide.
Copyright © 2017, Juniper Networks, Inc.430
T640 Core Router Hardware Guide

 Loading...


