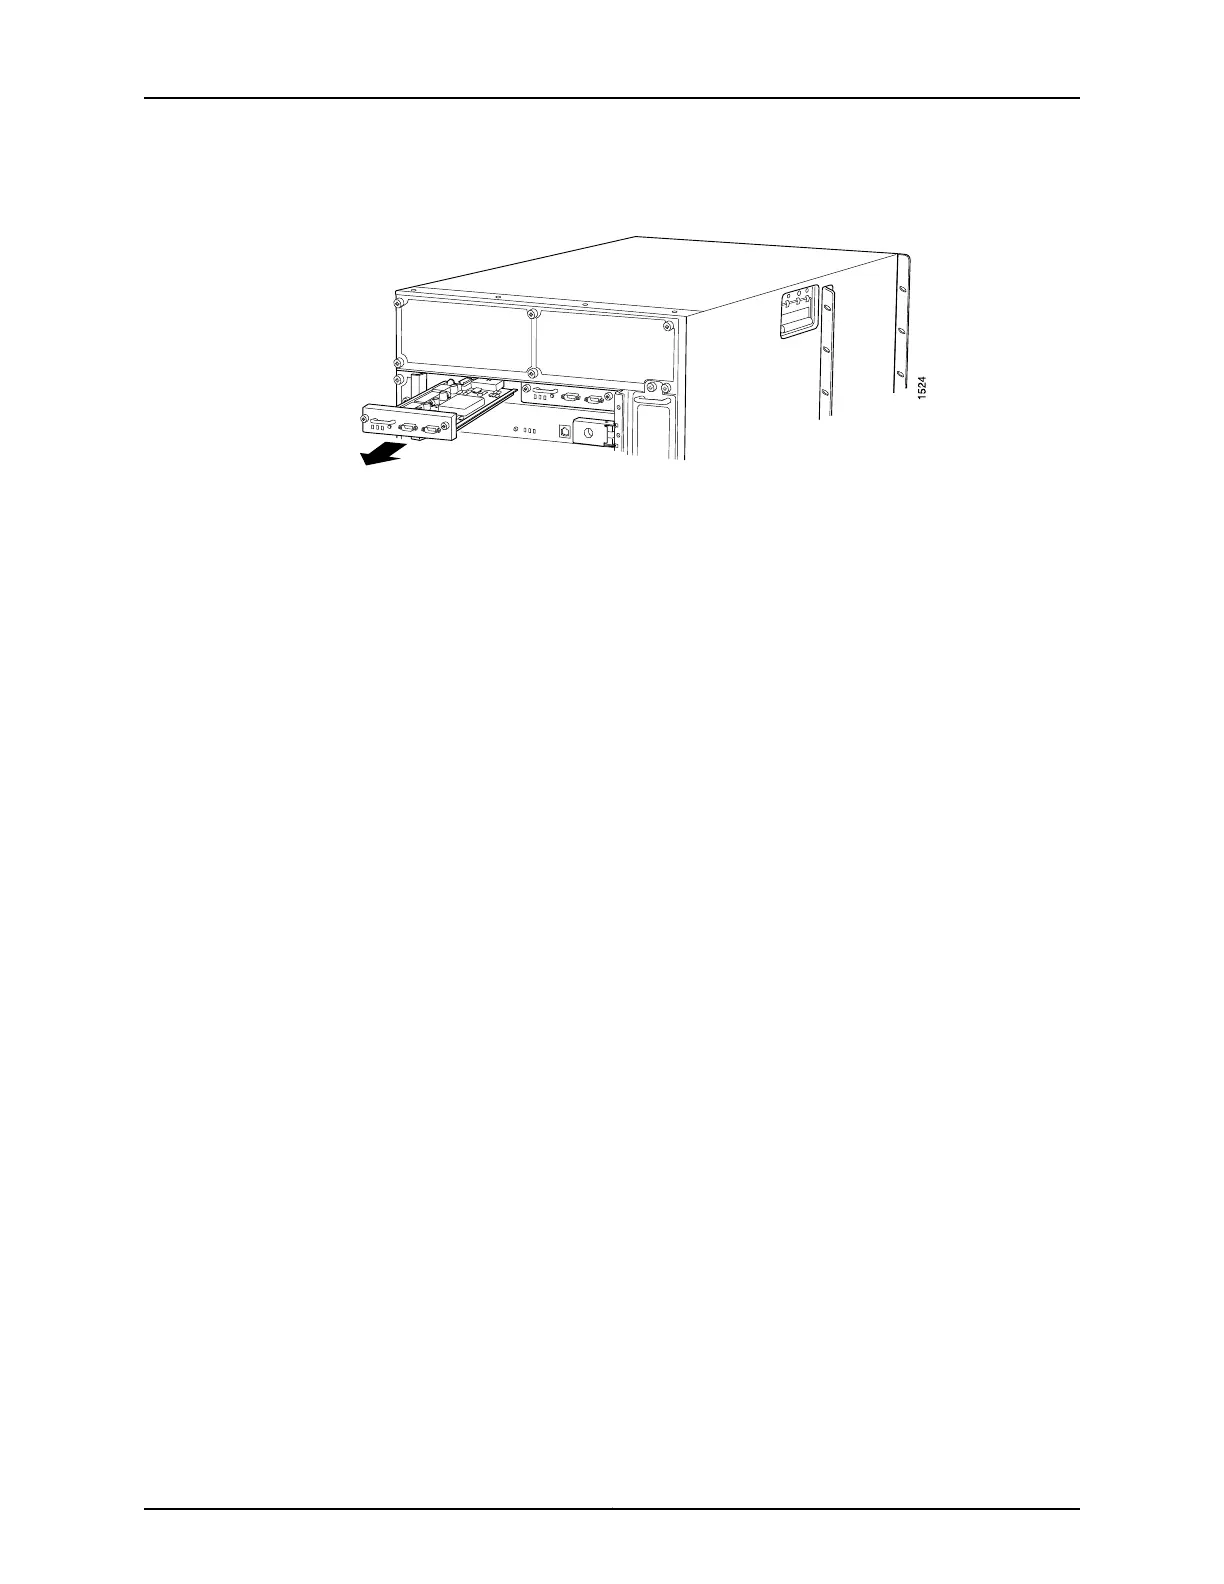
Figure 122: Removing an SCG
Installing a T640 SCG
To install a replacement SCG (see Figure 123 on page 279):
1. Attach an electrostatic discharge (ESD) grounding strap to your bare wrist, and connect
the strap to one of the ESD points on the chassis.
2. Carefully align the sides of the SCG with the guides in the SCG slot.
3. Grasp the SCG by its handle, and slide it straight into the chassis until it contacts the
midplane.
4. Tighten the captive screws on the corners of the SCG faceplate.
5. To bring the SCG online, press the online/offline button until the green OK LED lights.
6. To verify that the SCG is installed correctly and is functioning normally, check the
LEDs on the SCG faceplate. The green OK LED should light steadily. If the SCG is
master, the blue MASTER LED should also light steadily.
To check the status of the SCGs, use the following CLI command:
user@host> show chassis environment scg
For more information about using the CLI, see the Junos OS manuals.
7. If an external clocking device was connected to one or both RJ-48 ports, reconnect
the cables.
Copyright © 2017, Juniper Networks, Inc.278
T640 Core Router Hardware Guide

 Loading...


