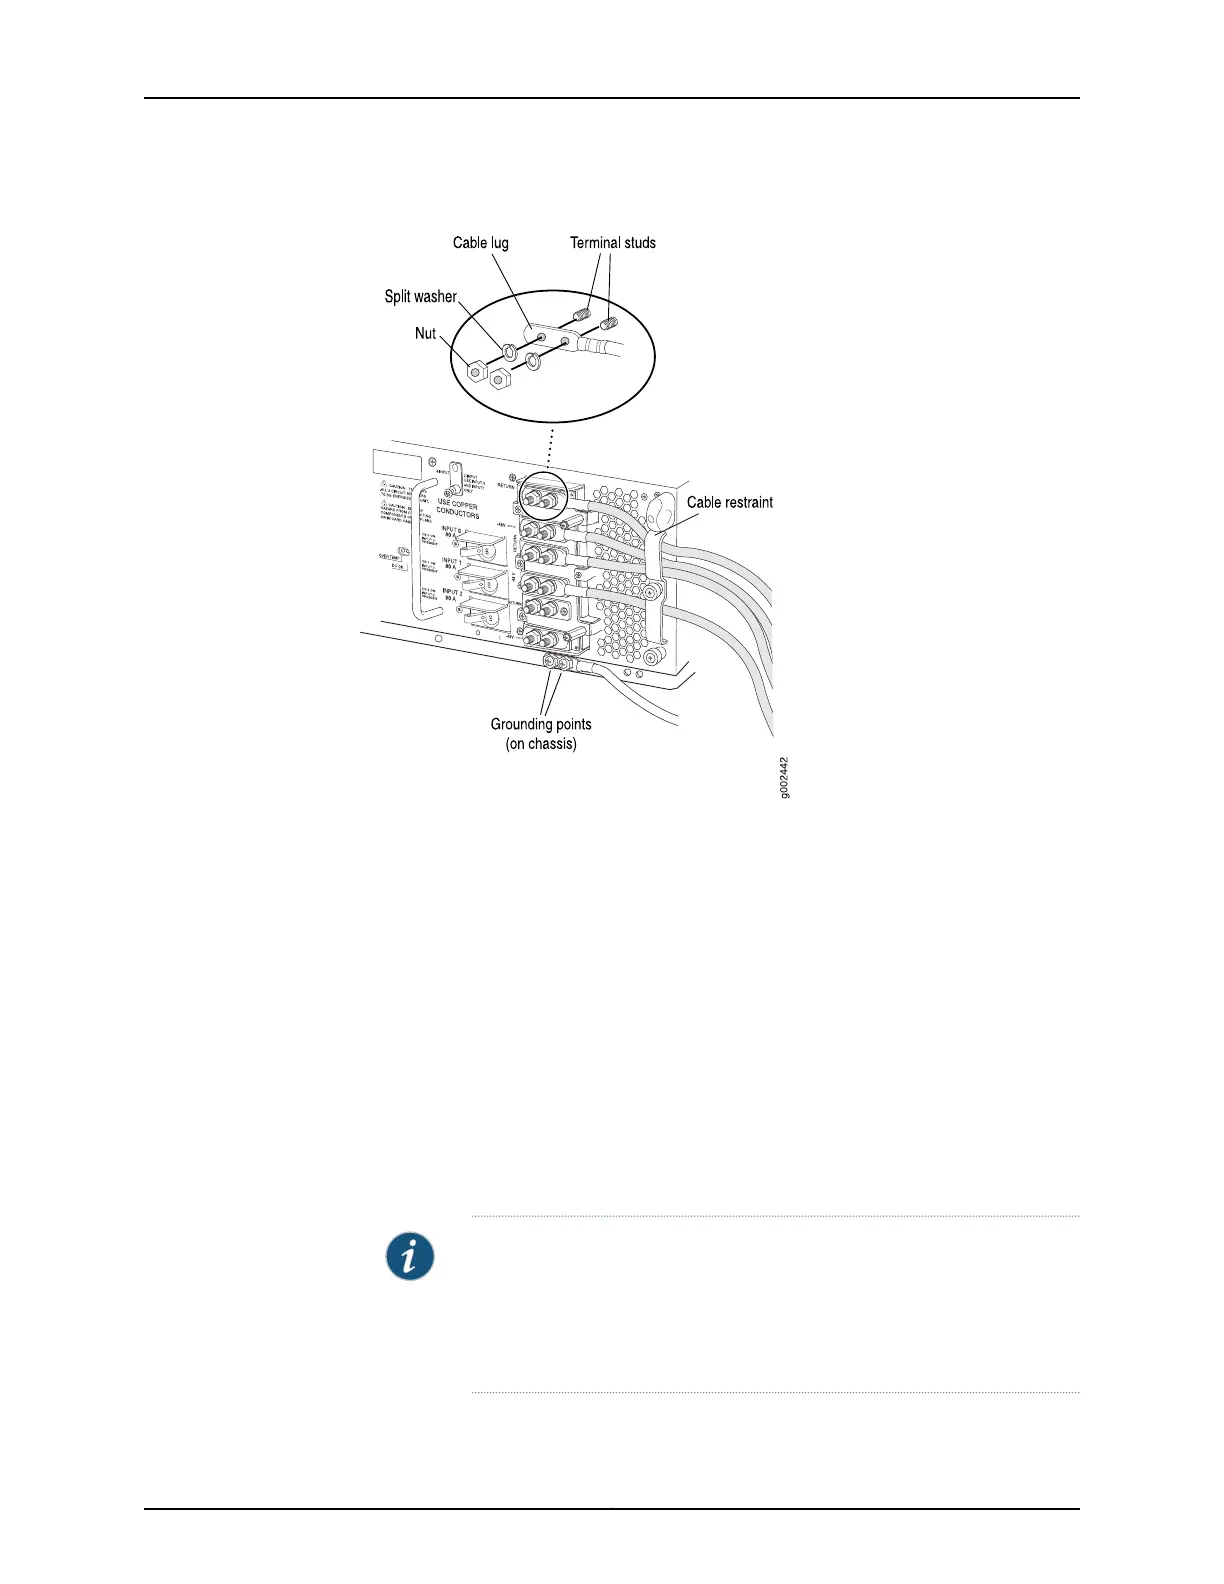
Figure 182: Connecting Power Cables to the Power Supply
Powering On a T640 Replacement Three-Input 240-A DC Power Supply
To power on a three-input 240-A DC power supply:
1. Attach an electrostatic discharge (ESD) grounding strap to your bare wrist, and connect
the strap to one of the ESD points on the chassis.
2. Switch on the customer site circuit breakers to provide voltage to the DC power source
cables.
3. Verify that the INPUT PRESENT LEDs on the power supply faceplate are lit steadily,
indicating that the inputs are receiving power.
4. Switch the circuit breakers on the power supply to the ON position (|).
NOTE: After a power supply is powered on, it can take up to 60 seconds
forstatusindicators—such as the LEDs on the powersupply, the command
output displays , and messages on the LED display on the craft
interface—to indicate that the power supply is functioning normally. Ignore
error indicators that appear during the first 60 seconds.
365Copyright © 2017, Juniper Networks, Inc.
Chapter 29: Replacing Power System Components

 Loading...


