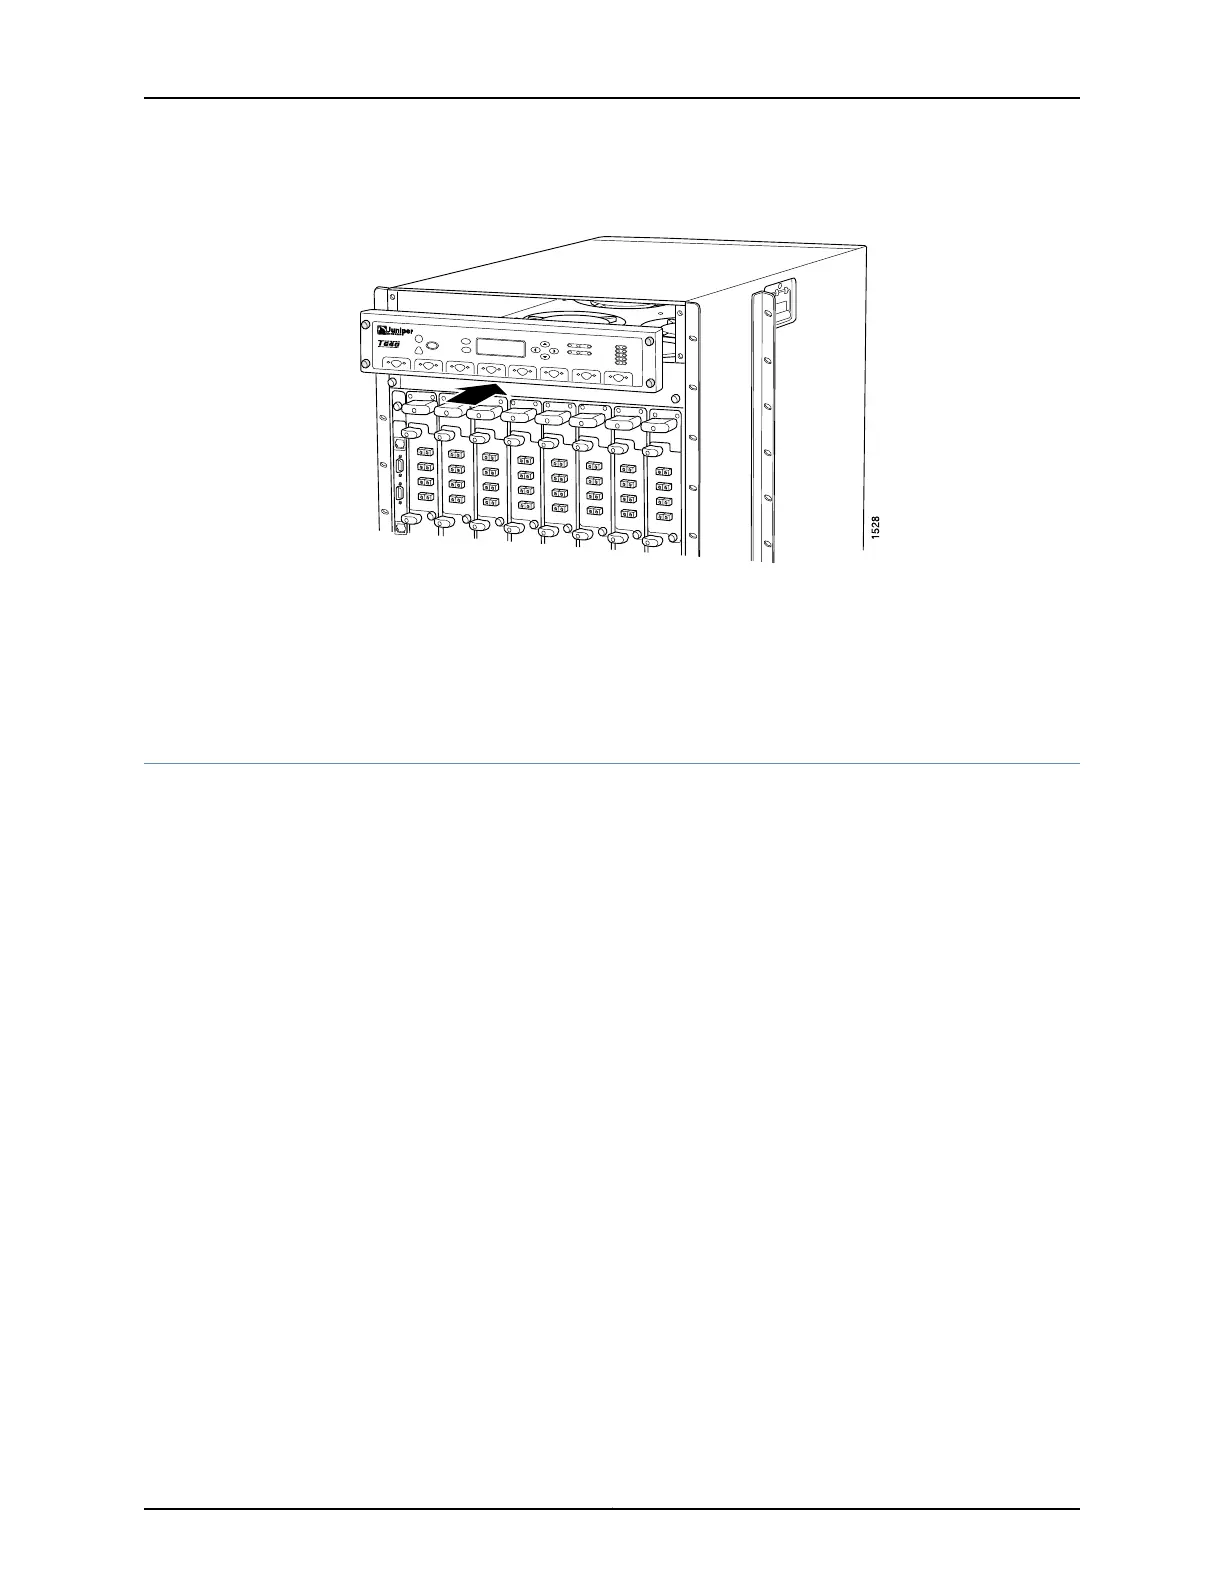
Figure 116: Installing a Replacement Craft Interface
Related
Documentation
T640 Craft Interface Description on page 22•
• T640 Craft Interface LCD and Navigation Buttons on page 25
• T640 Preventing Electrostatic Discharge Damage on page 506
Replacing the T640 CIP
1.
Removing a T640 CIP on page 267
2.
Installing a T640 CIP on page 268
Removing a T640 CIP
The CIP is located to the left side of the FPC card cage. It houses the Routing Engine
interface ports, which accept connections to external management and alarm-reporting
devices.
The CIP is hot-pluggable. It weighs approximately 8 lb (3.6 kg). When the CIP is removed,
you cannot control or communicate with the router using an external device.
To remove the CIP (see Figure 117 on page 268):
1. Attach an electrostatic discharge (ESD) grounding strap to your bare wrist, and connect
the strap to one of the ESD points on the chassis.
2. Disconnect any external devices connected to the CIP.
3. Loosen the captive screws at the top and bottom of the CIP faceplate.
4. Grasp the handle on the CIP faceplate, and carefully pull the CIP straight out of the
chassis.
267Copyright © 2017, Juniper Networks, Inc.
Chapter 25: Replacing Chassis Components

 Loading...


