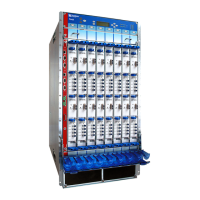
5. Twist the ejector handles at the upper corners of the power supply faceplate clockwise
until they stop.
6. Tighten the captive screws at the lower corners of the power supply faceplate to
secure the power supply in the chassis.
7. Using a slotted screwdriver, loosen the two screws securing the door of the metal
wiring compartment.
8. Open the door of the metal wiring compartment.
9. Place the retaining screw into the metal wiring compartment.
10. Unscrew the retaining nut from the AC power cord.
11. Place the retaining nut inside the metal wiring compartment.
12. Put the wires of the AC power cord through the hole of the metal wiring compartment.
13. Screw the retaining nut onto the AC power cord to secure it to the metal wiring
compartment.
413Copyright © 2017, Juniper Networks, Inc.
Chapter 29: Replacing Power System Components

 Loading...