Display basics 3 Getting started
3.
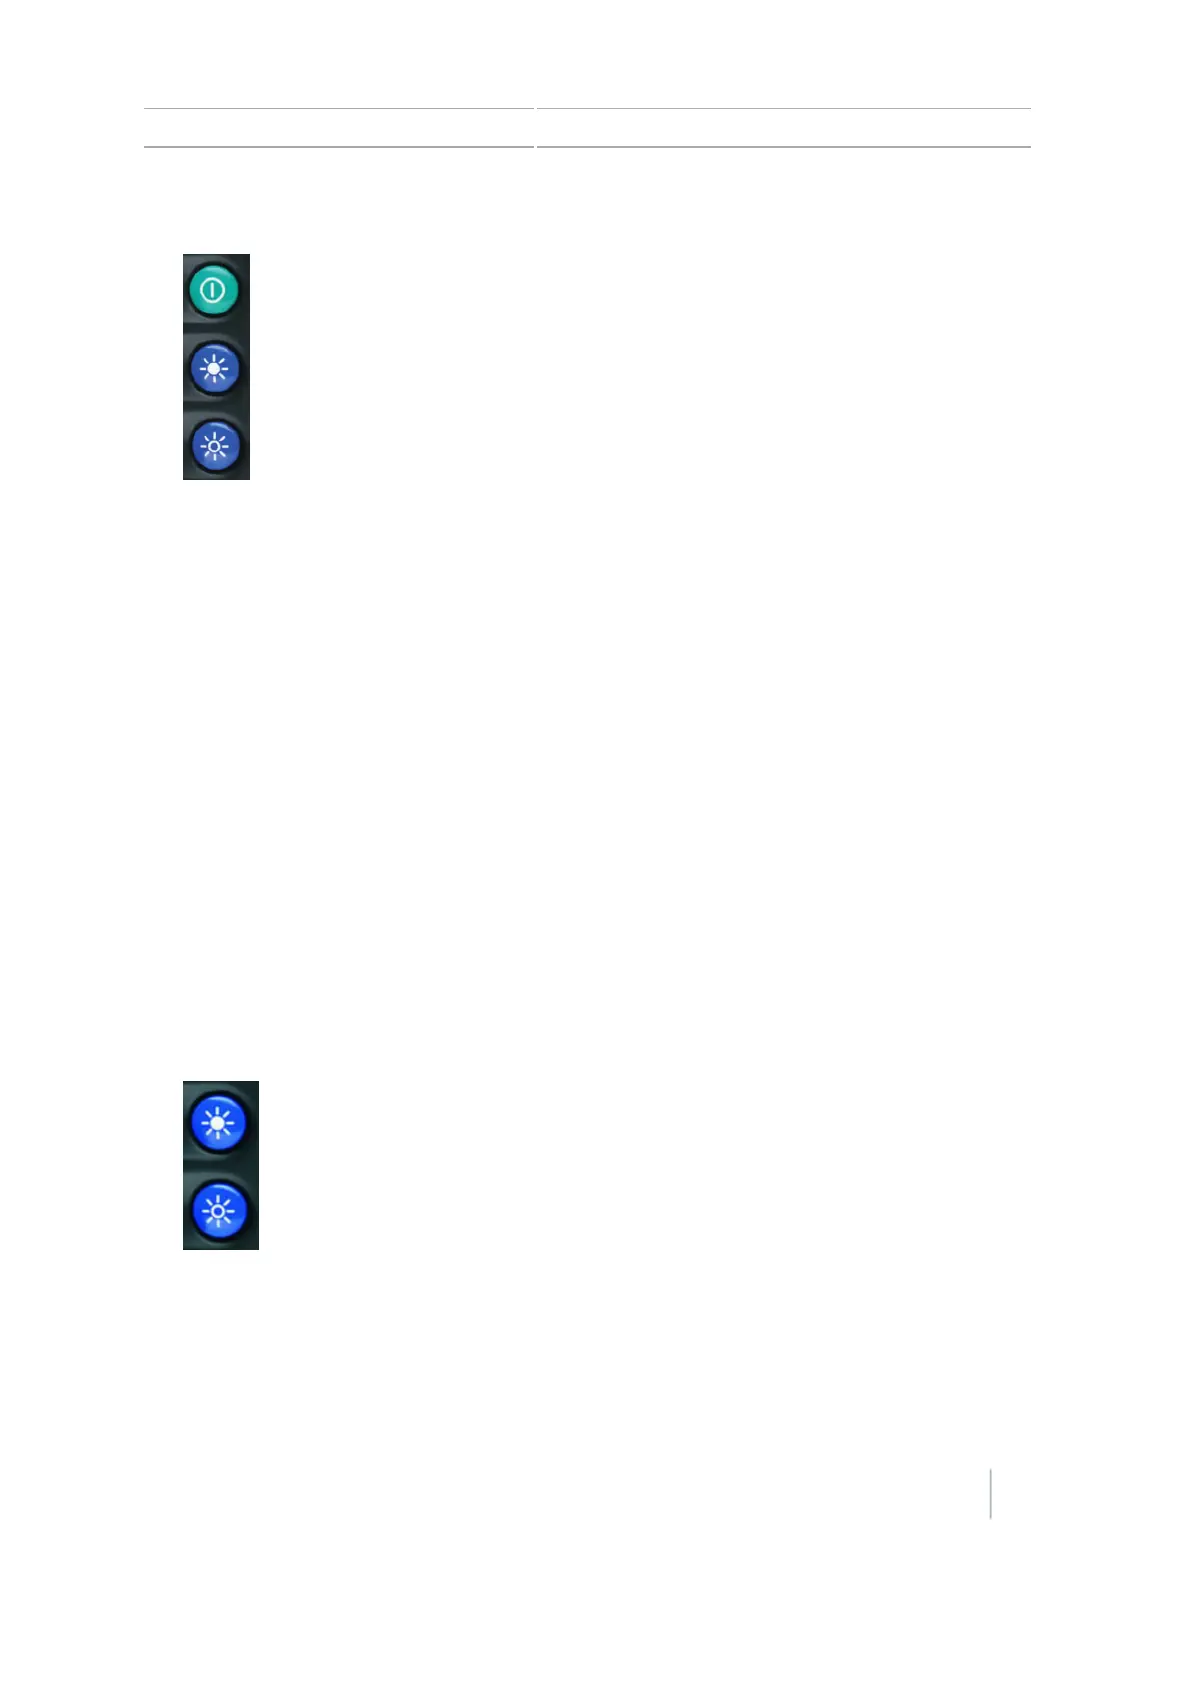
Press the power button and both brightness control buttons at the same time.
4.
When you see another progress bar that counts up very slowly (one tick at a time), release the
buttons.
Note – A soft reset needs approximately 10 minutes to complete. Do not power down the
display for 15 minutes after you have reset the display.
5.
After the reset is complete, recalibrate the touchscreen (see Recalibrate touchscreen, 198).
Note – If at any time you see the light bar LEDs slowly moving back and forth, the buttons were
pressed too early. Power down the unit and repeat steps 1 through 4
Take a screen shot
You can save a screenshot of the touchscreen for the purpose of collecting information for
troubleshooting purposes. When you take a screenshot, the display saves a .png file to the root
directory of the USB drive.
Note – Screenshot capability is available only when there is a USB drive inserted in the display.
To take a screenshot:
1. Put a USB drive into the USBsocket.
2.
Press both brightness control buttons at the same time.
3. Hold the buttons down until the touchscreen flashes.
4.
When you are finished taking screenshots, remove the USB drive.
Version 7.0, Revision A CFX-750 Display User Guide 41