Report
ADM003GVAE1005 213
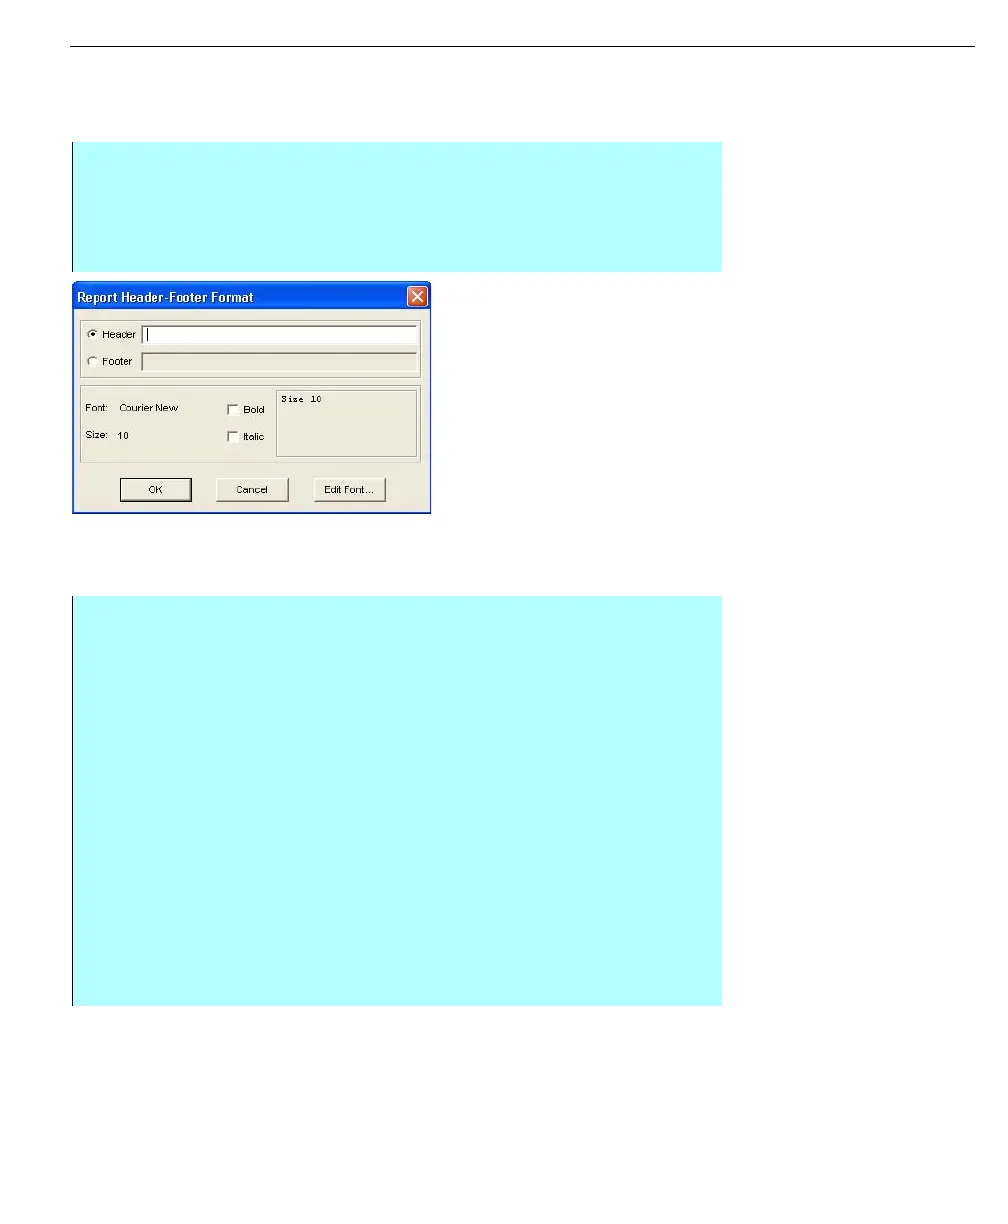
The date and time appear in the bottom left corner of the first page. The page
number, “Page #”, appears in the bottom right corner. Its font attributes are the
same as the header and footer fonts but at a fixed 10-point size.
Report Header Footer
Format dialog box
Setting print times and report status
In the Printer list box, the user assigns a default printer to the selected report. The
selected printer can only be changed in the Report Editor dialog box.
Step-by-Step
• Select Format and click Headers and Footers
• Select Edit Font to change the font for the header and footer. The header
and footer can have different font types
• Select OK when completed entering all information
Step-by-Step
• Select Format and click Report Details
• Select the print status, printer, and type in the time and file name
• To configure a report to print periodically, enter the number of minutes
between print times in the print interval field. In addition, enter the number of
minutes past the hour that you want the print interval to synchronize to in the
Print Time field
• To configure a report to print at a particular time of day, enter the required
time in the Print Time field
• If the print time is midnight, type in “24:00” instead of “00:00”
• The Print Status section allows the user to set the initial print status. The
Inactive option keeps the report from printing. In Operate, the operator is
able to enable an inactive report. An Active report will print at its designated
time once the file is saved and generated. The report does not have to be
opened in the Operate program, nor does the Operate program have to be
active, in order for it to print at its scheduled time
• Select OK when completed