FuelsManager Defense
204 Administrator Manual
Creating labels in a summary report
Labels can only be added to the first row of a Summary Report.
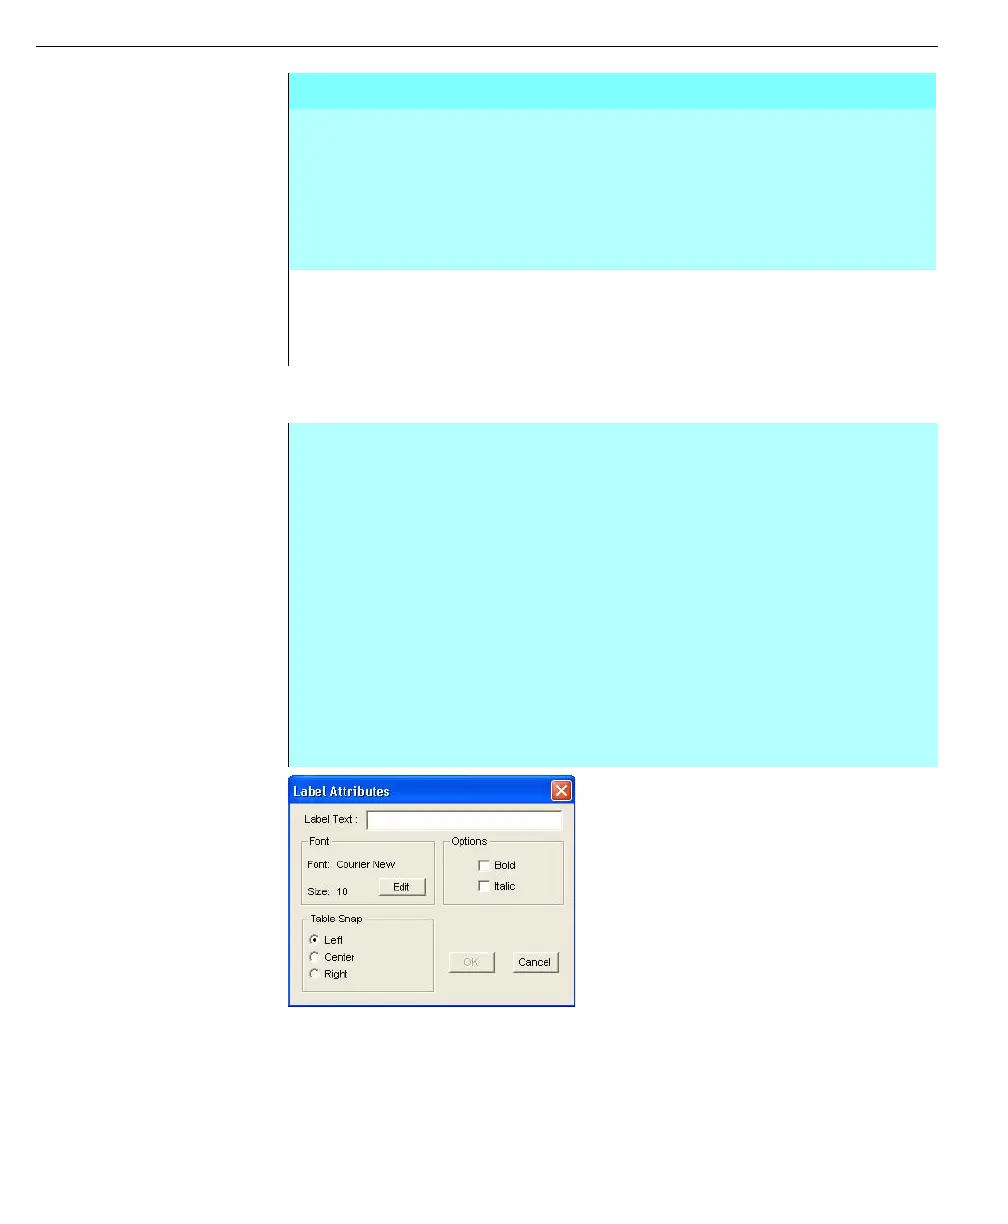
Label Attributes dialog
box
Creating values in a summary report
When creating a value for a Summary report, the first step is to establish the
Independent Variable for which all the database points will be derived. The user
then selects the point variables to be placed in the remaining columns. In runtime,
the points and corresponding database are listed in the first column. The
remaining columns contain variables such as level and temperature.
COLUMNS The user can type the number of columns, with a maximum
of 19. The table appears from margin-to-margin if the
autosizing option is selected.
This option was also defined in the Summary Report Setup
dialog box. The defined number appears in the edit box;
change only if needed.
AUTOSIZING Deselect this option if you want to enter the table cell
dimensions manually, when checked, all cells will be equal in
width and stretched from margin to margin. The allowable
space can not exceed the page width minus the margins.
Step-by-Step
• Select Edit, click Add, and click Label
• Click on the cell where you want the label to be placed. Only the cells in the
first row can be selected for a summary report
• The Label Attributes dialog box appears. In this dialog box, the user enters
the label name. An Edit button is available to format the appearance of the
label. The table Snap option buttons aligns the label within a cell
• Enter the text in the Label Text edit box
• Click Edit to format the font appearance of the label. These changes can be
made before or after the text has been entered in the Label Text edit box
• Align the label by selecting the appropriate option button. This option only
applies to labels placed in the table with the Snap to table option selected (in
the table pull-down menu)
• Click OK. A label appears in the selected area
Table Format dialog box