Chapter 29: Plug-in and Hardware Inserts 679
To change plug-in settings using the Plug-in
Settings dialog:
1 Click the Settings Select button.
2 Do one of the following:
• Select a plug-in setting from the dialog list.
– or –
• Use the Arrow keys to scroll through the
available settings.
3 Click Done.
Auditioning Plug-in Settings
When the Plug-in Settings dialog is open, you
can have Pro Tools automatically scroll through
and audition the settings files saved in the plug-
in’s root settings folder or in the current ses-
sion’s settings folder.
To audition plug-in settings:
1 Click the Settings Select button.
2 From the dialog list, click a setting—the start-
ing point from which you will scroll through
the settings files.
3 Enter a value for the number of seconds that
will elapse between each program change.
4 Select the option for Increment Patch.
After the specified number of seconds, Pro Tools
selects the next setting.
5 When you are finished auditioning settings,
do one of the following:
• Click Done to stop incrementing patches,
and to close the Plug-in Settings dialog.
– or –
• Select the Increment Patch option to stop
incrementing patches and keep the Plug-in
Settings dialog open.
DigiBase and Plug-in Settings
Files
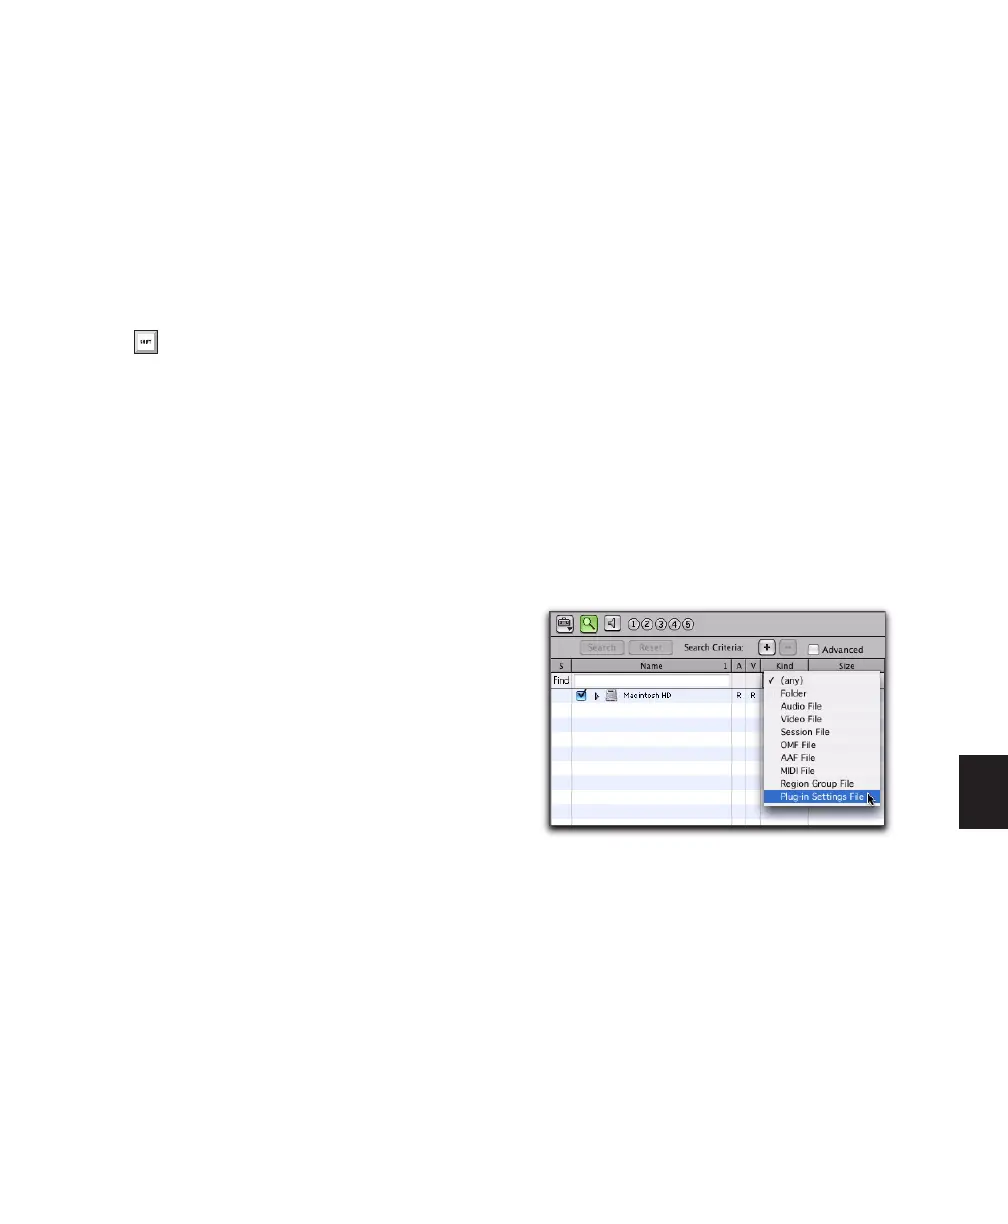
Searching for Plug-in Settings Files
To search for plug-in settings files:
1 In the Workspace browser, click the Search
icon.
2 Select Plug-in Settings File from the Type pop-
up menu.
3 To further narrow your search, type all or part
of the name of the plug-in settings file you want.
4 Click Search.
To switch between settings subfolders, press
Control (Windows) or Command (Mac)
and use the Up/Down Arrow keys.
Searching for plug-in settings files