214323 36 Revision A
If adjustments are required, proceed as follows:
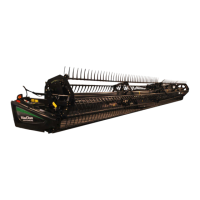
Figure 3.17: Left Endshield
2. Open the endshield. Refer to Opening Endshield, page
31.
3. Loosen nut (A) on pin (B) from inside the endsheet
using a 19 mm (3/4 in.) socket.
4. Close the endshield and adjust its position to achieve
the gap (X) between the front end of the endshield and
the header frame.
5. Open the endshield and tighten nut (A).
6. Loosen the bolts on catch (C), and adjust the catch as
required to reposition the endshield. Ensure there is a
snug fit between the top of the endshield and the
header frame and that the endshield is fully engaged on
pin (B).
7. Tighten the bolts on catch (C).
8. Close the endshield. Refer to Closing Endshield, page
32.
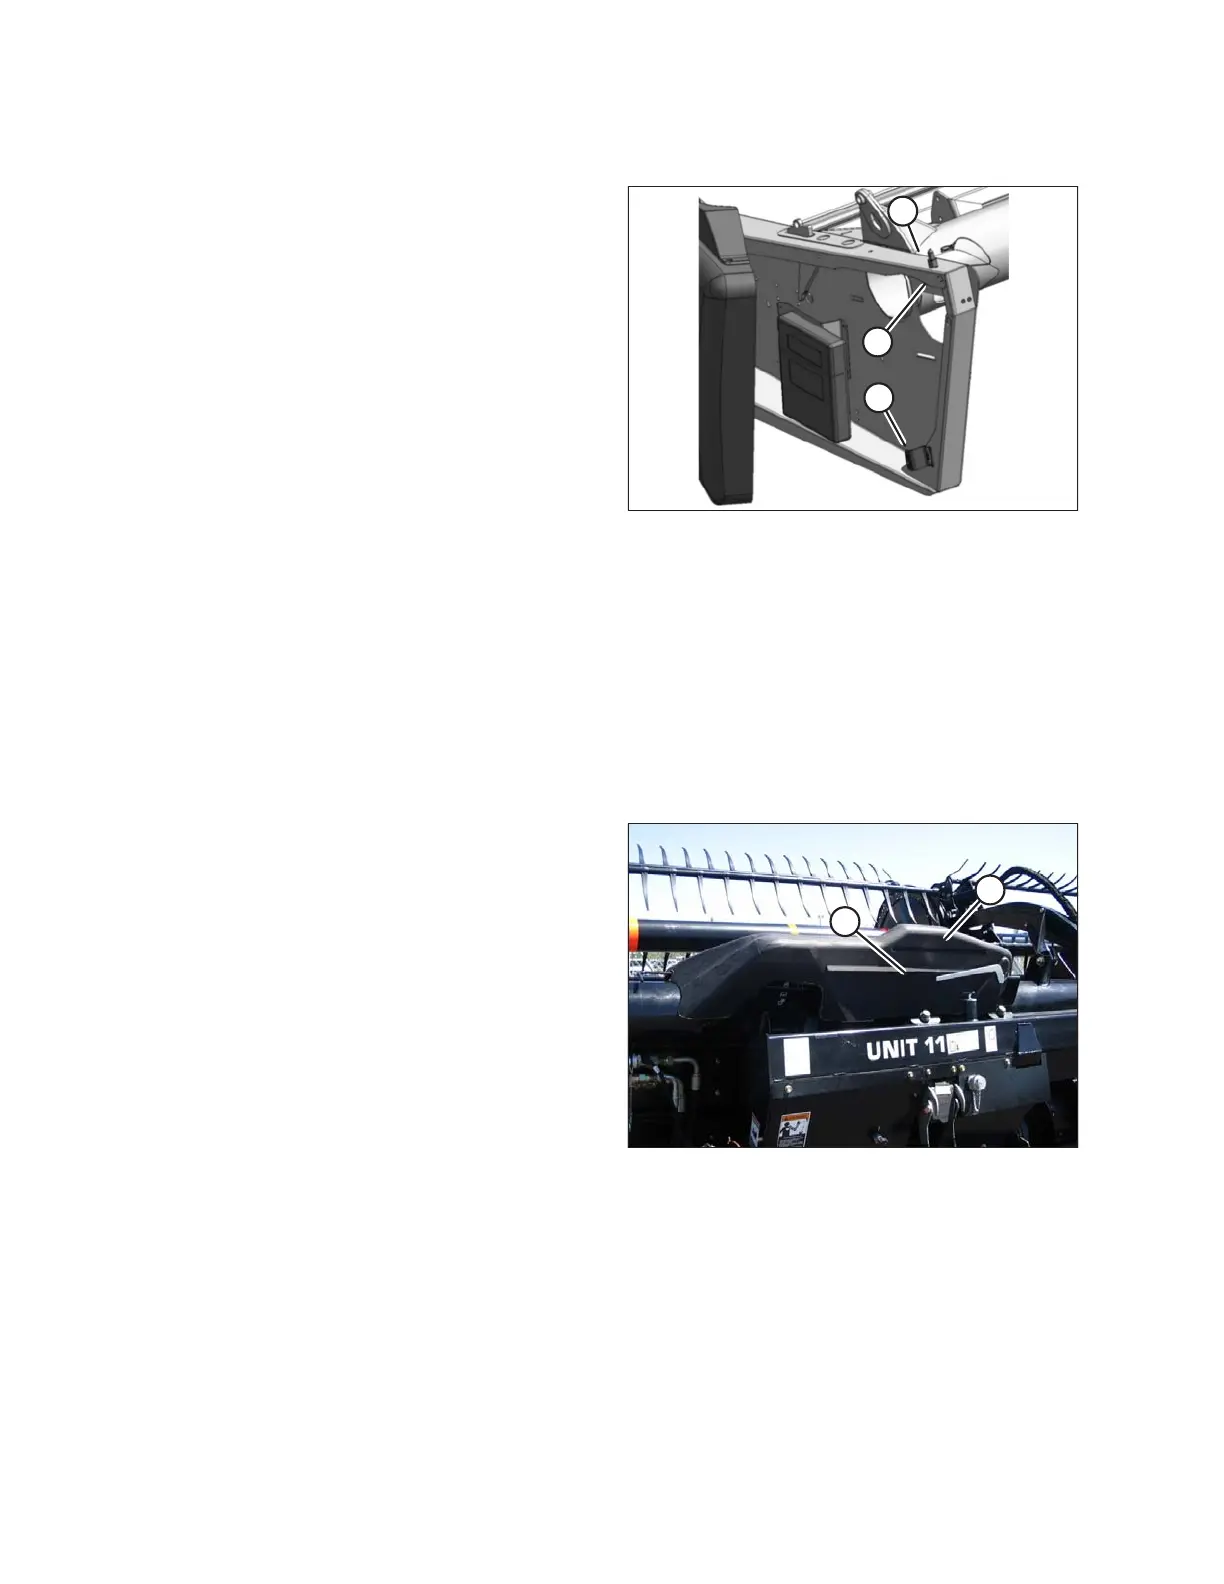
3.2.4 Linkage Covers
Plastic covers are attached to the header frame to protect the header wing balance mechanism from debris and
weather.
Removing Linkage Covers
Figure 3.18: Linkage Cover
1. Remove screw (A) and lift outboard end of cover (B).
OPERATION