214323 66 Revision A
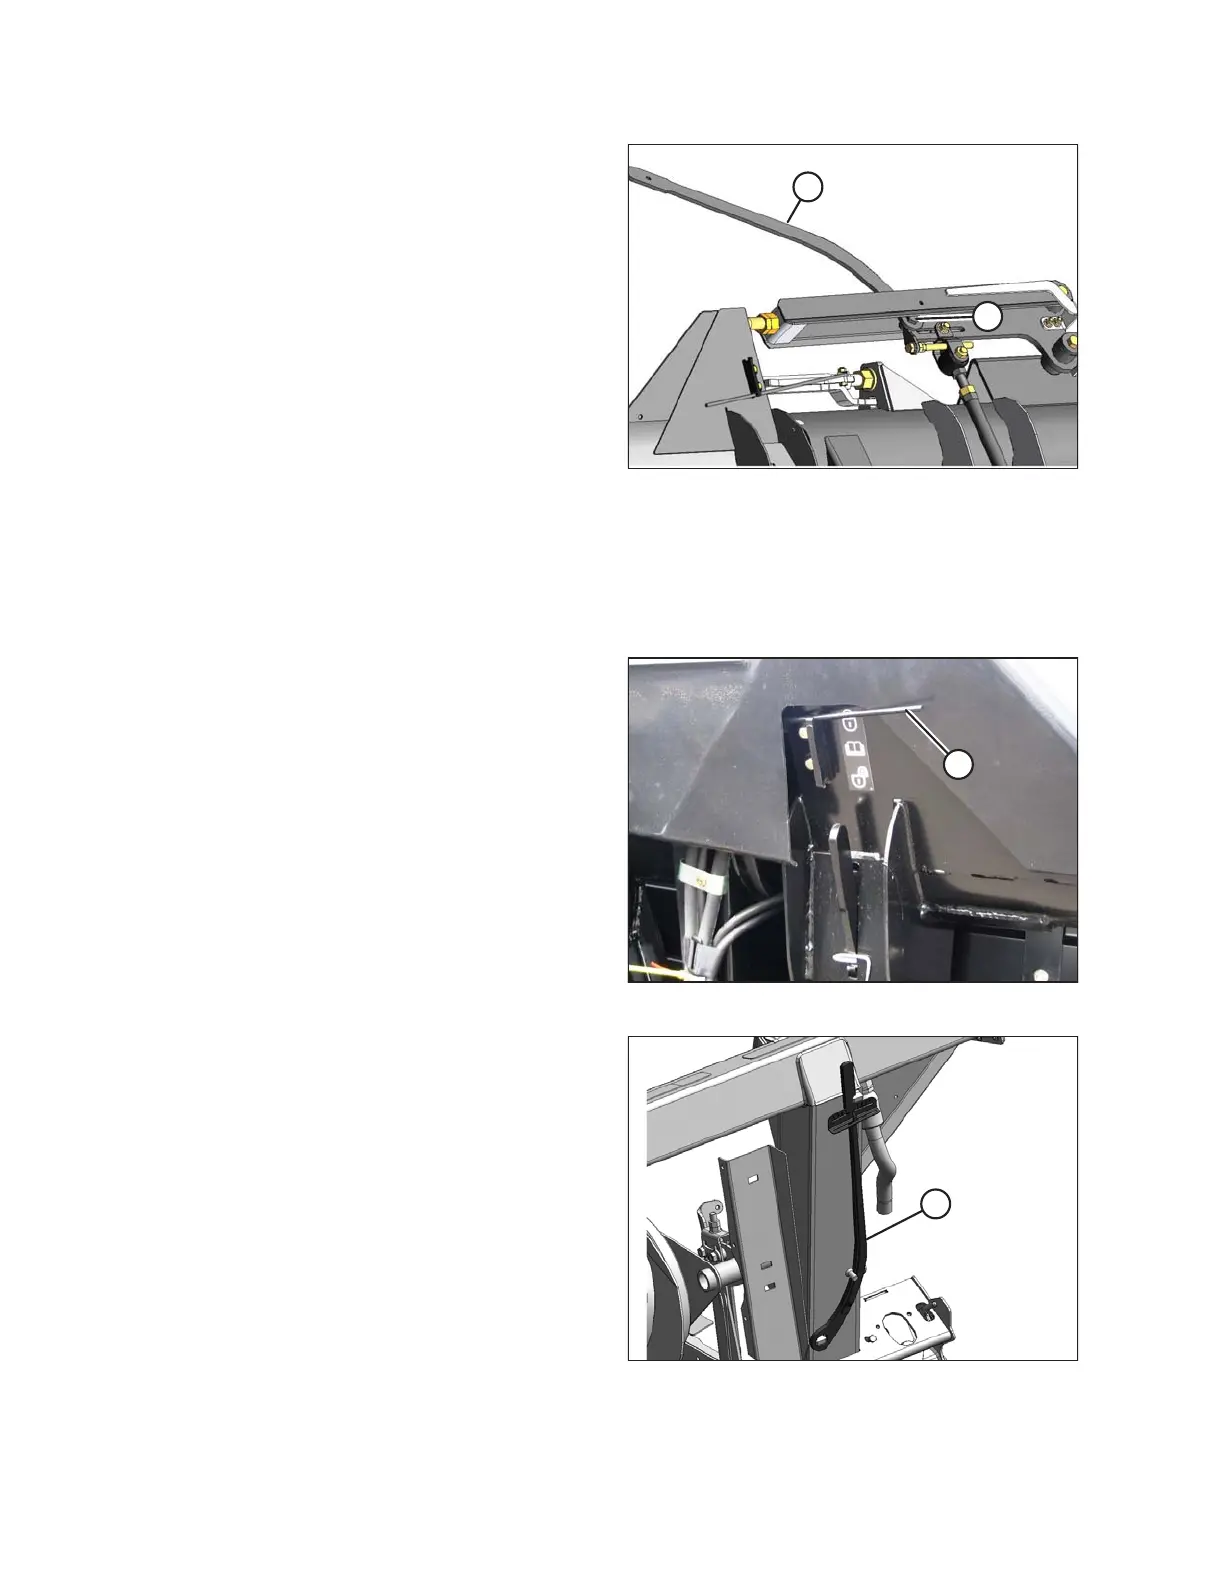
Figure 3.49: Torque Wrench on Wing Nut
5. Place the torque wrench (A) on bolt (B) and use it to
move the wing until the lock disengages.
6. Replace torque wrench (A) and reinstall the
linkage cover.
7. The wings should now freely move up and down with
equal hand force and the cutterbar should be straight.
Otherwise, the wings are not balanced.
8. If necessary, balance the wing. Refer to 3.7.3 Checking
and Adjusting Header Wing Balance, page 67.
Operating in Rigid Mode
The three header sections will be locked and operate as a rigid cutterbar.
Lock the wings as follows:
Figure 3.50: Wing Lock
1. Move spring handle (A) in the upper slot to lock the
wing. The locking should be audible.
2. If the lock link does not engage, move the wing by
raising and lowering the header, changing the header
angle, or driving the combine until it engages.
Figure 3.51: Torque Wrench
NOTE:
The following steps are only required if the above has
not worked.
3. Remove the linkage cover. Refer to Removing Linkage
Covers, page 36.
4. Retrieve the supplied torque wrench (A) that is stored
on the adapter frame on the right side.
OPERATION