M5: Measurement
7.5 Setting zeros, workpiece measuring and tool measuring
Extended Functions
Function Manual, 03/2013, 6FC5397-1BP40-3BA1
495
3-dimensional setpoint value ($AC_MEAS_TYPE = 21)
Using this measurement method, it is possible to define a setpoint for the abscissa, the
ordinate and the applicate. The tool is not taken into account.
It is purely an actual value memory preset for the abscissa, ordinate and applicate.
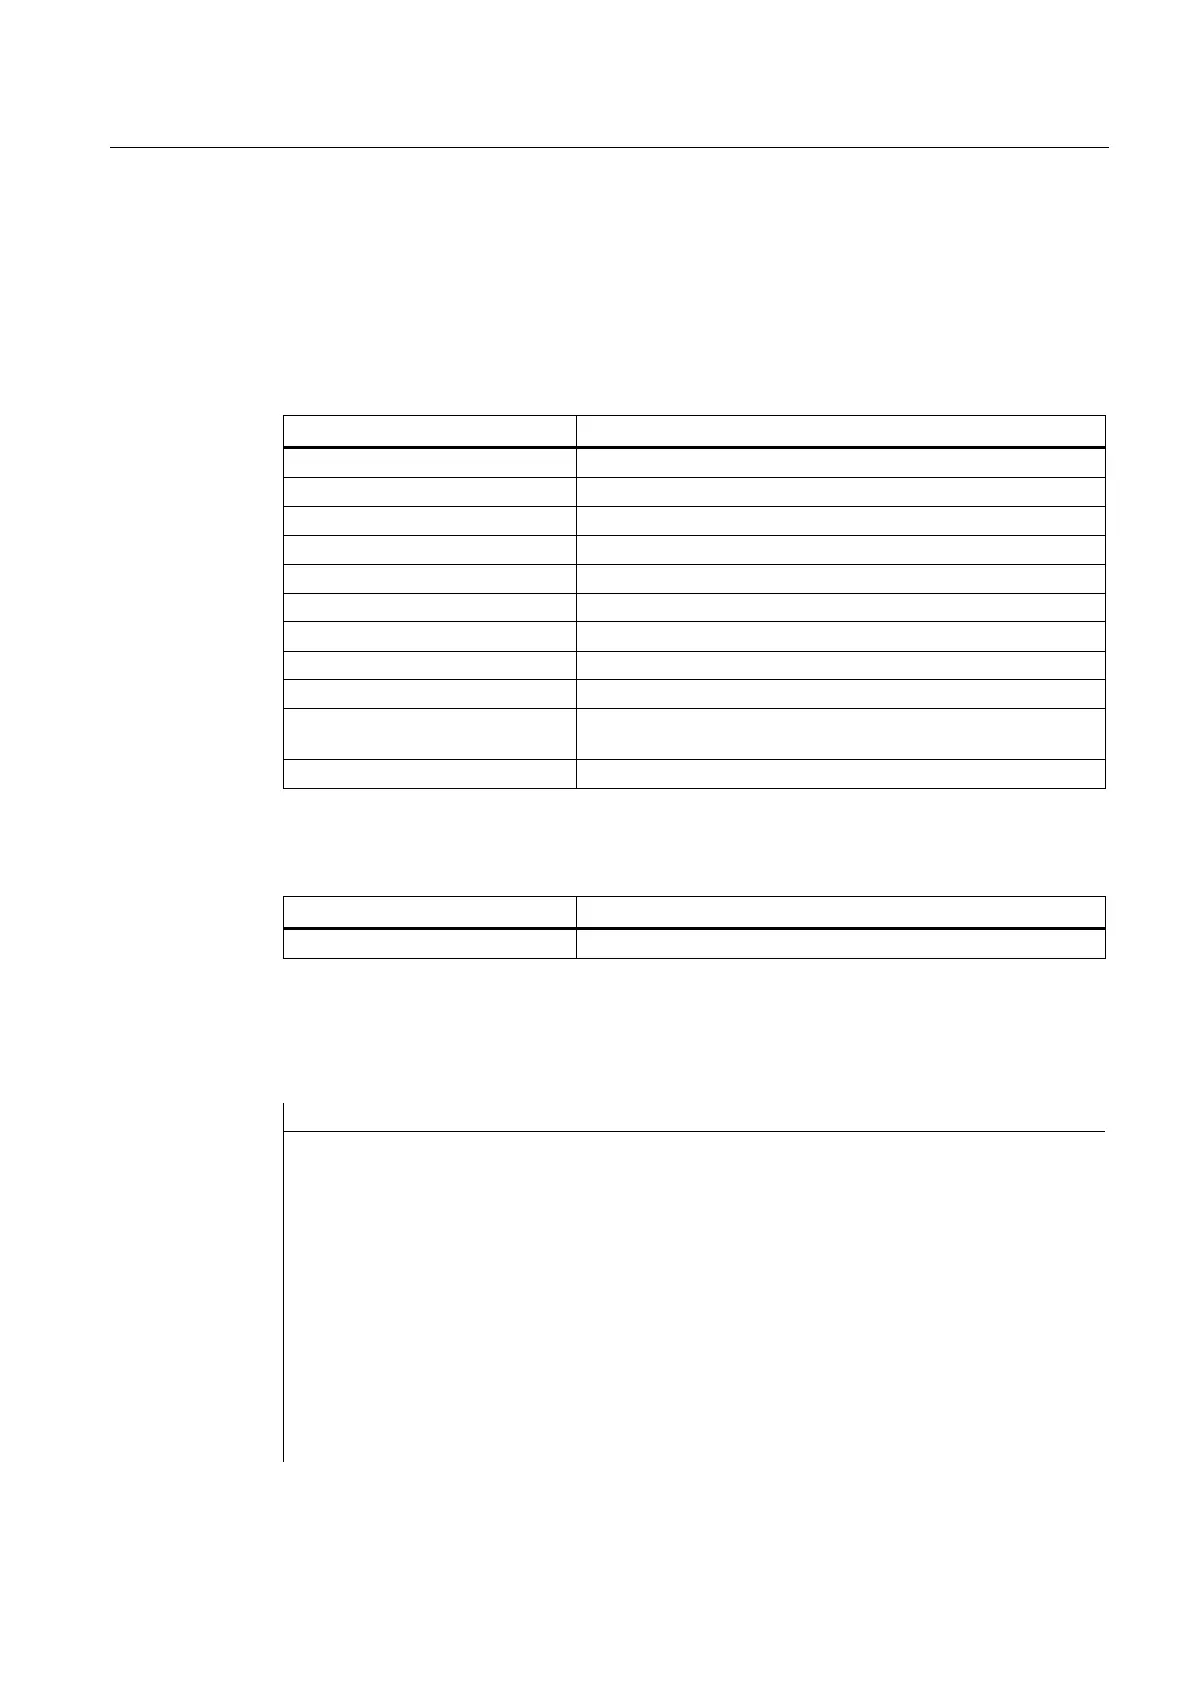
The values of the following variables are evaluated for measurement type 21:
Input variable Meaning
$AC_MEAS_VALID Validity bits for input variables
$AA_MEAS_POINT1[axis] Measuring point 1 for the abscissa
$AA_MEAS_POINT1[axis] Measuring point 1 for the ordinate
$AA_MEAS_POINT1[axis] Measuring point 1 for the applicate
$AA_MEAS_SETPOINT[axis] Setpoint position for the abscissa
$AA_MEAS_SETPOINT[axis] Setpoint position for the ordinate
$AA_MEAS_SETPOINT[axis] Setpoint position for the applicate
$AC_MEAS_ACT_PLANE Calculated as active plane unless otherwise specified *
$AC_MEAS_FRAME_SELECT Calculated as additive frame unless otherwise specified *
$AC_MEAS_FINE_TRANS Unless otherwise specified, frame is written to coarse translation
*
$AC_MEAS_TYPE 21
* optional
The following output variables are written for measurement type 21:
Output variable Meaning
$AC_MEAS_FRAME Result frame with rotations and translation
Example
3-dimensional setpoint selection
Program code Comment
DEF INT RETVAL
DEF REAL _CORMW_XX,
_CORMW_YY,
_CORMW_ZZ
DEF AXIS _XX, _YY, _ZZ
T1 D1 ; Activate probe
G54 ; Activate all frames and G54
$AC_MEAS_VALID = 0 ; Set all input values to invalid
$AC_MEAS_TYPE = 21 ; Set measurement type for 3-dimensional
setpoint selection
$AC_MEAS_ACT_PLANE = 0 ; Measuring plane is G17
_XX=$P_AXN1 ; Define axes according to the plane

 Loading...


