Chapter 14: Record Setup 269
The Record button changes to indicate the se-
lected Record mode as follows:
• Blank for Normal (Nondestructive)
• “D” for Destructive
• Loop symbol for Loop Record
• “P” for QuickPunch
• “T” for TrackPunch (Pro Tools HD only)
• “DP” for DestructivePunch (Pro Tools HD
only)
Normal (Nondestructive) Record Mode
In Normal, Nondestructive Record mode,
Pro Tools records audio nondestructively, which
means that if you record over a track’s existing
regions, the audio is not erased from your hard
drive. Both the new and old audio files remain
on your hard drive, available as regions from the
Region List.
In Normal Record mode, the record range can be
defined by selecting a range in a ruler or in a
track’s playlist, or by specifying start and end
points in the Transport window. If there is no
selection, recording begins from the current
Cursor location and continues until the Trans-
port’s Stop button is clicked.
The pre- and post-roll settings allow material to
be heard up to and after the start and end
points, which is useful when punch recording
(see “Punch Recording Audio” on page 283).
Destructive Record Mode
In Destructive Record mode, recording over ex-
isting regions replaces the original audio perma-
nently, which allows you to keep disk use to a
minimum. However, if you have sufficient drive
space, it is usually best to use Pro Tools in Non-
destructive Record mode, to avoid losing any
previously recorded material.
When defining the record range and setting pre-
and post-roll, Destructive Record mode works
the same as Normal (Nondestructive) mode.
Unlike the other record modes, it is not possible
to cancel or Undo record takes when using De-
structive Record mode (see “Canceling a Record
Take” on page 280).
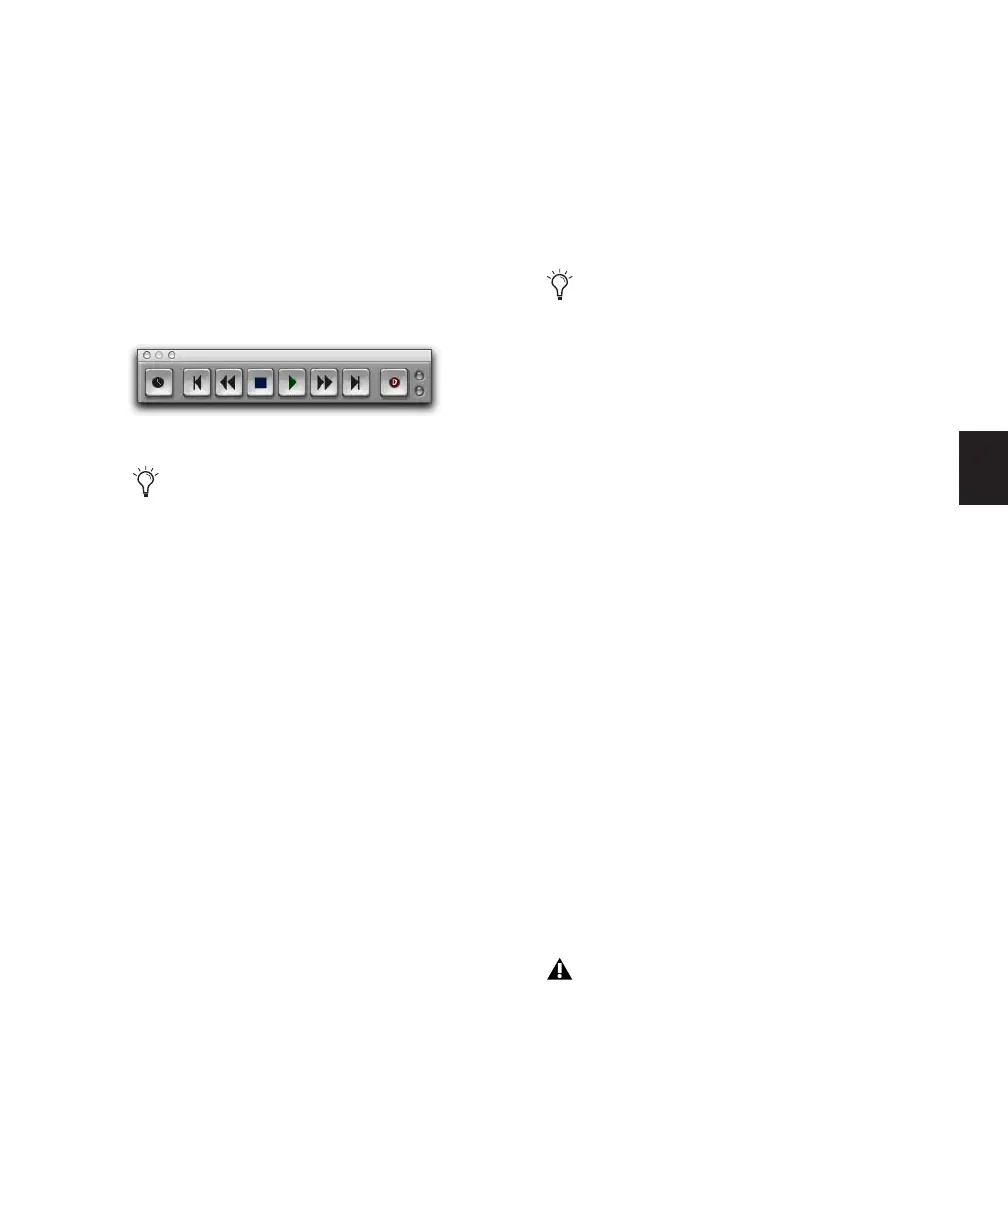
Destructive Record mode enabled
When recording, you can preserve disk
space by removing unwanted record takes
(see “Removing Unwanted Regions” on
page 490) and compacting audio files (see
“Compacting an Audio File” on page 488).
To set a record range by selecting within a
track’s playlist, the Timeline and Edit selec-
tions must be linked. See “Linking or Un-
linking Timeline and Edit Selections” on
page 396.
In Destructive Record mode, the waveform
overview is not redrawn until you stop re-
cording.