Chapter 25: MIDI Editing 567
4 Move the cursor near the beginning of any of
the highlighted notes, so the Trim tool appears.
Drag right to shorten the notes, or drag left to
lengthen them.
If using Grid mode, the dragged start or end
point snaps to the nearest Grid boundary. If us-
ing Spot mode, the Spot dialog opens, where
you can enter the new location for the note’s
start or end point.
Notes can also be trimmed with the Trim Region
to Selection command (see “Trim Region to Se-
lection Command” on page 421) and the Trim
To Insertion command (see “Trimming with
Nudge” on page 422).
Manually Editing Note Velocities
When a MIDI or Instrument track is set to Veloc-
ity View, each note’s attack velocity is repre-
sented with a velocity stalk. The taller the veloc-
ity stalk, the higher the velocity value (0–127).
To edit MIDI velocity:
1 Set the MIDI or Instrument track to Velocity
View.
2 Select any Grabber tool.
3 Do one of the following:
• Drag the top (diamond) of the velocity
stalk up or down.
– or –
• If two notes have the same start time (with
velocity stalks on top of each other), Con-
trol-drag (Windows) or Command-drag
(Mac) the actual note up or down.
Drag up to increase the velocity value, or down
to decrease it. While dragging, the diamond
turns blue and the associated note becomes se-
lected. The dragged velocity values are reflected
in the Cursor Location Value indicator (in the
Edit window).
The velocities for a range of notes can be edited
with any Pencil tool.
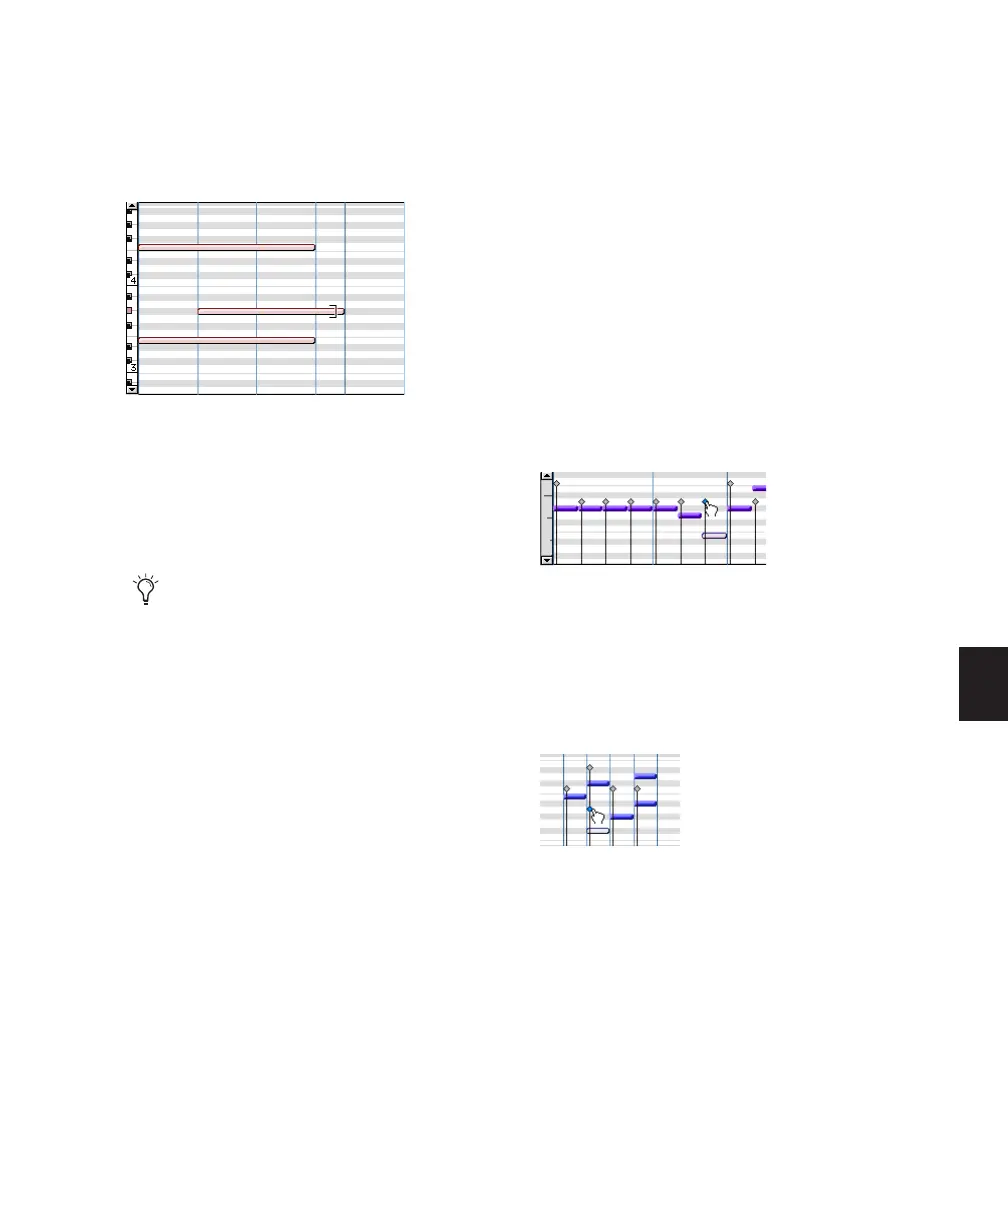
Changing note end times with the Trim tool
When in Grid mode, use the Control key
(Windows) or the Command key (Mac) to
temporarily disable Grid mode.
Dragging a velocity stalk
Editing simultaneous velocities