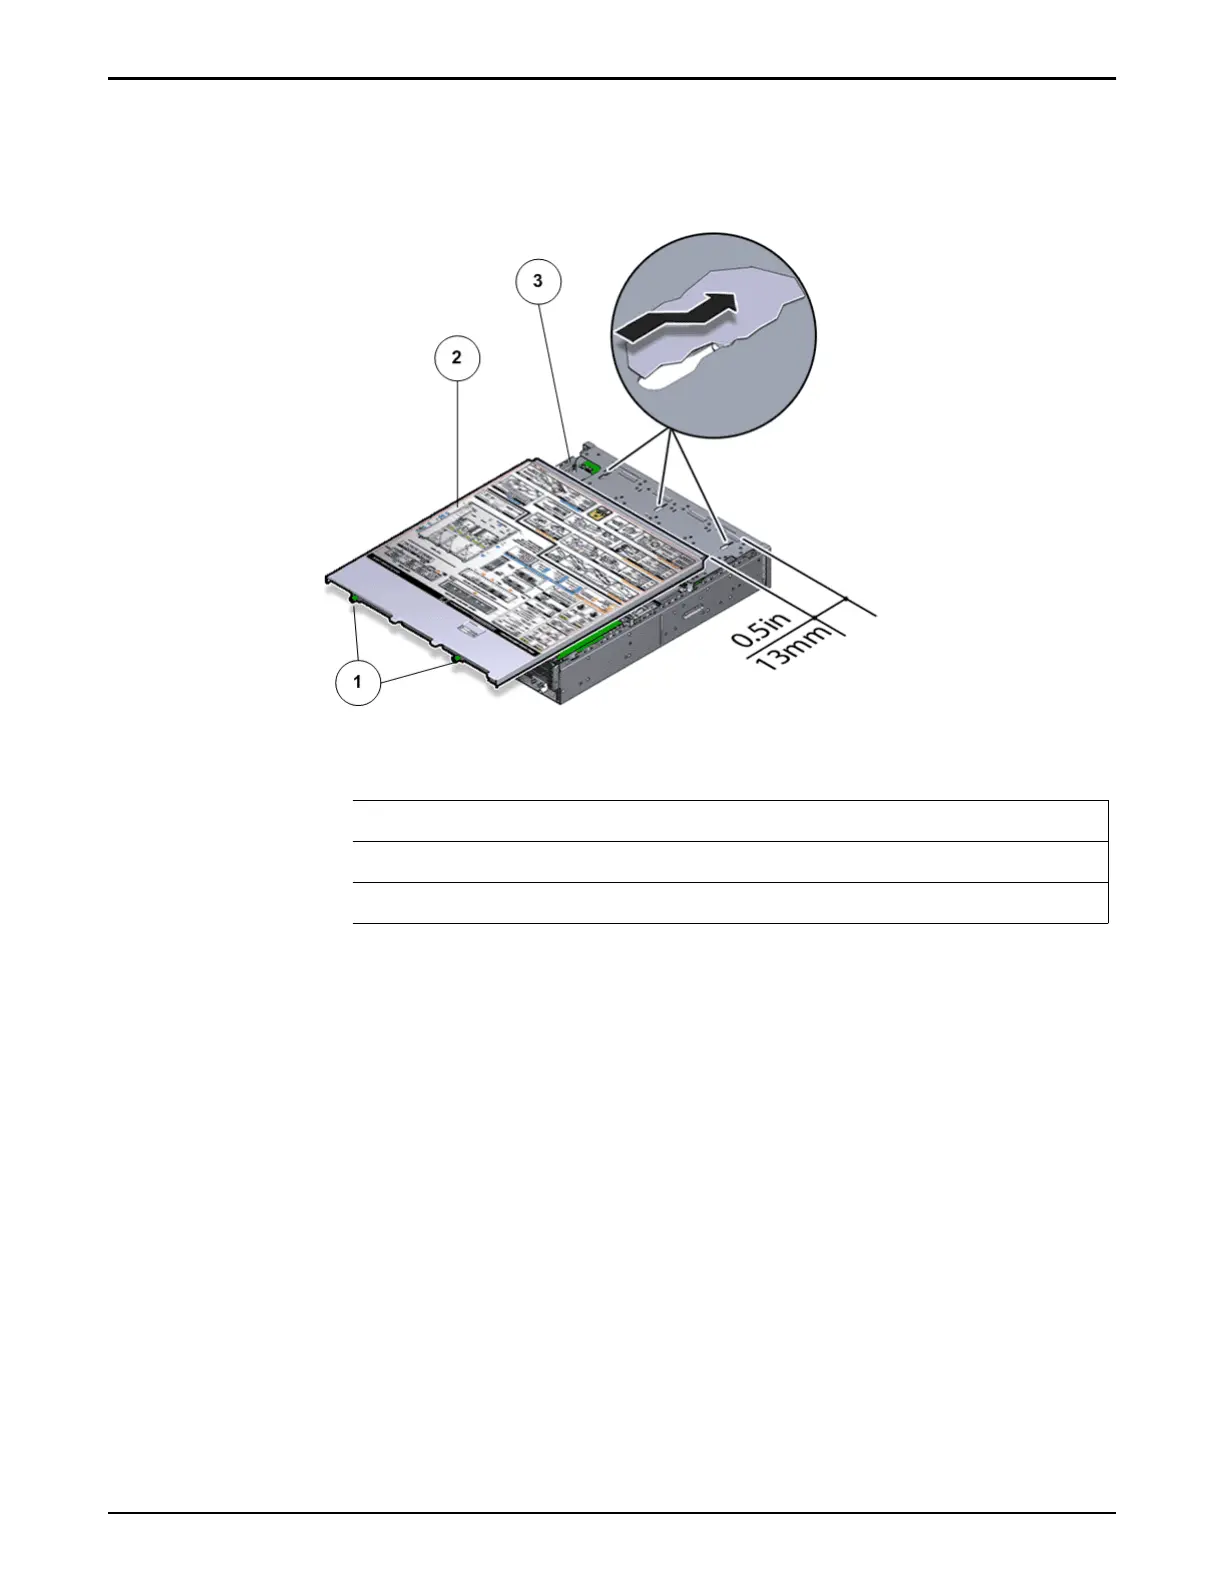
Place the top cover of the Controller and tighten the two thumb screws at
the back of the
Controller that secure the top cover.
Figure 71: Close Controller top cover
Legend
1 Thumb screws
2 Controller top cover
3 Controller
Complete the Component Replacement
1
Slide the Controller back into rack position.
2 Re-connect the cables that were removed from the Controller.
Note: The Controller automatically powers up when the power cords are
plugged in.
Verify Controller Component Status
1 From Guided Maintenance, verify that the status is Normal.
You can also verify the status by navigating to System > Hardware and
then selecting a chassis. The Overview page for the selected chassis lists the
status of each component.
Controller Replacement Procedures
101