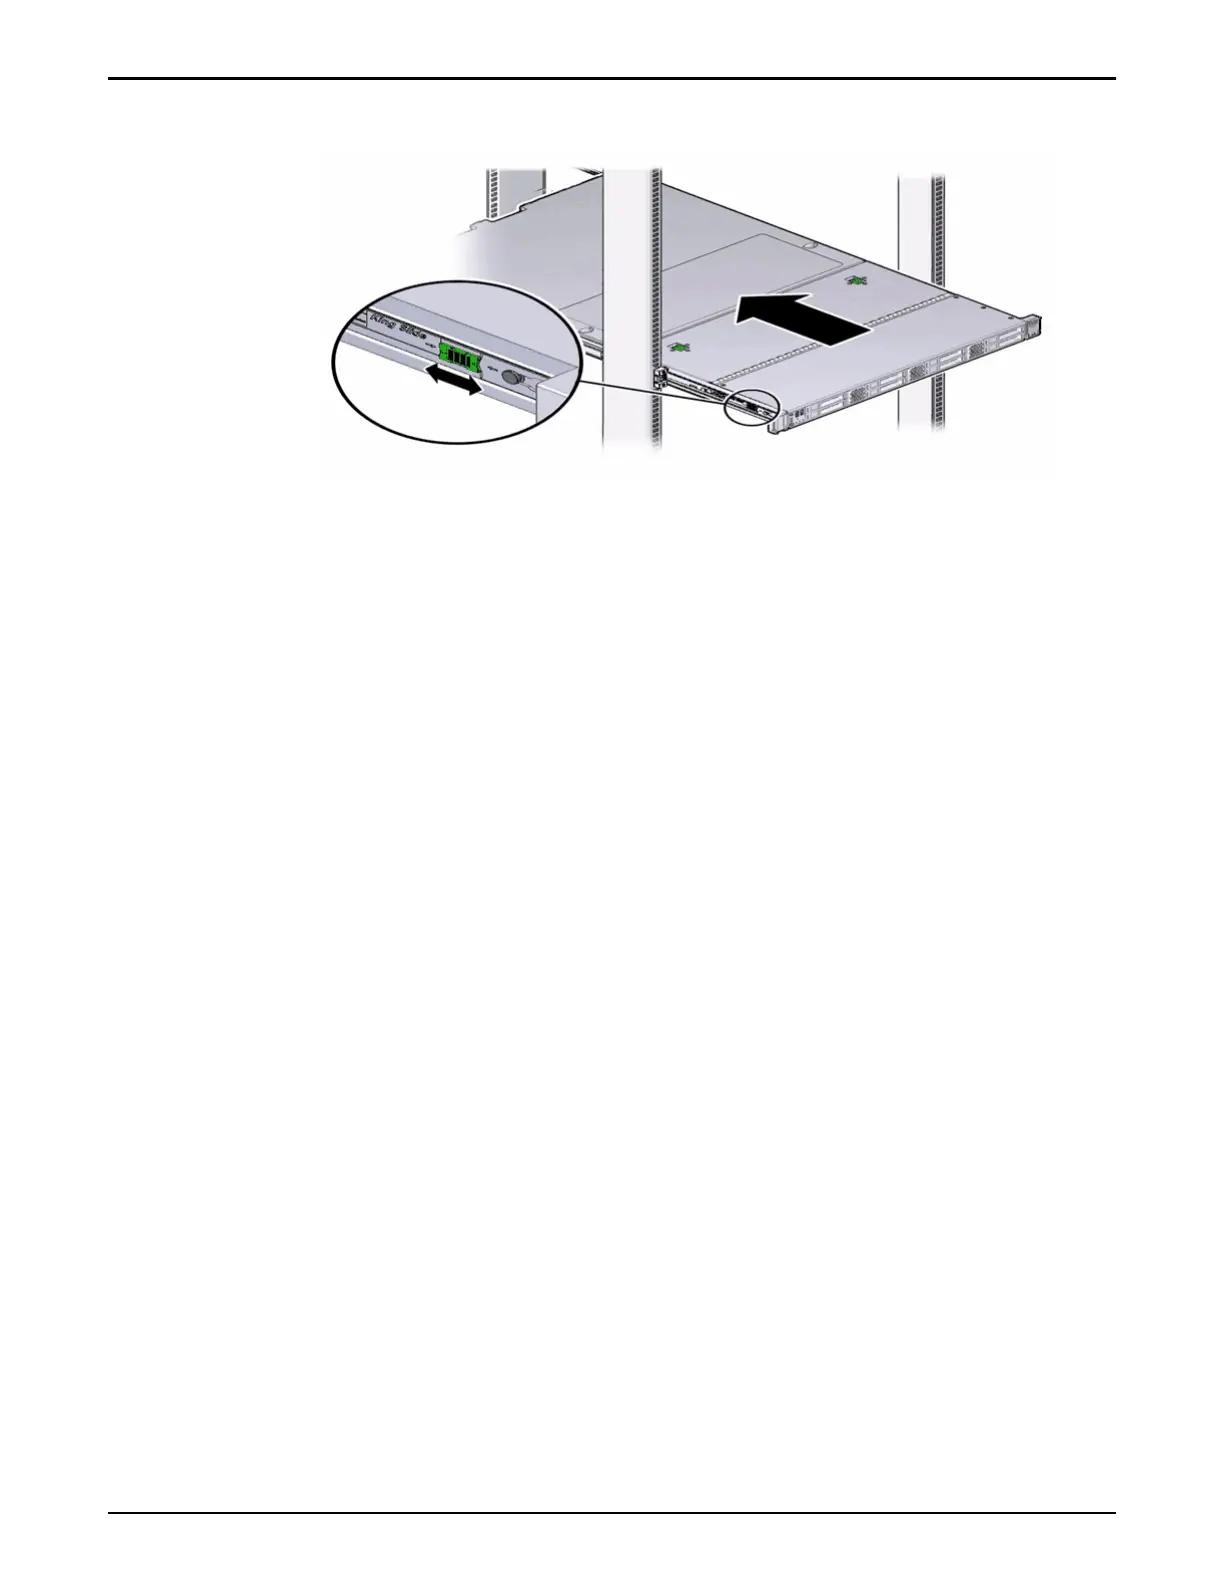
Figure 174: Location of the Pilot release tabs
Note: As y
ou push the Pilot into the rack, verify that the cable management
arm (CMA) retracts without binding.
Note: To pull the Pilot release tab, place your nger in the center of the tab,
not on the end, and apply pressure as you pull the tab toward the front of
the Pilot.
2 Continue pushing the Pilot into the rack until the slide-rail locks on the
front of the Pilot engage the slide-rail assemblies.
Note: The Pilot locks into the rack position with an audible click.
Verify Component Replacement on the Standby Pilot
If you replaced a component on the standby Pilot, complete the following steps
to verify the status of the Pilot:
1 Return to Guided Maintenance and click Finish.
Guided Maintenance closes and the GUI displays the Pilot Overview page.
2 From the Pilot Overview page, review the status of the Pilot.
A status of Normal requires no action.
Verify Component Replacement on the Active Pilot
If you replaced a component on the active Pilot, complete the following steps to
verify the status of the Pilot:
1 Restart Oracle FS System Manager (GUI).
2 Navigate to System > Hardware > Pilots.
The GUI displays the Pilot Overview page.
3 From the Pilot Overview page, review the status of the Pilot.
A status of Normal requires no action.
Pilot Replacement Procedures
208