3 Unplug the power cord from the failed power cooling module.
4 Release the aachment lev
er.
To release the aachment lever, squeeze together the latch and the opposite
side of the failed power cooling module.
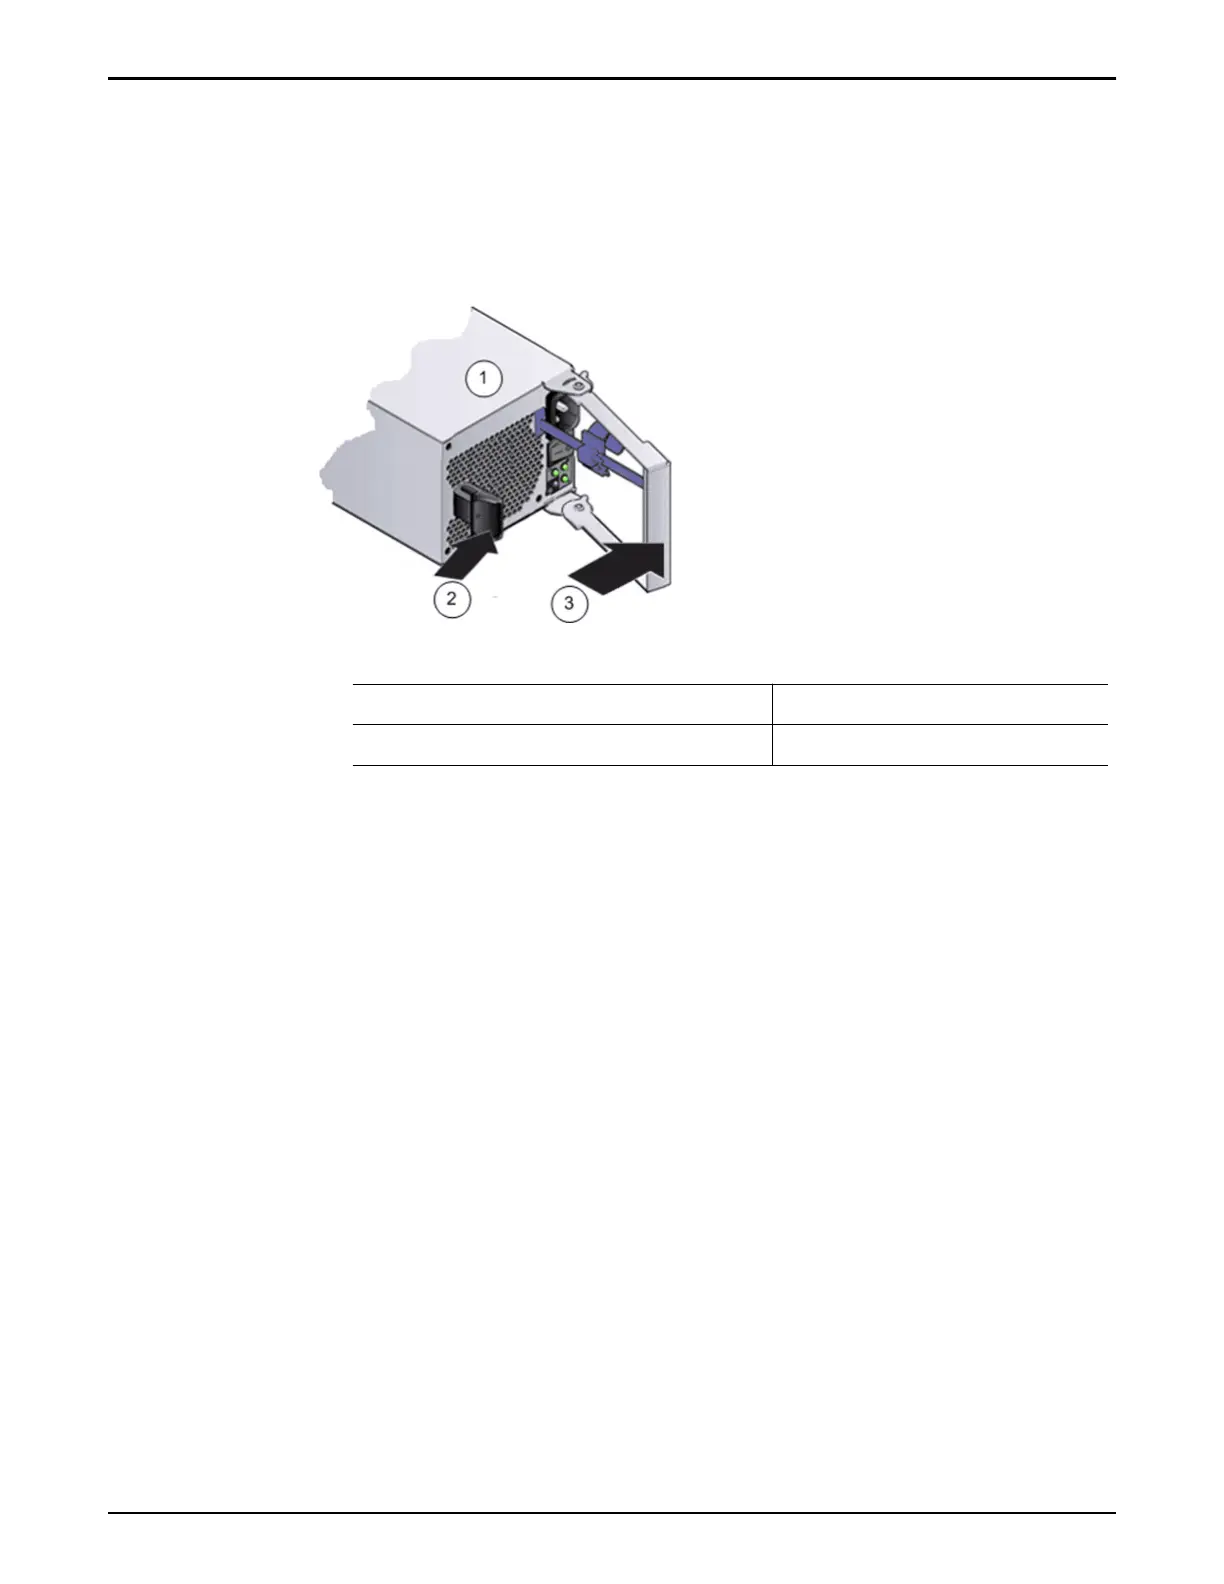
Figure 139: Attachment lever and latch on the power cooling module
Legend
1 Power cooling module 3 Aachment lever
2 Latch
5 Gently pull the failed power cooling module out of the Drive Enclosure
chassis.
Note: Be careful not to damage the connector pins.
Insert a Power Cooling Module
Before sliding a pow
er cooling into the Drive Enclosure, ensure that the power
cooling module is oriented correctly. To ensure correct orientation, align the latch
on the power cooling module with the inner area of the Drive Enclosure.
Caution: Inserting a power cooling module that is not oriented correctly into a
Drive Enclosure can damage the power cooling module and the Drive Enclosure.
Drive Enclosure Replacement Procedures
170