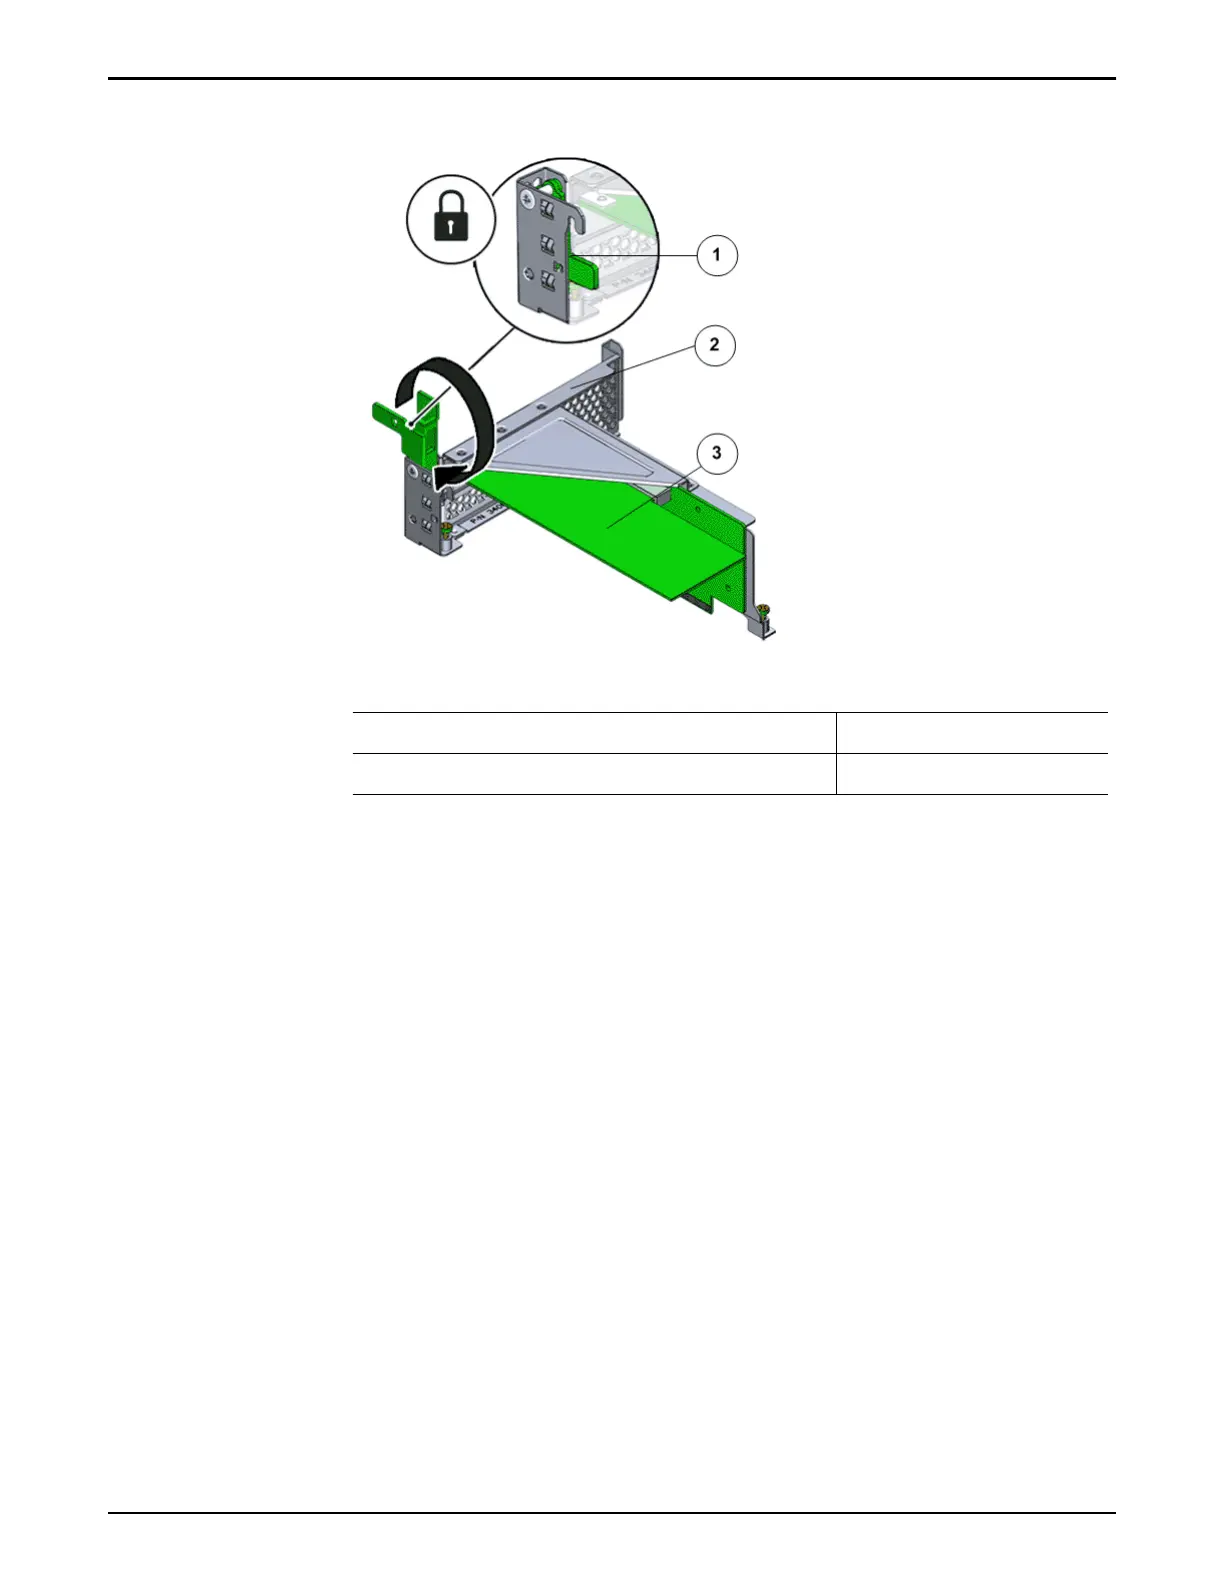
Figure 86: Riser 3 latch locked
Legend
1 Riser 3 latch 3 HBA
2 Riser 3
3 Reconnect any previously removed internal or external cables to any HBAs
installed in the riser
.
4 Repeat the above steps for any additional risers that you are installing.
Close the Controller Top Cover
Place the top cover of the Controller and tighten the two thumb screws at
the back of the Controller that secure the top cover.
Controller Replacement Procedures
119