Insert an Air Duct
Secure the air duct inside the Controller by tightening the tw
o Phillips
Number 2 screws into position.
Note: The brackets that secure the air duct are labeled L (left) and R (right).
The left bracket slides forward, the right bracket slides back when facing
the Controller in the service position.
Insert an Air Filter
1 Tilt the top of the air lter slightly towards you and insert the boom two
hooks into the mounting tabs.
Figure 118: Insert air filter
Important: Ensure that nothing interferes with the edges of the air lter and
that the air lter seats properly
.
2 Press the top corners of the air lter to engage the top two air lter hooks
with the top rail tabs.
3 Press both air lter release tabs until they lock in place.
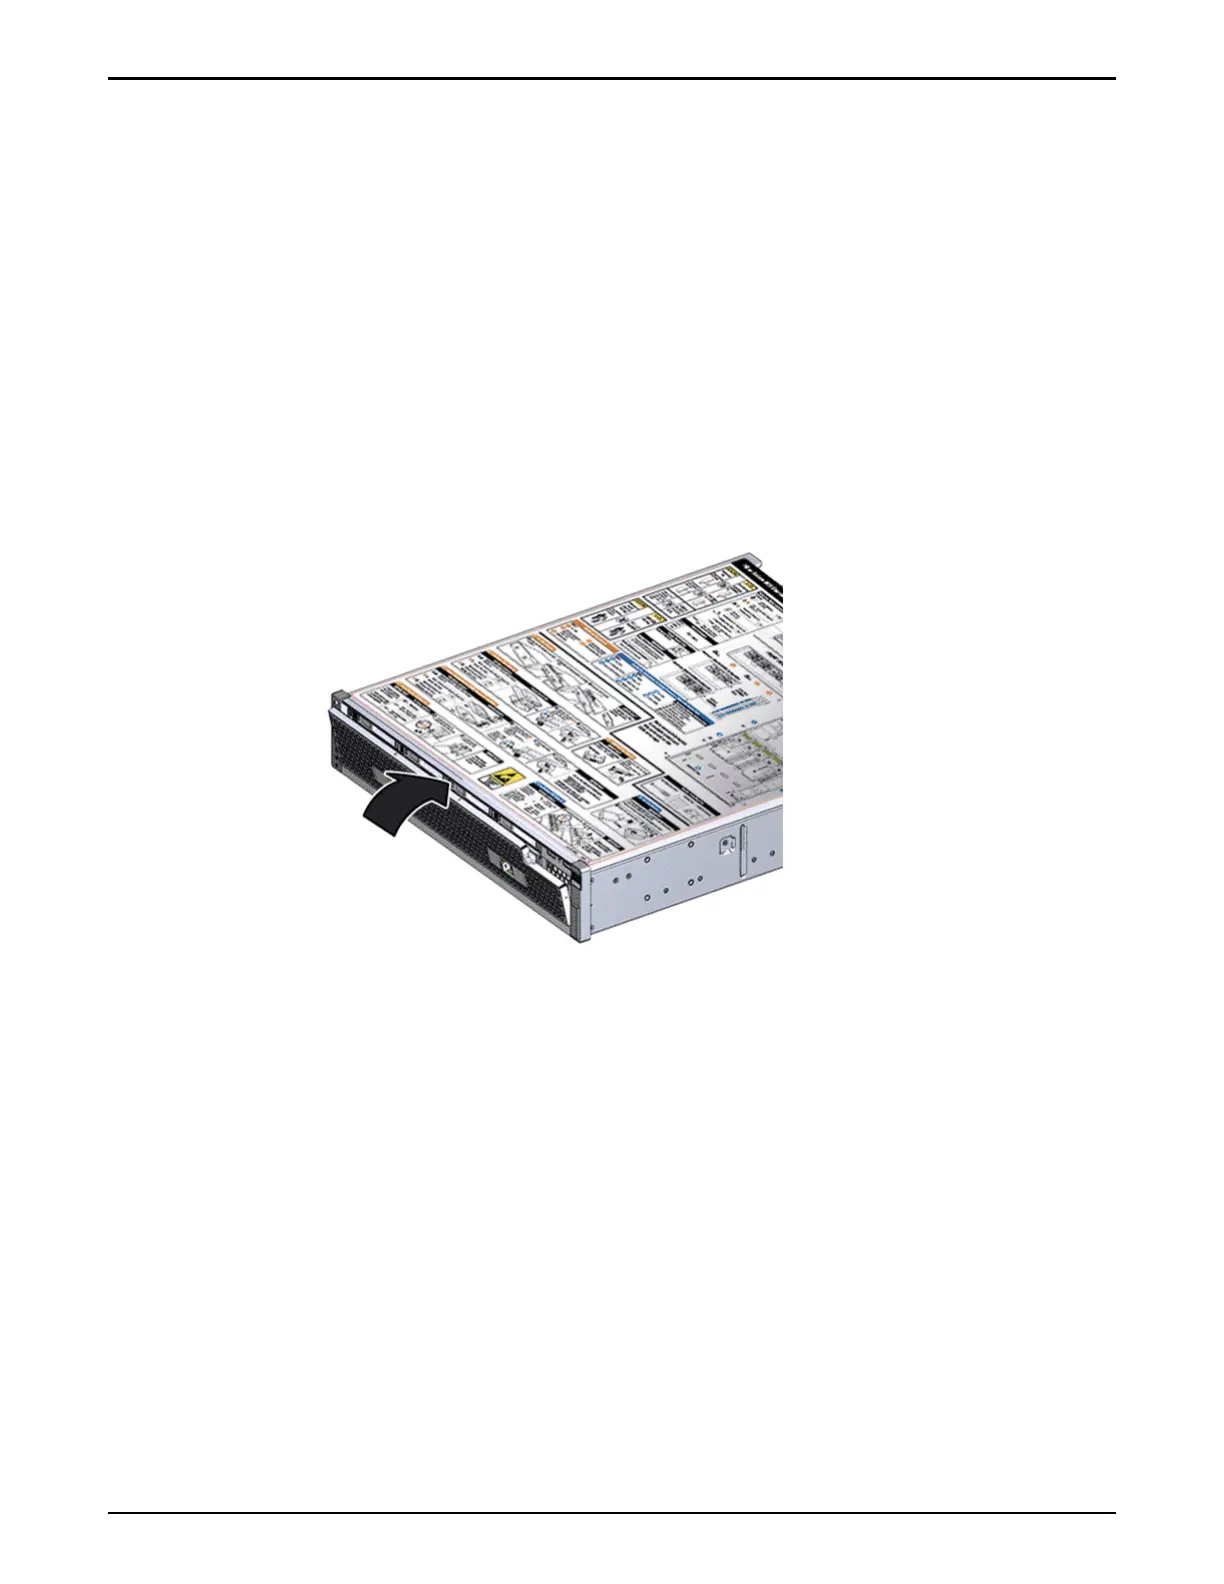
Close the Controller Top Cover
Place the top cover of the Controller and tighten the two thumb screws at
the back of the Controller that secure the top cover.
Controller Replacement Procedures
150