7 From the Identify Hardware dialog, specify how y
ou want to identify the
chassis so that you can locate it in the data center.
You can select one of the following methods to identify the chassis:
Identify
Flashes the LEDs on the chassis that contains the failed component.
Reverse Identify
Flashes the LEDs on all of the chassis in the system except for the chassis that
contains the failed component.
8 Click Next.
Based on the method you selected to identify the chassis, the
corresponding LEDs ash to help you locate the chassis in the data center.
9 Click Next.
Guided Maintenance completes the process of preparing a Drive Enclosure
for component replacement. After Guided Maintenance prepares the Drive
Enclosure for replacing a component, it displays the Replace Hardware
dialog box. The Replace Hardware dialog box instructs you to replace the
component. You also receive a System Alert informing you that the
component is ready for removal. To review System Alerts, select System >
Alerts and Events > System Alerts.
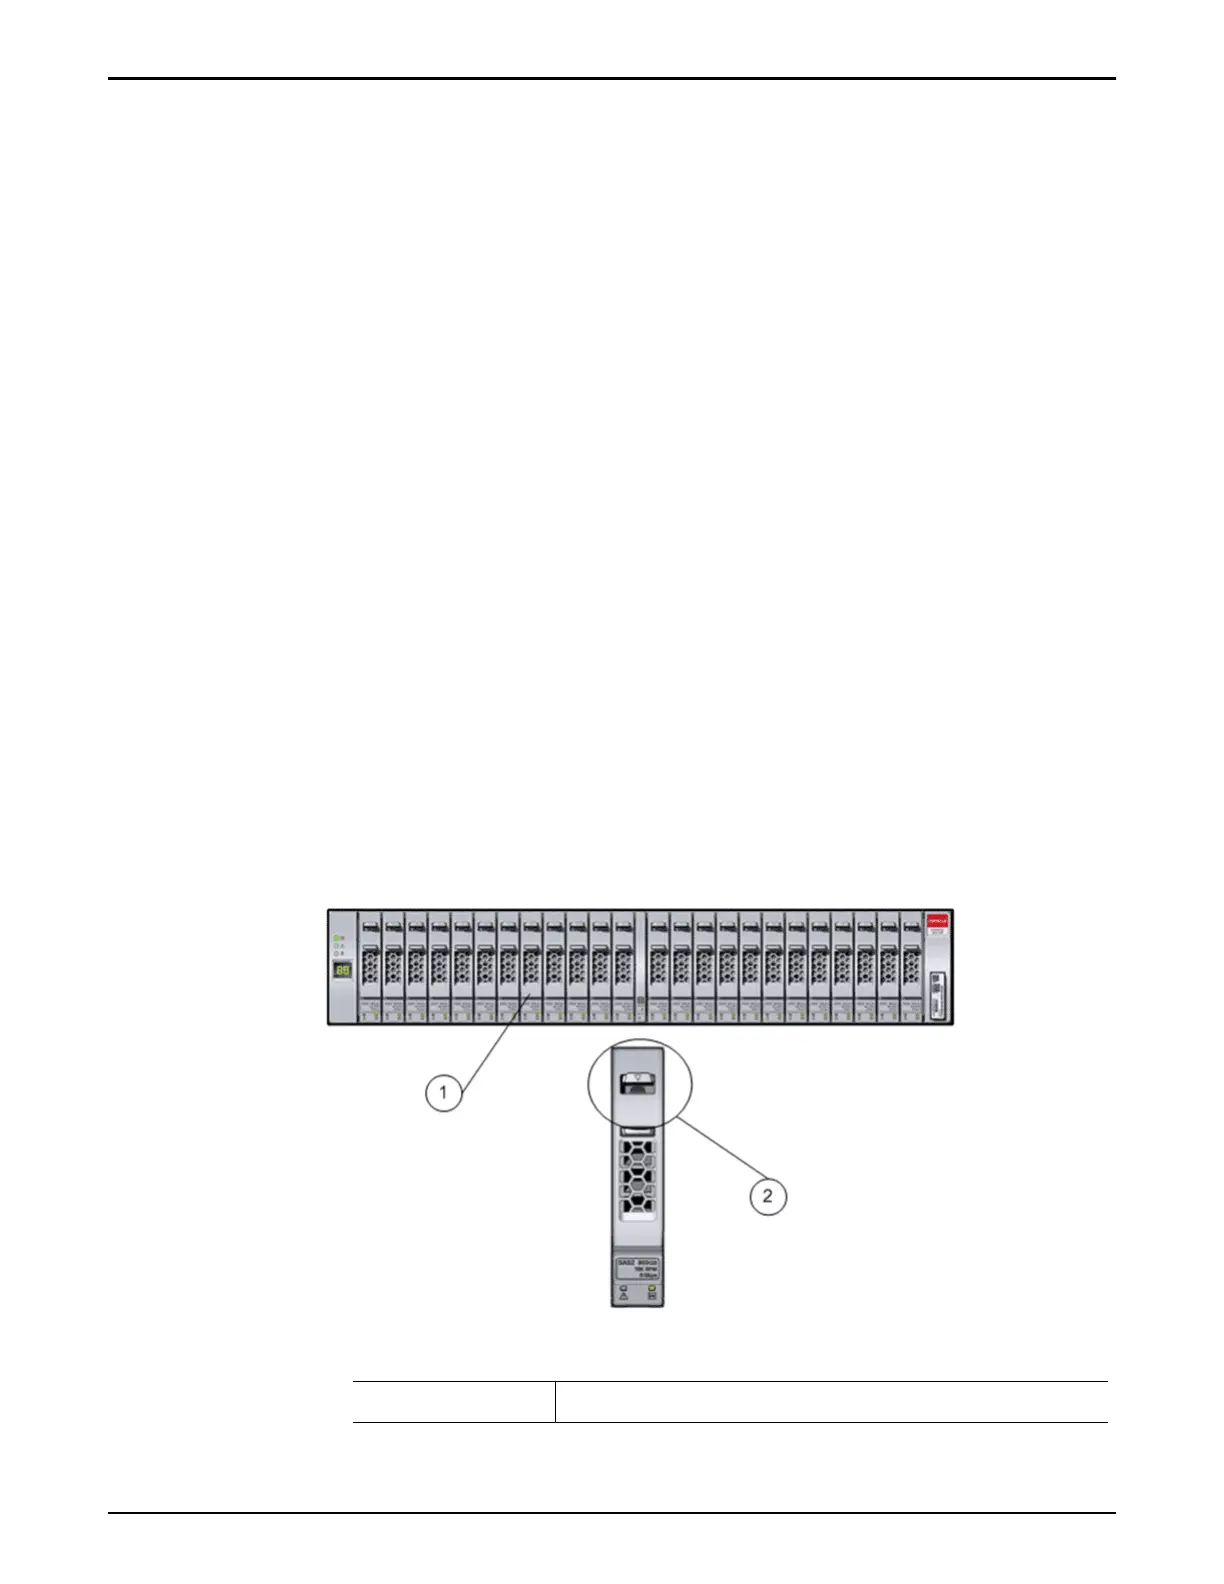
Remove a Drive
1 Press the drive carrier latch to disengage the drive.
Figure 126: A DE2-24P Drive Enclosure drive and drive carrier latch
Legend
1 A drive 2 Drive carrier latch (closeup)
Drive Enclosure Replacement Procedures
158