Chapter 8: INSTALLATION AND SETTING PROCEDURES (HARDWARE)
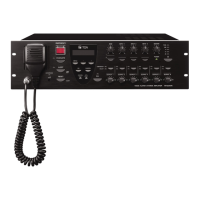
3. VX-2000SF, VX-200SZ , VX-200SP, VX-200SI , VX-200SO, AND VX-200SE
8-26
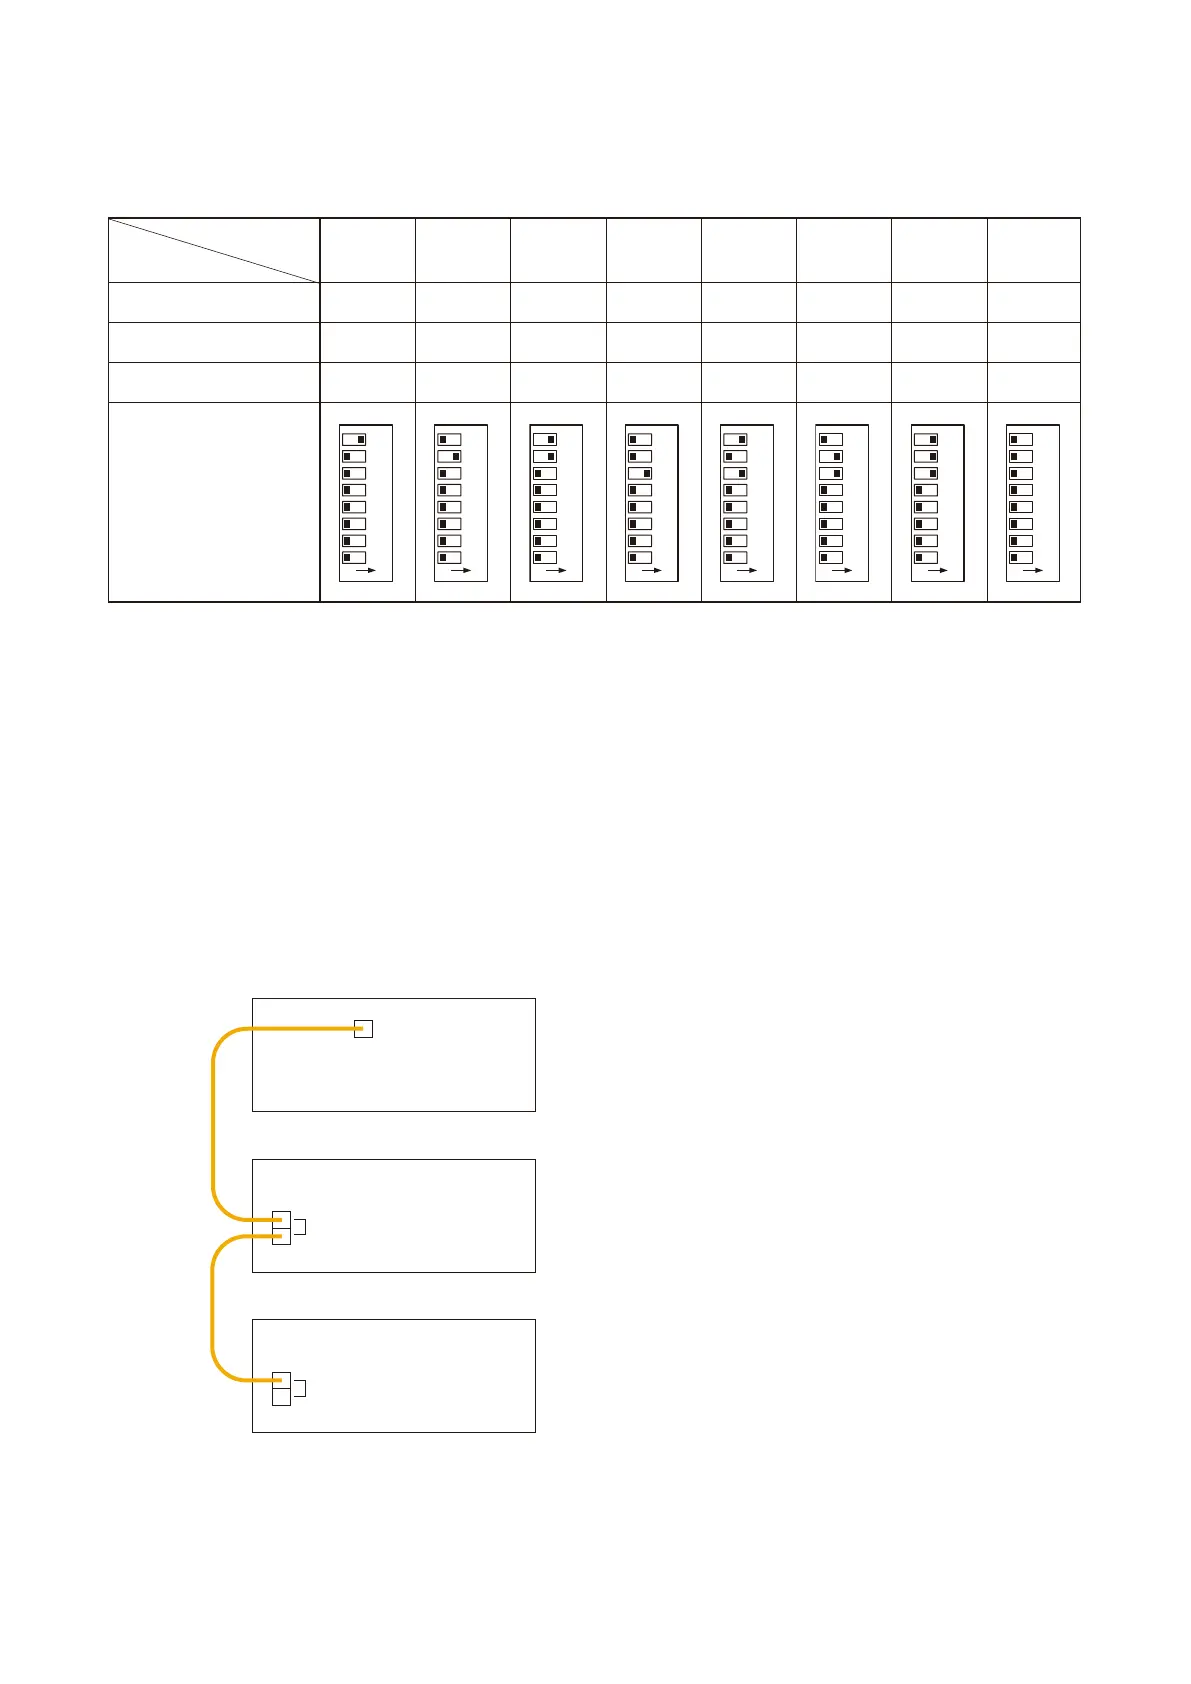
[Unit ID Number setting]
Use the DIP switch inside the front panel when setting the Unit ID Number. Refer to the following table for the
DIP switch settings.
Notes
• Settings not included in the above table should be considered invalid, and correct operation of such invalid
settings cannot be assured. Ensure that each switch is set for every one of positions indicated above.
• The Unit ID Number is factory-preset to "1."
• The Unit ID Number must be the same as that which is set by the PC software.
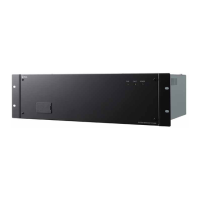
VX-2000
VX-2000SF No. 1
VX-2000SF No. 2
DATA LINK
DATA LINK
DATA LINK
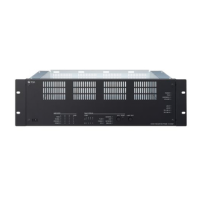
Set the terminator switch 5 to the OFF position.
Set the terminator switch 5 to the ON position.
Notes
• Be sure to set the terminator correctly because the wrong setting causes the system malfunction.
• When the system includes a single VX-2000SF unit, switch its terminator to the ON position.
• The terminator switch is factor-preset to the OFF position.
3.1.3. Setting the VX-2000SF's terminator (switch 5)
The VX-2000SF connected last needs to have its terminator on the communication line switched ON. The
terminator setting is performed using the unit's front-mounted DIP switch (No.5).
Switch No.
ON OFF ON OFF ON
7
8
OFF ON ON OFF OFF
6 OFF OFF OFF ON ON
Switch Position
O N
12345678
O N
12345678
O N
12345678
O N
12345678
O N
12345678
OFF
ON
ON
O N
12345678
ON
ON
ON
O N
12345678
OFF
OFF
OFF
O N
12345678