Repairing/Replacing Internal Components
DSX™ System Service Manual 13-17
13.4 Repairing/Replacing Internal Components
Note: The Washer Module is considered as a service replaceable item. If a
defect is observed, the normal response is to replace the entire module. The
information in this chapter should be used only if it is necessary to repair or
replace the module on-site.
13.4.1 Accessing Internal Components
Removing the Bezel Assembly
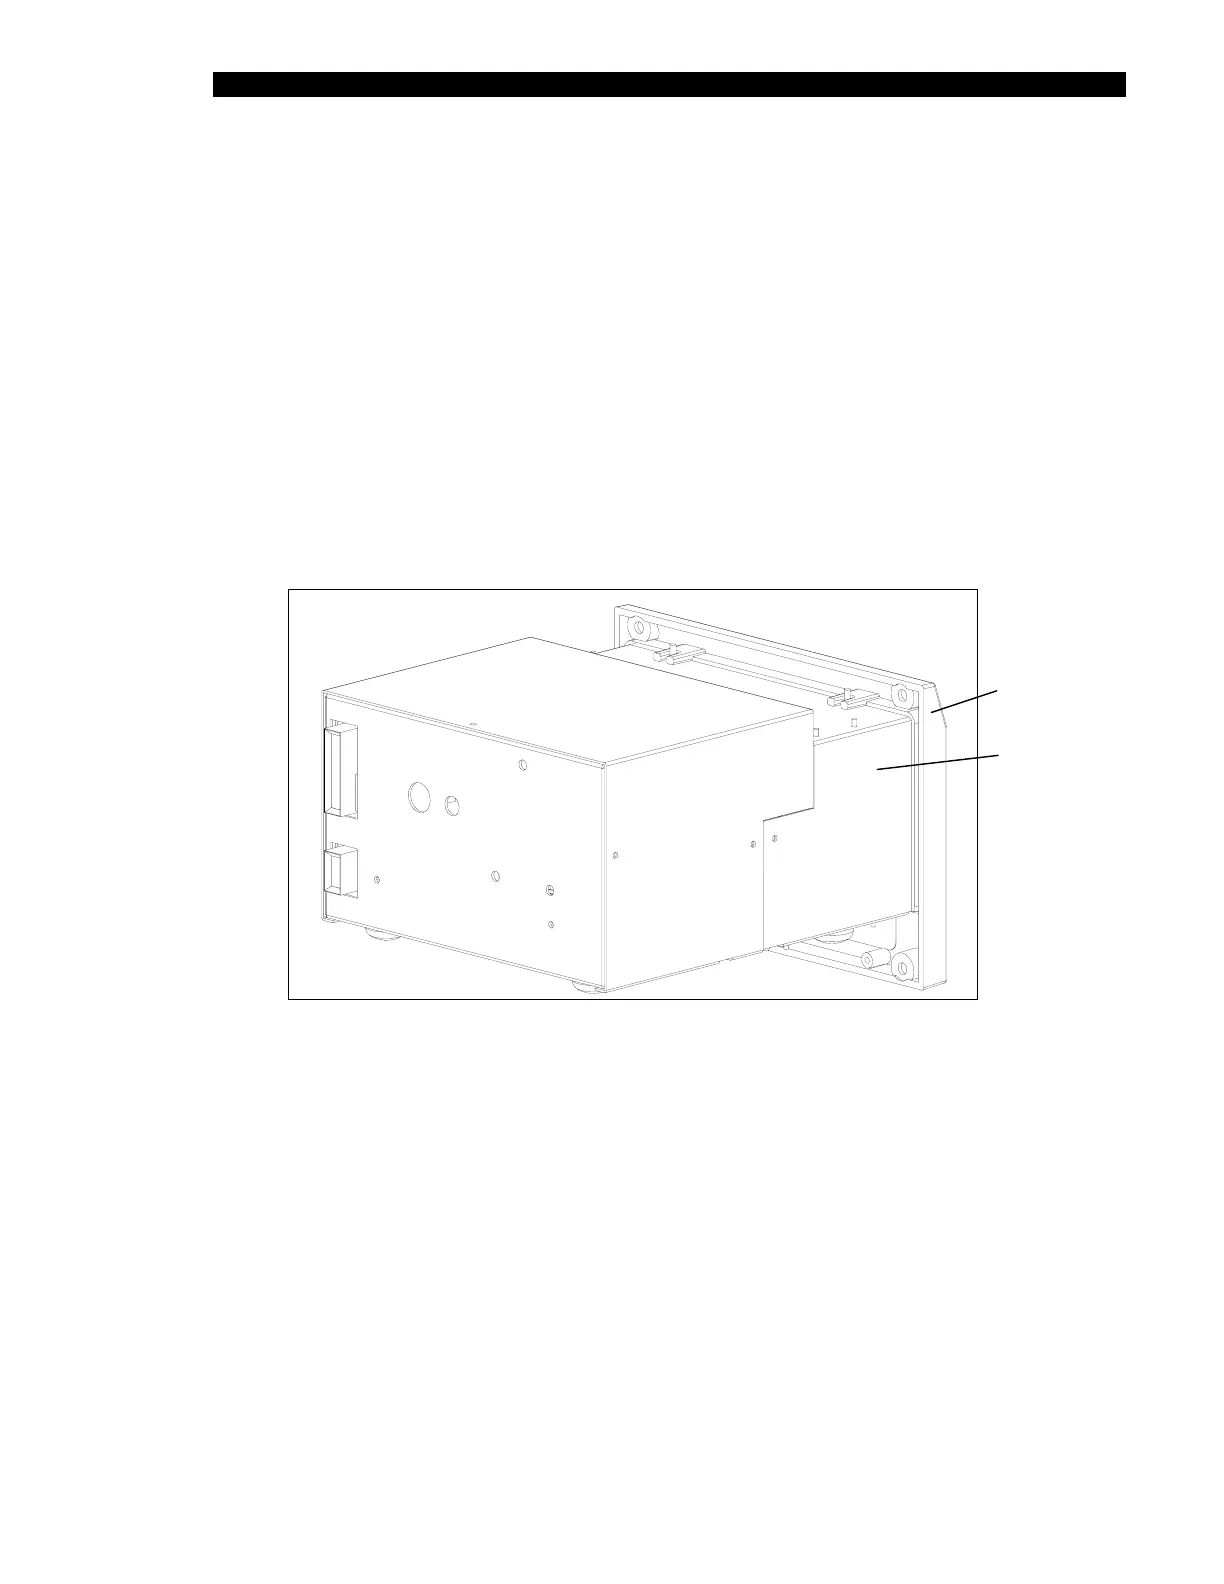
1 The Bezel Assembly is mounted to the front cover (Figure 13-8) via four 4 M4 Hex
Nuts and four M3 Flat washers.
Bezel
Assembly
Main
Assembly
Figure 13-8 Bezel Assembly
Removing the Rear Cover
1 The rear cover of the Washer Module is attached to the unit with three M3 x 6 Pan
Head Screws (top hole and two rear side holes), two M3 x 10 Pan Head Screws
(front side holes), and four M 3 x 6 Cap Head Screws with four M3 Flat Head
washers in the bottom holes. After removing all the screws, it may be necessary
to stretch the cover slightly to remove it
2 When reinstalling the cover, it may be necessary to stretch the cover slightly to
place it in position. Secure the screws in the bottom holes with Loctite 222.