Accessing Internal Components
16-4 DSX™ System Service Manual
To Reinstall the Cover Assembly:
3 Gently push the cover up as high as it will go. Hold in this position while
tightening the six screws.
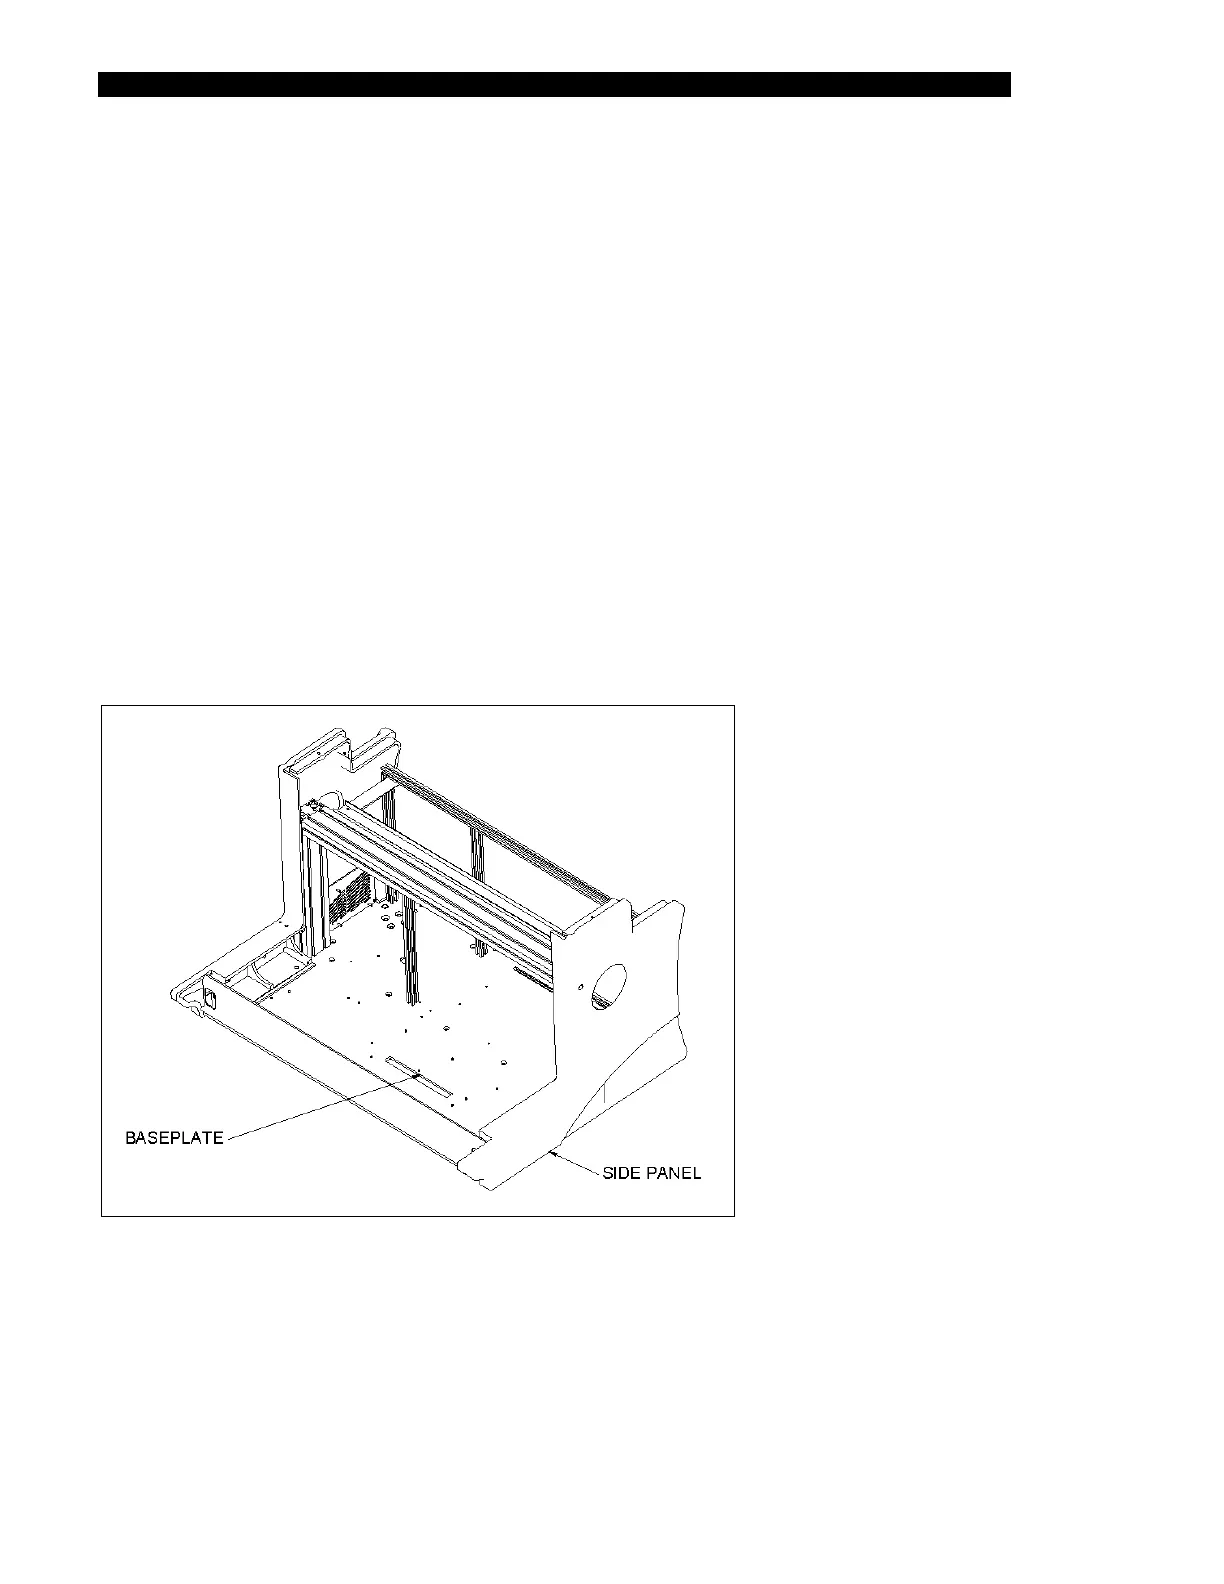
The right side panel (Part No. 204012600) is shown in Figure 16-4.
1 Hold the cover in the open position while spreading the cover assembly slightly to
clear the hinge assemblies.
2 On one side of the cover assembly, align an Outer Cover Disc (Part No.
22001792) with the holes in the cover. Loosely install three M8 X 25mm BHCS
screws and three M8 flat washers. Repeat for the other side.
4 If there is a gap between the cover assembly and the front extrusion when the
cover is closed, repeat Step 3, then check again. Ensure that the cover lock
operates properly after the installation.
16.2.4 Removing the Right Side Panel
Figure 16-4 Right Side Panel