Repairing/Replacing Internal Components
DSX™ System Service Manual 9-13
9.4.3 Removal of the Eject Sensor
To Remove the Eject Sensor (Part No. 15000580):
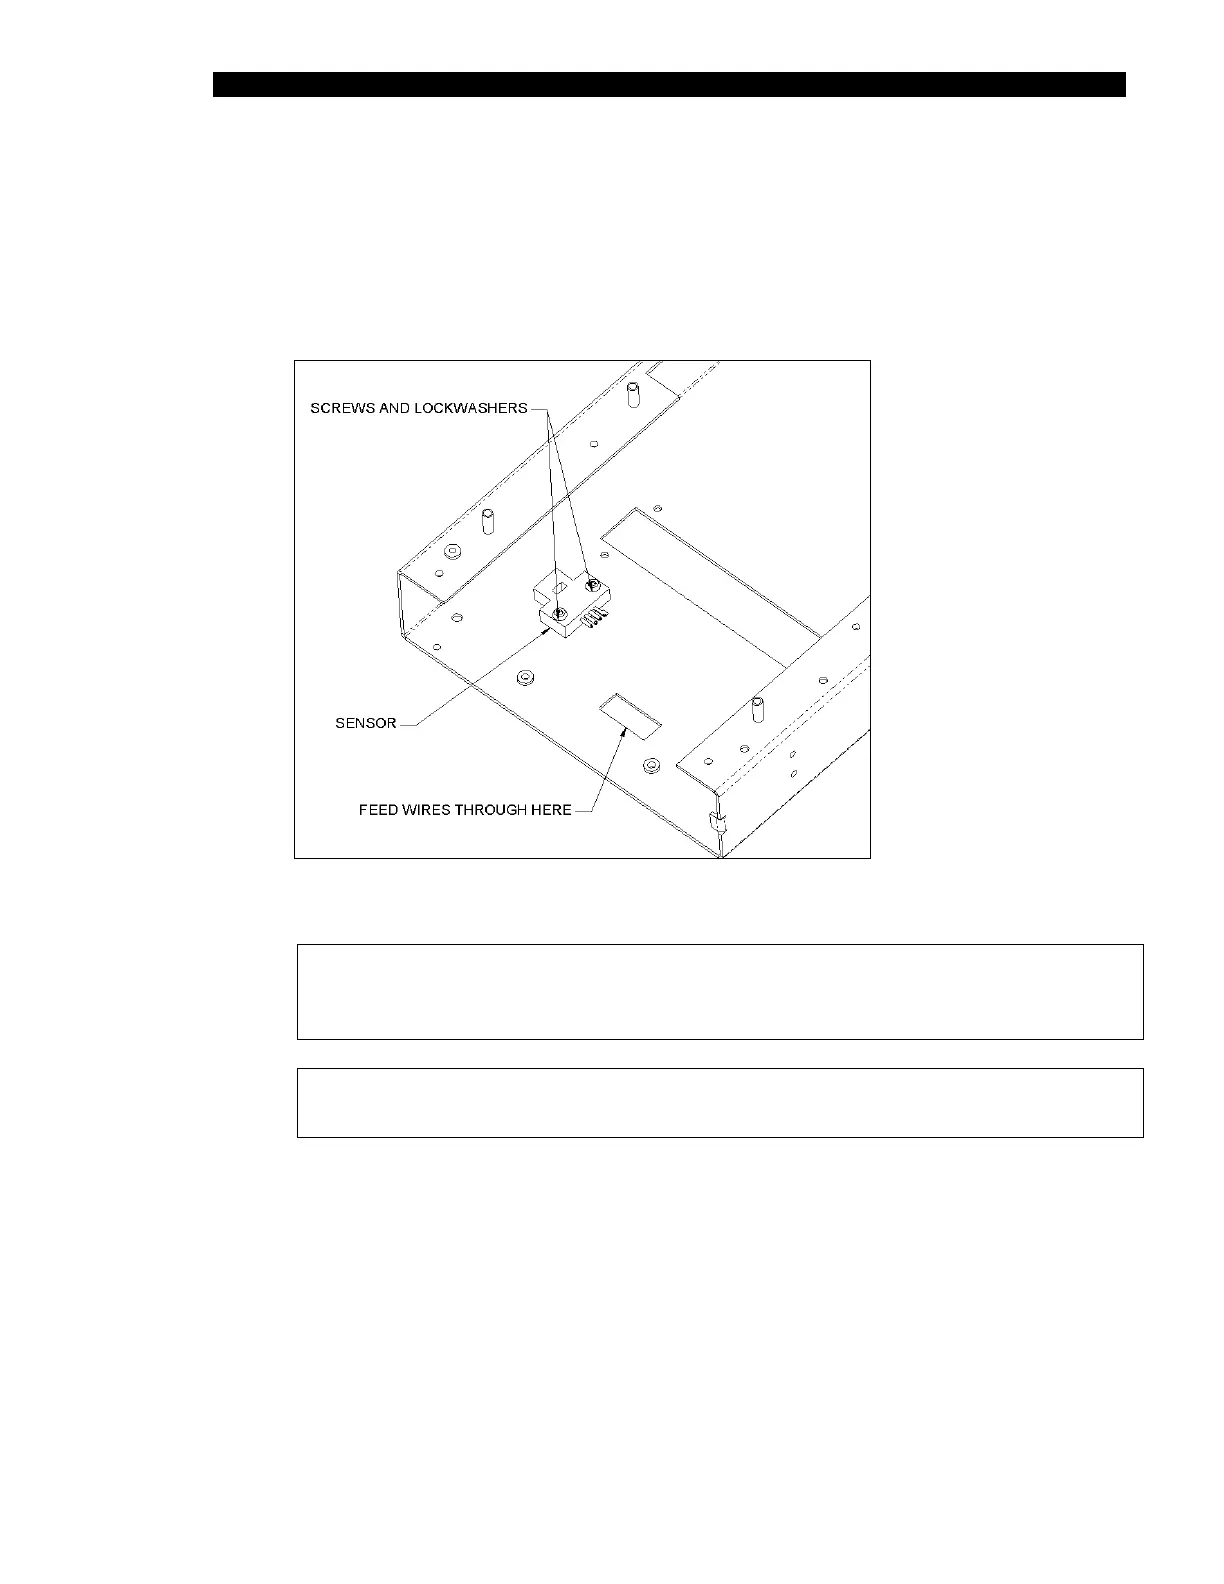
1 Remove the two M3 x 10 SHCP screws and two M3 lock washers (Figure 9-12).
Figure 9-12 Eject Sensor
Note: When re-installing the cable, route it through the cut-out as shown.
Ensure that cable from eject sensor lies flat on chassis to prevent
interference with plate carrier movement.
Note: After replacement, the eject sensor requires calibration using
DynexTest software.
 Loading...
