Replacing Components - Wash X/Z Subassembly
DSX™ System Service Manual 13-23
13.5 Replacing Components - Wash X/Z Subassembly
13.5.1 Removing the Lower Front Panel
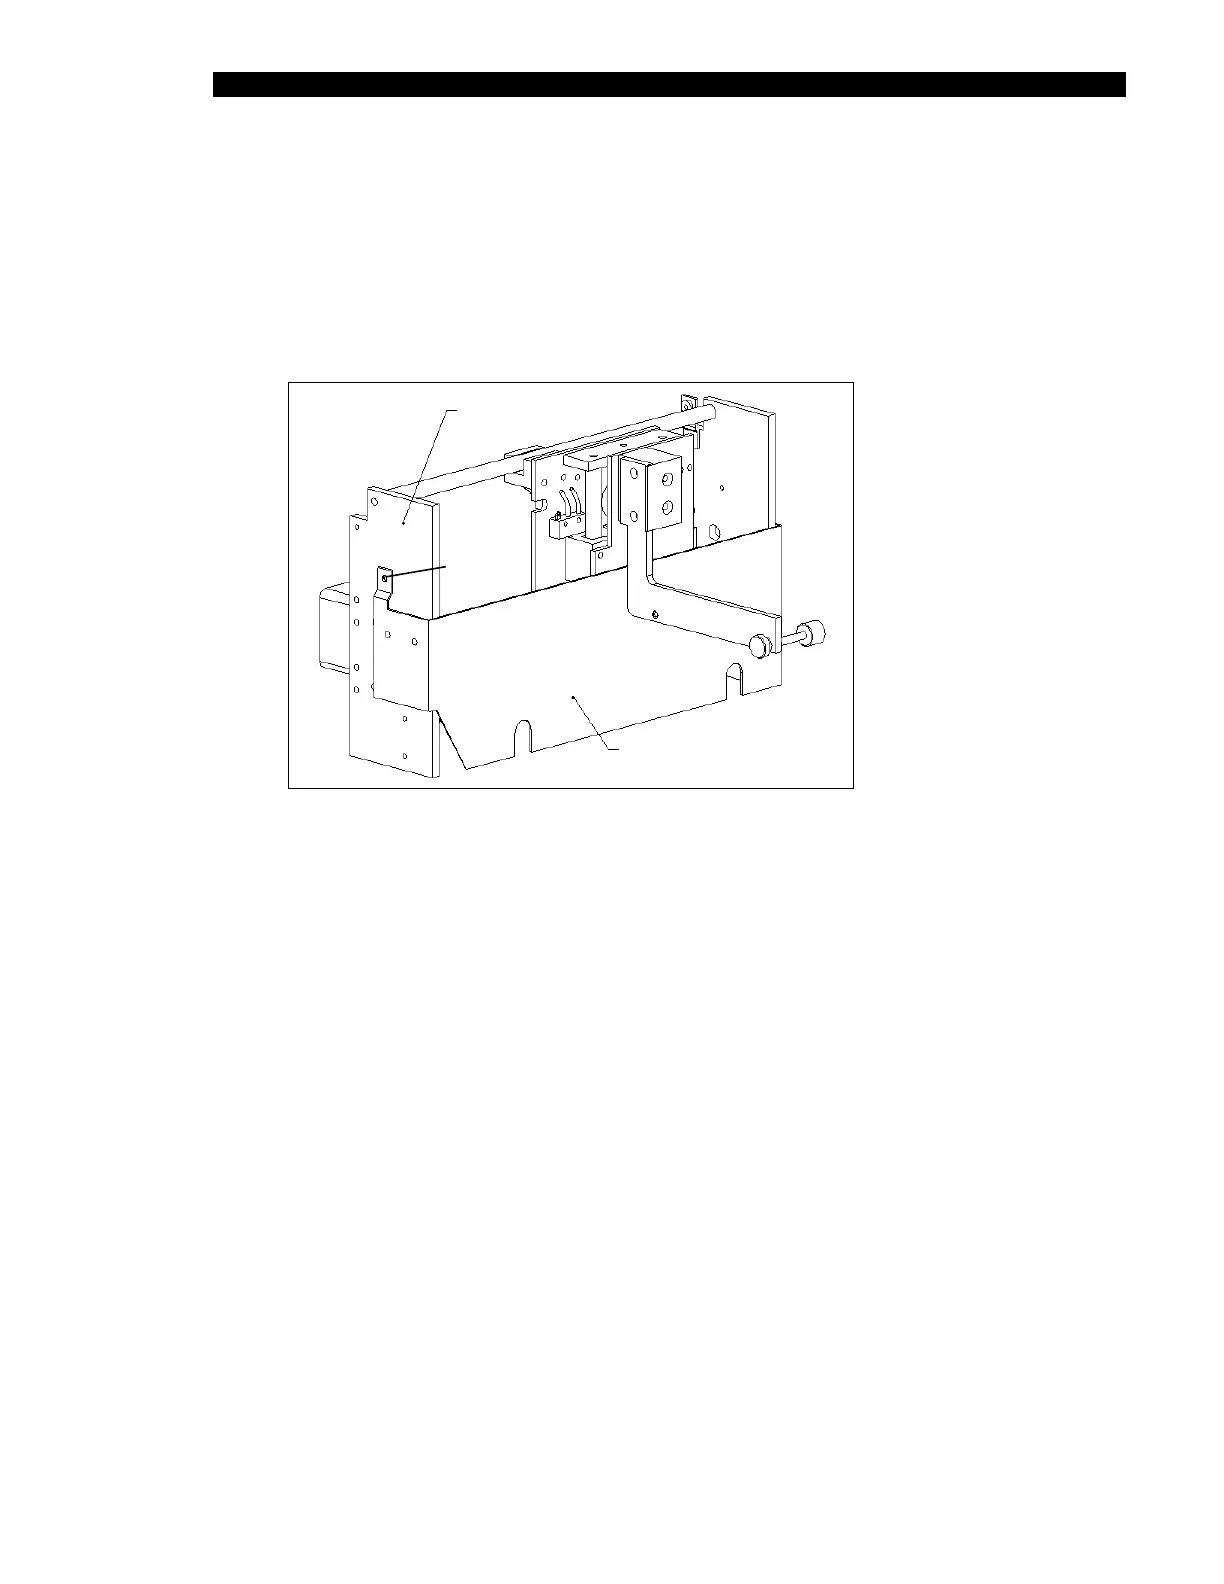
1 Remove the two M3 X 6mm Caphead screws that attach the lower front panel to
the X-Drive and Z-Drive assembly (Figure 13-15).
LOWE
COVER
SCREWS
X/Z ASSEMBL
LOWER FRONT PANEL
Figure 13-15 Removing the Lower Front Panel
2 Cut tie-wraps from tie-bases and disconnect the harnesses from the daughter
board and the main board.