The Z-Drive Assembly
DSX™ System Service Manual 7-17
7.4.2 Replacing the Z-Drive Spring Assembly
CAUTION: WHEN REMOVING THE SPRING ASSEMBLY, TAKE
CARE TO AVOID AN INJURY FROM THE SPRING AFTER THE
COVER IS REMOVED.
To Replace the Z-Drive Spring Assembly:
1 Remove the lower cover for the Z-Drive (refer to the Replacing the Pipette
Assembly section on page 7-4).
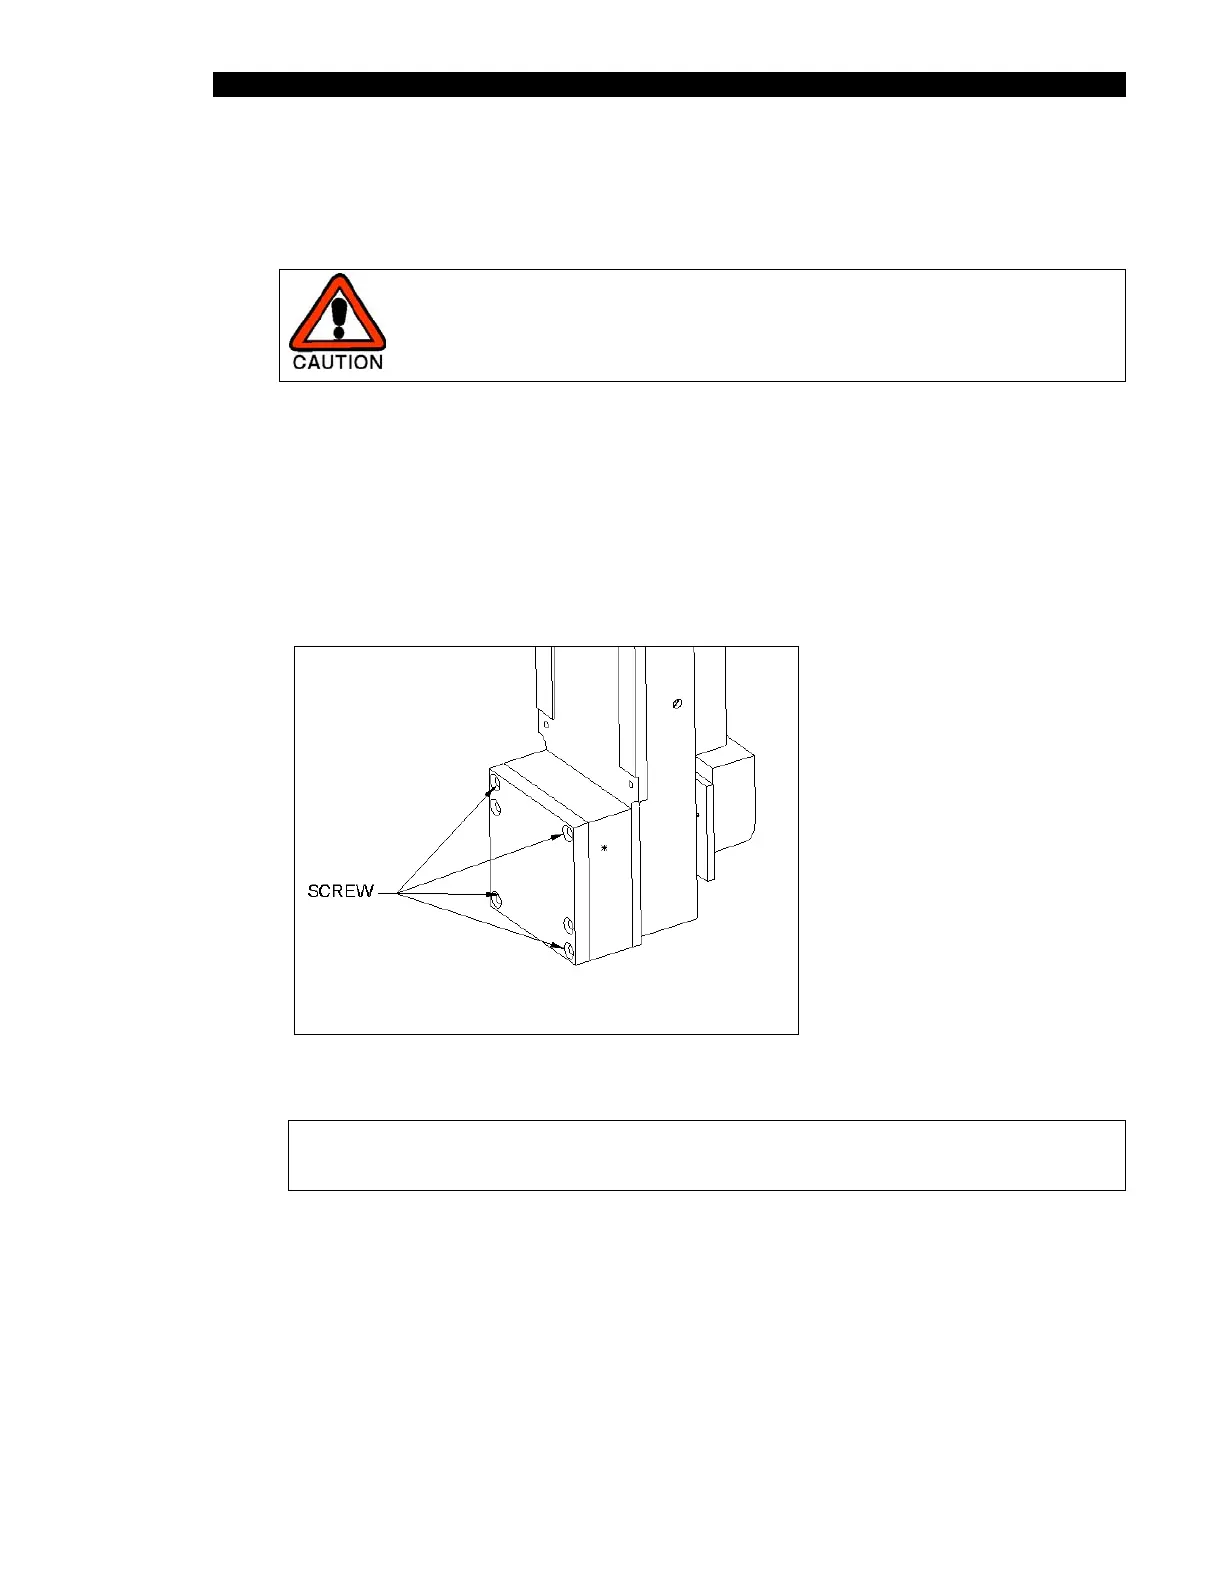
2 Remove the 4 M 3 x 30 flat head screws that attach the cover to the mechanism
(Figure 7-14).
Figure 7-14 Removing Housing Cover Screws
Note: When reassembling the Spring Assembly housing, rotate the cover
eight times counter-clockwise before attaching the screws.