Replacing Components - Wash X/Z Subassembly
13-28 DSX™ System Service Manual
13.5.5 Replacing the Z-Drive Motor
To Remove the Z-Drive Motor:
1 Remove the lower front cover in front of the X/Z assembly (see Section 13.5.1).
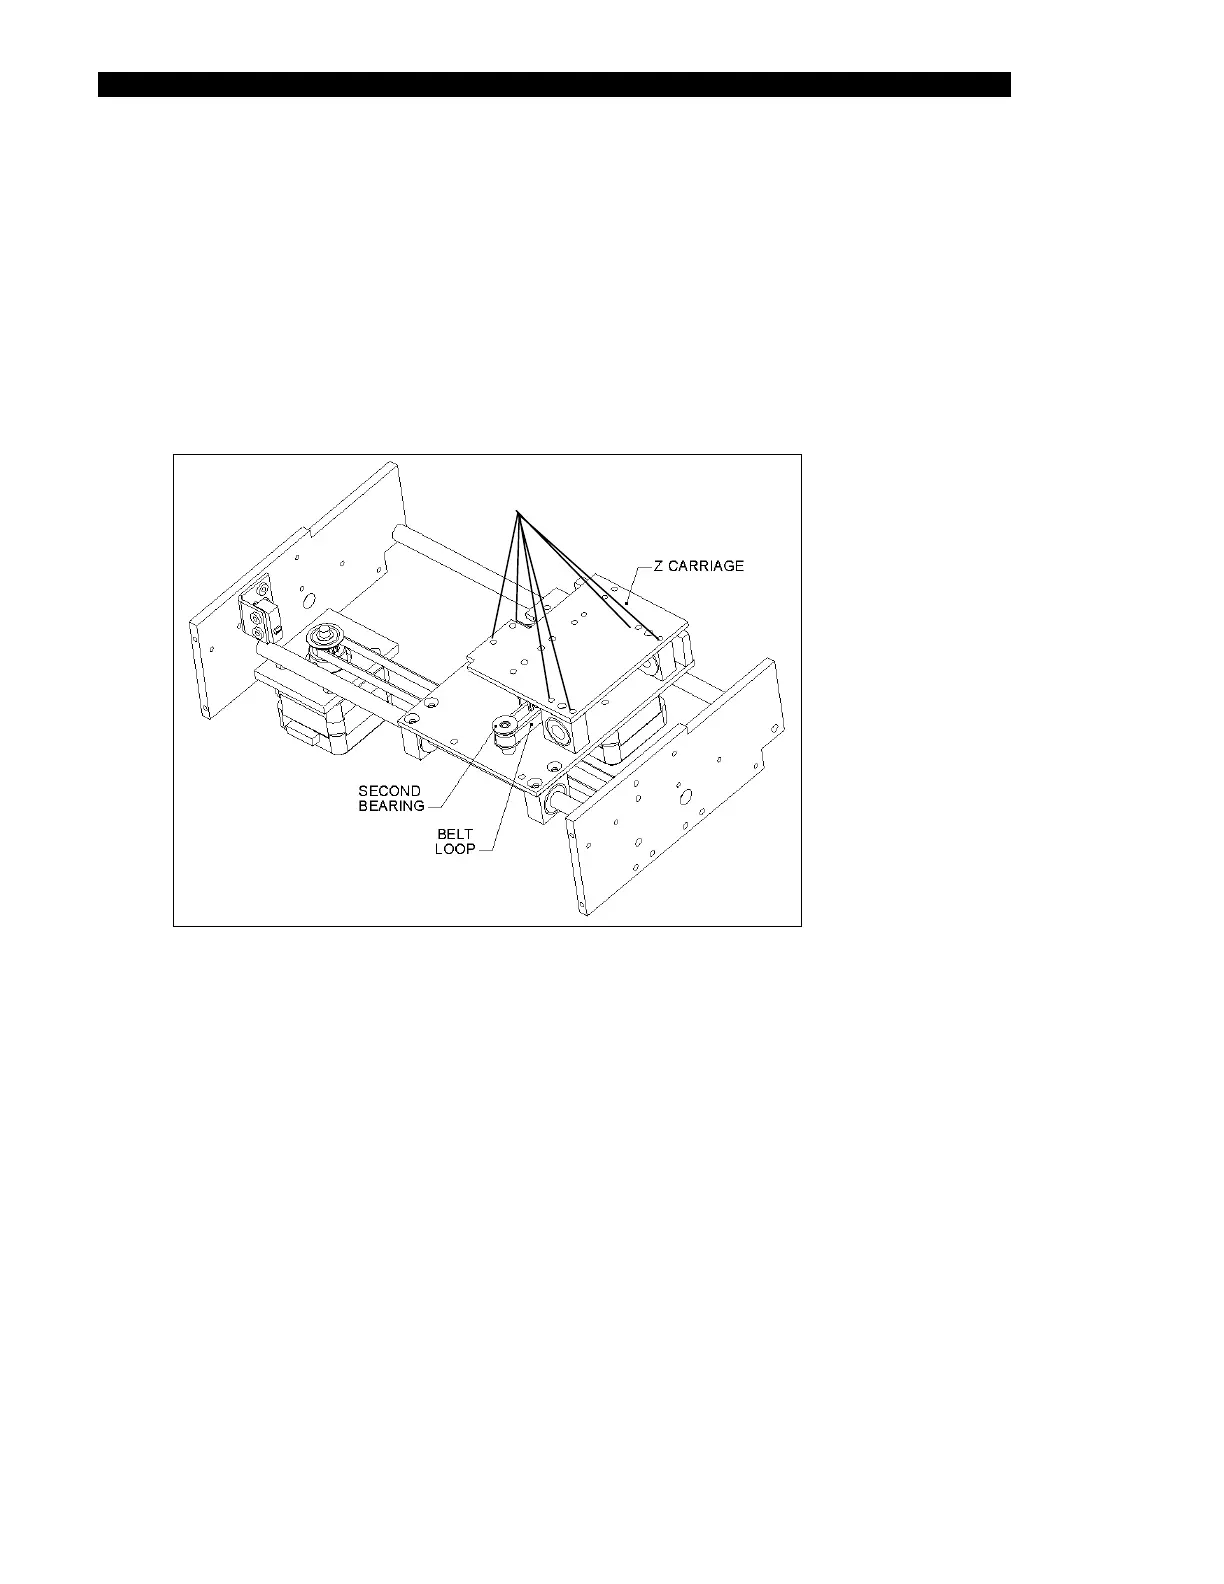
2 Remove the six M3 X 6mm screws that attach the X-Carriage plate to the carriage
assembly bearing blocks and the two M3 X 8mm Cap Screws securing the slider
block (shown in Figure 13-20).
SCREWS
Figure 13-20 Z Carriage Assembly