Replacing Components - Wash X/Z Subassembly
DSX™ System Service Manual 13-29
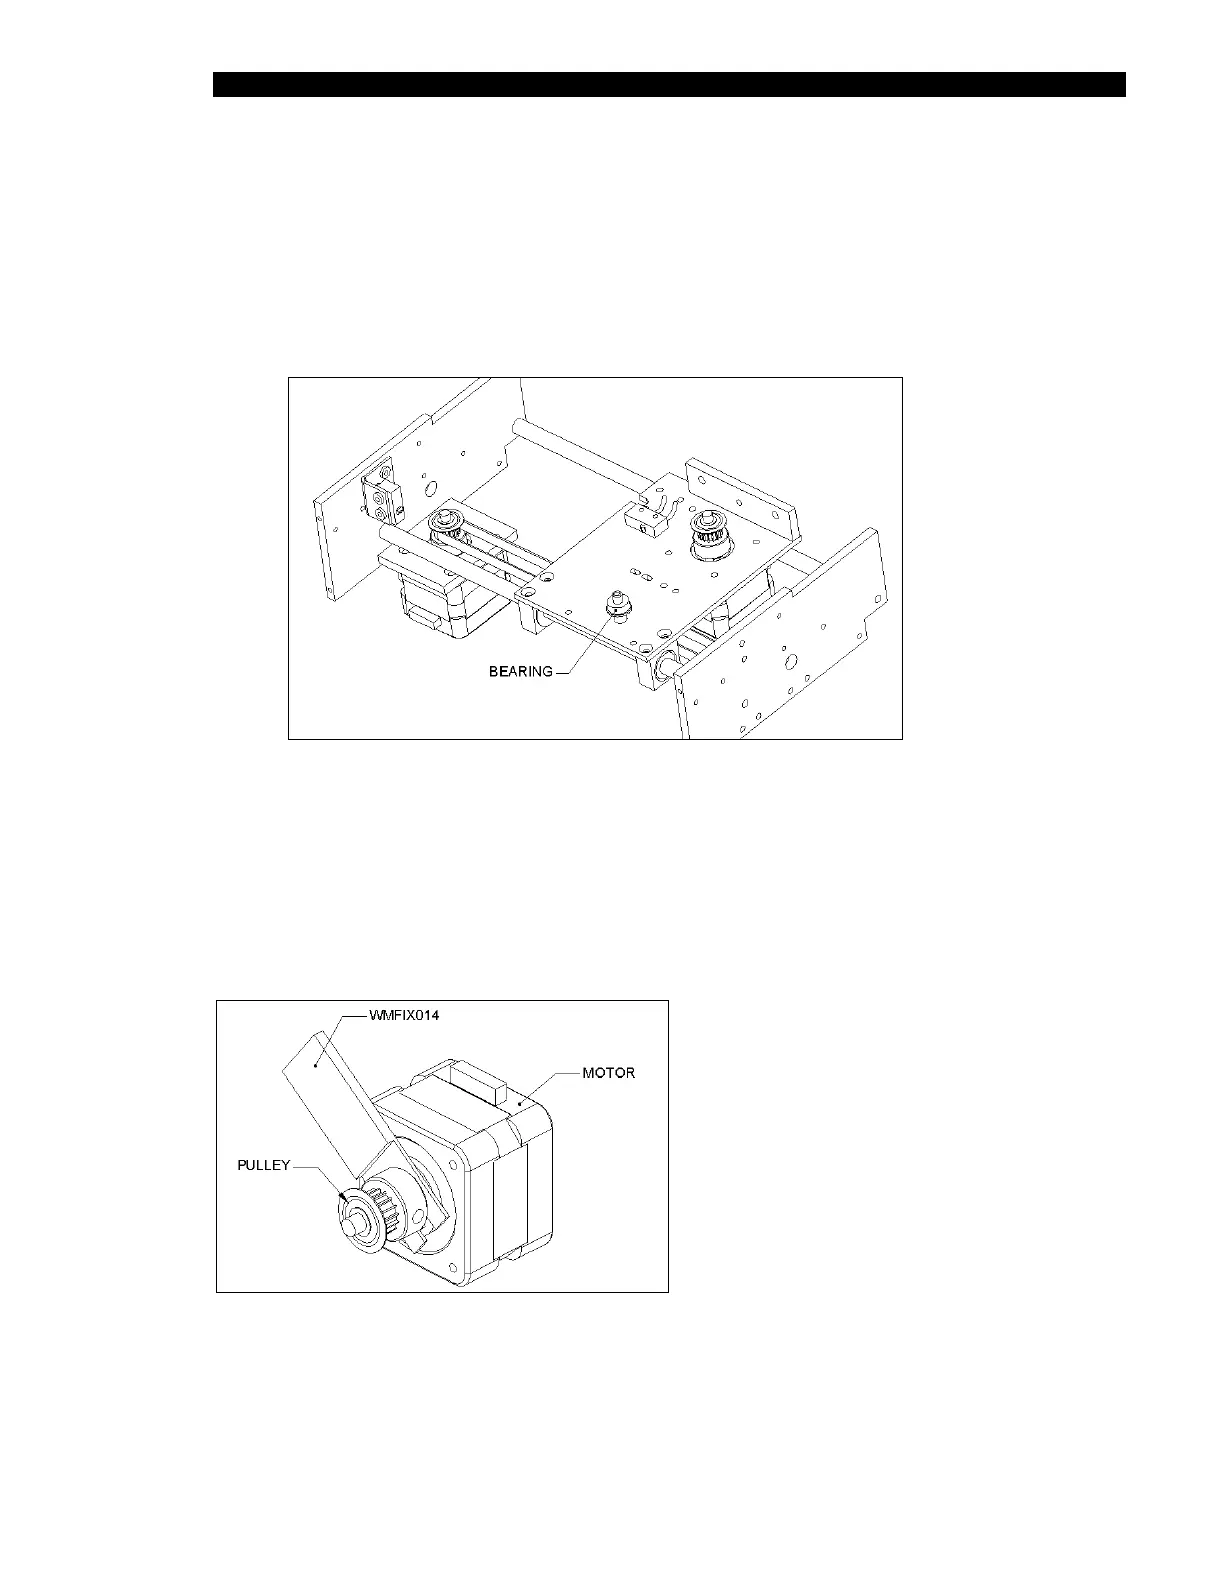
3 Remove the second bearing on the idler shaft (the screw is in the center of the
idler axle) (Figure 13-21).
4 Slide off the Z carriage plate with the belt loop.
5 Remove the pulley from the motor.
6 Remove the motor from the motor bracket.
Figure 13-21 Motor Mounting Screws
Replacing the Motor:
The motor is replaced in the reverse order. To correctly position the pulley, use the Washer Z
Motor Pulley Height Setting Jig (Part No. WMFIX014) as shown in Figure 13-22. If the jig is
unavailable, set the pulley 1.0 mm from the motor. Apply Loctite 222 and tighten the
setscrew.
Figure 13-22 Positioning the Pulley on the Z-Drive Motor
When rebuilding the assembly, it may be necessary to re-install the belt on the Z carriage as
described in Section 13.5.6).