/
−−−−−<SET MODE>−−−−−−
PULSE OUT DIVIDE
・P.OUT1 10^(−2)
・P.OUT2 10^(−1)
・P.OUT2 10^(−1)
−−−−−<SUB MENU>−−−−−
DATA|CAN−|MAIN|
WRTE| CEL|MENU|ENTR
/
−−−−−<SET MODE>−−−−−−
*TEMP. INPUT
*PULSE INPUT
*TOTAL COUNT1
*TOTAL COUNT2
*TOTAL COUNT3
*ANALOG OUTPUT
*T/P COMPEN
*METER ERROR
↓−−−−<MAIN MENU>−−−−−
PLSE| | |
SET| | |ENTR
/
−−−−−<SET MODE>−−−−−−
PULSE OUT DIVIDE
・P.OUT1 10^(−2)
・P.OUT2 10^(−1)
・P.OUT2 10^(−1)
−−−−−<SUB MENU>−−−−−
DATA|CAN−|MAIN|
WRTE| CEL|MENU|ENTR
/
−−−−−<SET MODE>−−−−−−
*TEMP. INPUT
*PULSE INPUT
*TOTAL COUNT1
*TOTAL COUNT2
*TOTAL COUNT3
*ANALOG OUTPUT
*T/P COMPEN
*METER ERROR
↓−−−−<MAIN MENU>−−−−−
PLSE| | |
SET| | |ENTR
E-880TM-3-E
138
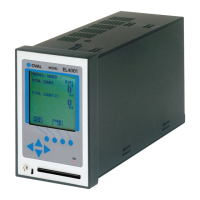
6.4.27 Pulse Output Scaling Setup (PLSE OUT DIVIDE)
Upon completion of setting the parameters, the scaling of pulse output must be set, based on the
parameters set. The scale factor (frequency division factor) of pulse output determines the pulse unit
(10n) of output pulse.
※ On-screen item options shown on the screen differ from model to model.
※ With EL4301 and EL4321, nothing appears. In this case, press “DATA WRTE” to complete the
setup
Pulse output scaling submenu screen
・About saving of the parameters you have set up
Upon completion of setting all parameters, select an operation from the following options at the pulse
output scaling setup menu screen:
① Exiting the SET mode (completing the setup procedure)
Pressing function key“DATA WRITE”validates all the settings (modifications), exits the SET mode,
and brings up the mode select menu screen. If the pulse output scale factor selected is out of acceptable
range, an asterisk“*”will appear next to the setting. In this case, you need to change it to an
acceptable scale factor in the range.
※ Once this operation has been taken, you cannot restore your previous settings. Careful
review of the current settings is therefore necessary before finishing the setup process.
② Completing the SET mode (cancelling the setting)
Pressing function key“CANCEL”aborts all the settings (modifications), exits the SET mode, and brings
up the mode select menu screen.
※ This operation cancels all the settings (modifications) and restores your previous settings.
③ Continuing the SET mode (returning to the SET mode main menu)
Pressing function key“MAIN MENU”returns the mode to the SET mode main menu, enabling you to
continue the setup (modification) process.
※ On models not provided with pulse input function, switching the screen to the pulse output
scaling setup screen will not bring up menu items in the submenu screen. In this case,
all you need to do is to select your choice from the available operation options above
on the items that have been set.
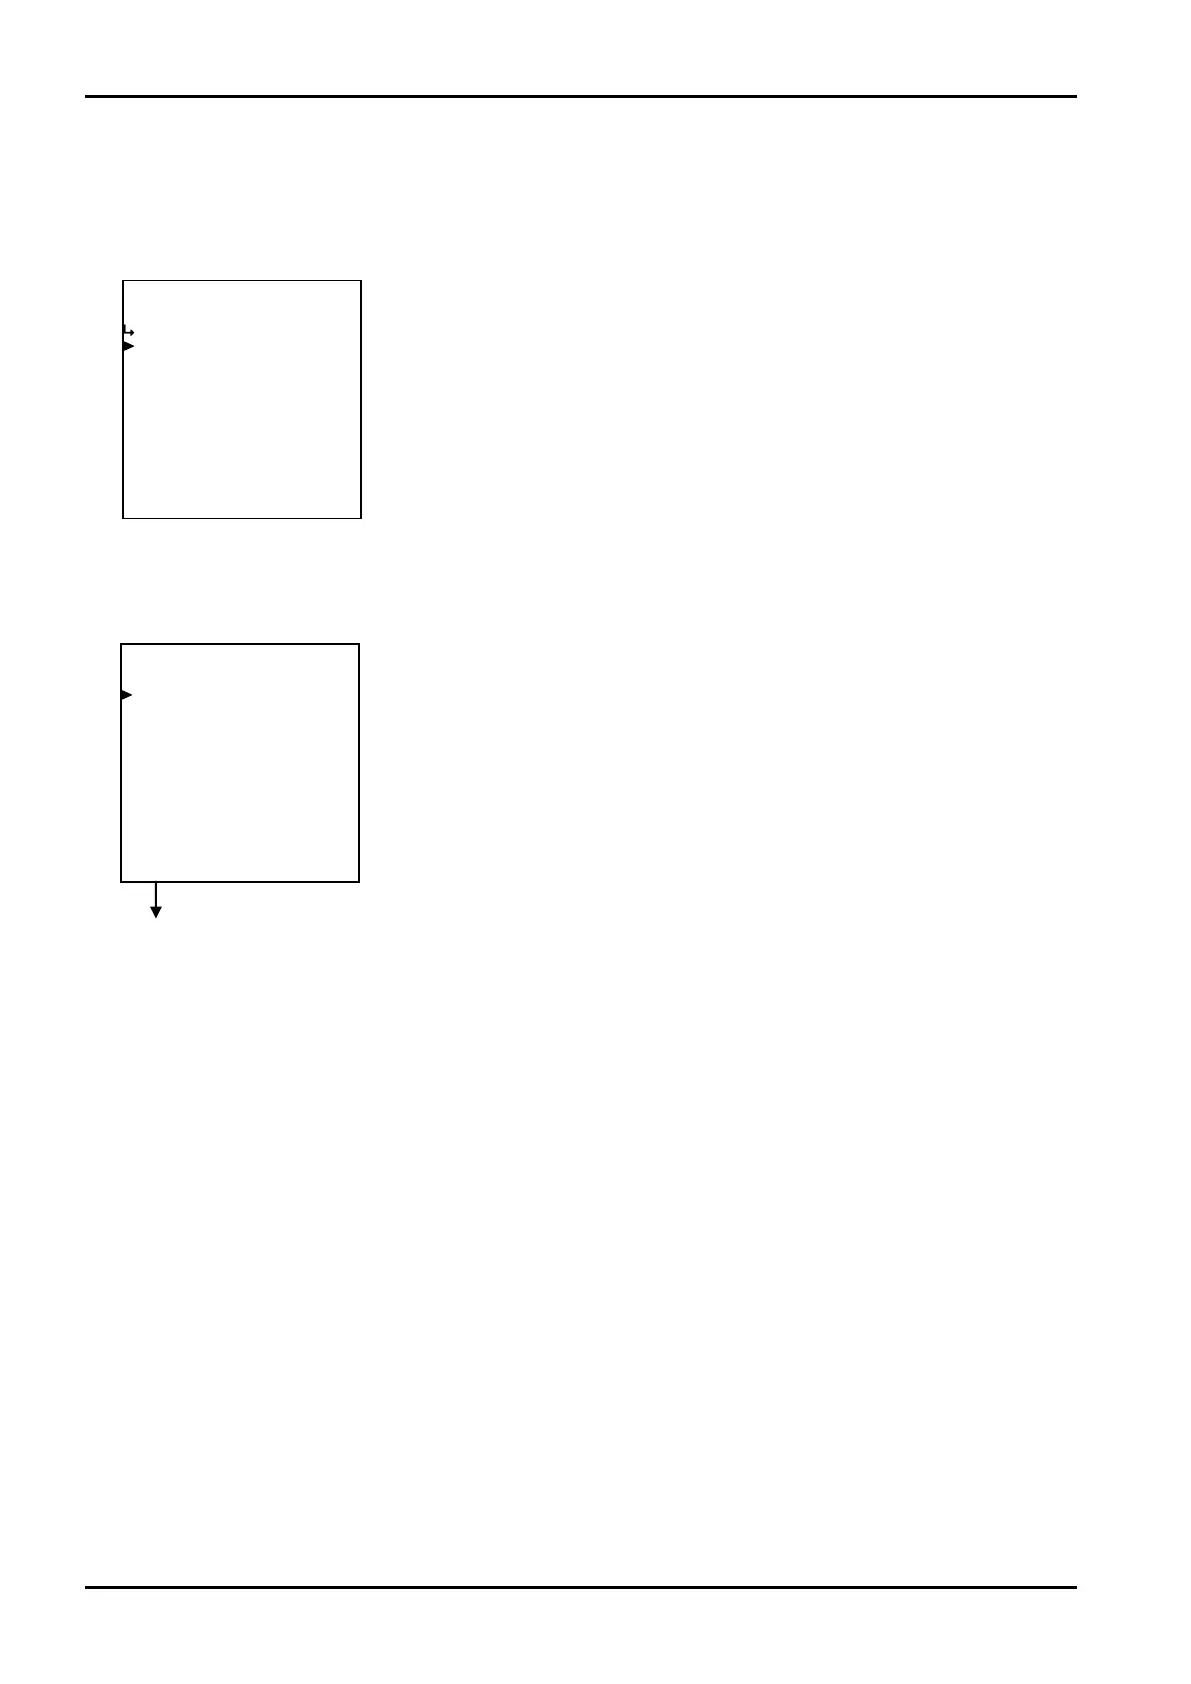
←Selecting screens
At the SET main menu, pressing function key move the cursor to “PLSE SET”
brings up the pulse outut scaling (frequency division) (“PULSE OUT DEVIDE”)
submenu screen.