/
−−−−−<SET MODE>−−−−−−
FLUID A
・TYPE
CRUDE
・UNIT
g/cm3
・DENSITY
+1.00000 E+3
−−−−−<SUB MENU>−−−−−
MAIN| | |
MENU| | |ENTR
/
−−−−−<PARA SET>−−−−−−
*FLUID A
*FLUID B
−−−−−<MAIN MENU>−−−−−
PARA|CAN−| |
WRTE| CEL| |ENTR
/
−−−−−<PARA SET>−−−−−−
FLUID A
・TYPE
CRUDE
・UNIT
g/cm3
・DENSITY
+1.00000 E+3
−−−−−<SUB MENU>−−−−−
MAIN| | |
MENU| | |ENTR
E-880TM-3-E
1
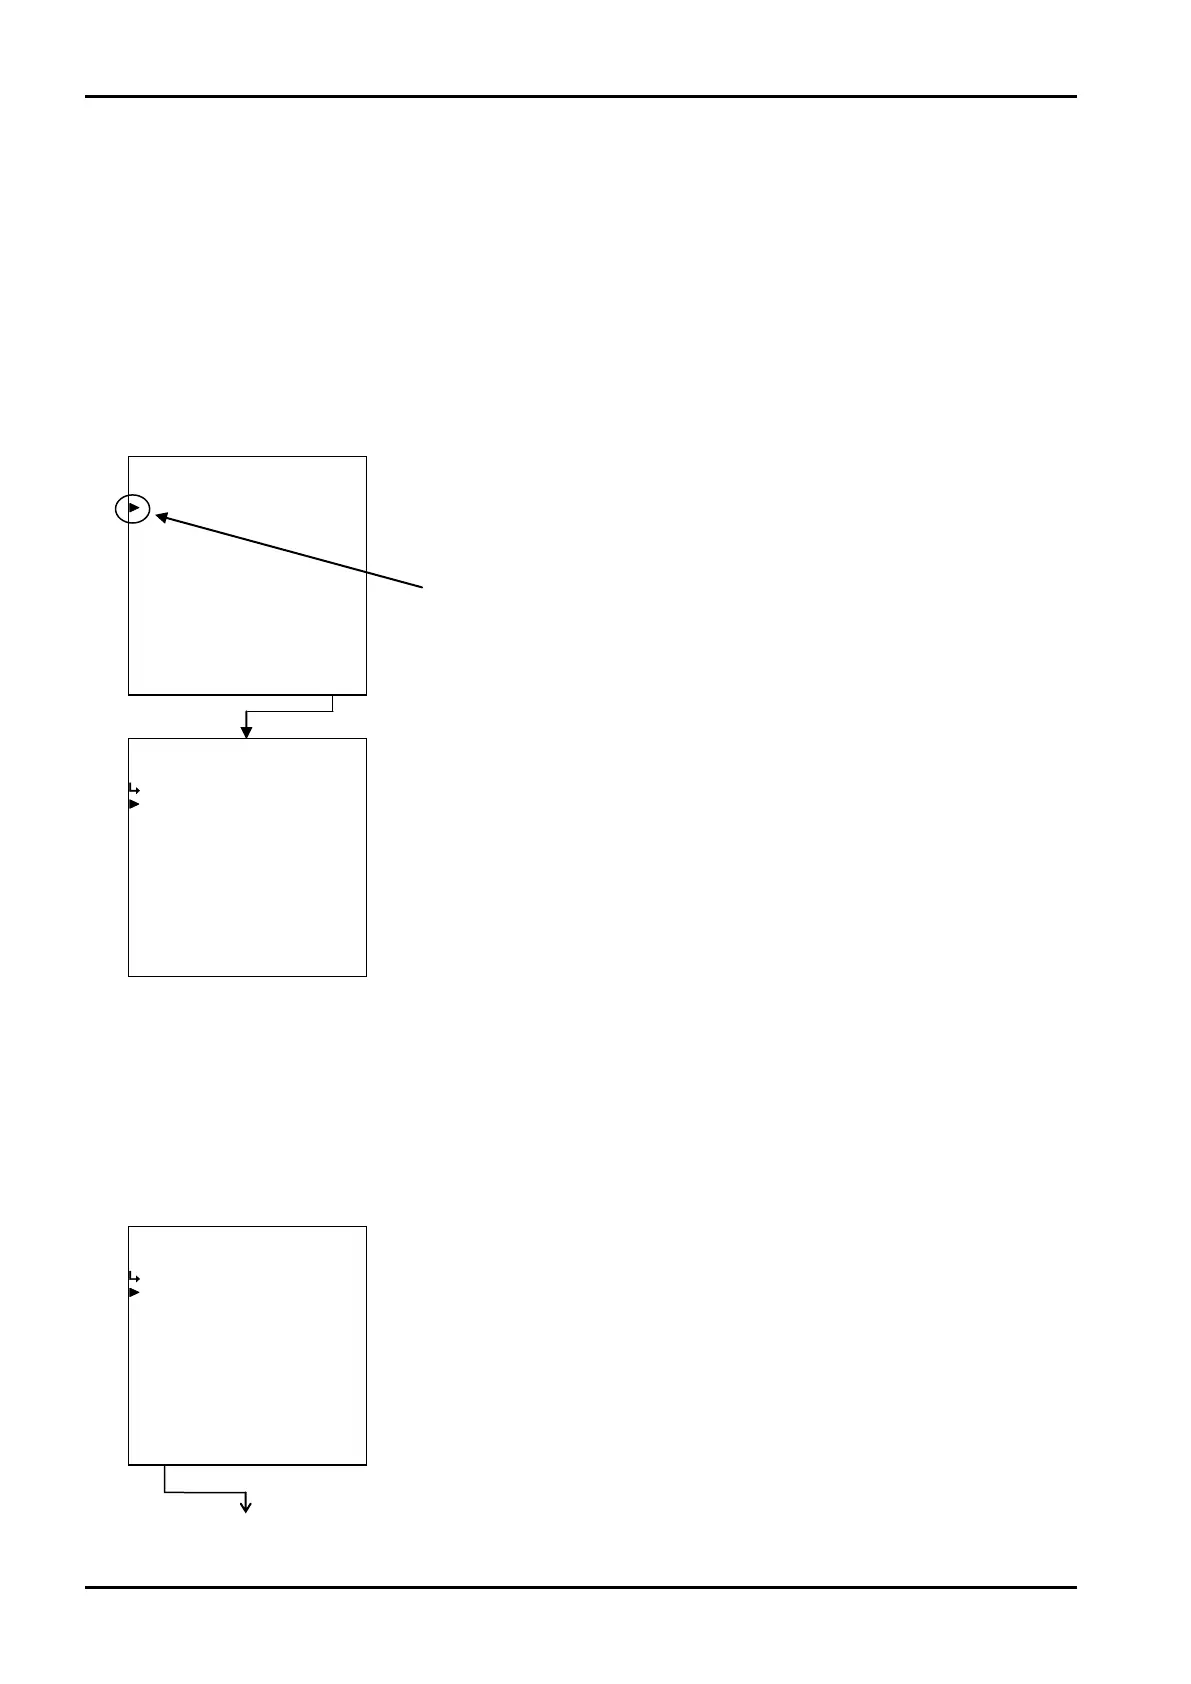
8.2.3 PARA SET Mode Submenu Screen
Pressing function key “ENTR” at the main menu screen brings up the submenu screen of the menu item
at the cursor location. The submenu screen shows more detailed items about the specific item selected
and its setup information. You can review setup information on this screen.
To select the item subject to modification, move the cursor over the item of interest with the up and down
arrow keys and press function key “ENTR”. The screen now switches to the setup screen corresponding
to respective iitems.
(1)Range check at density setup
Run a range check before setting up the density at the PARA SET mode screen. If found out of range, a
prompter message appears; you cannot close the parameter setup screen unless the setting entered falls
within the acceptable range. If such is the case, by setting an acceptable value or pressing CANCEL, you
can close the screen without changes, leaving your previous setting unchanged.
Cursor
Example: Liquid A – liquid kind setup
←Liquid A - submenu screen
Upon completion of numerical or measuring unit setup, a range check is done
while returning to the main menu.
←Liquid A submenu screen
←Main menu item select