Chapter 8: Audio Module, Rev 1.1
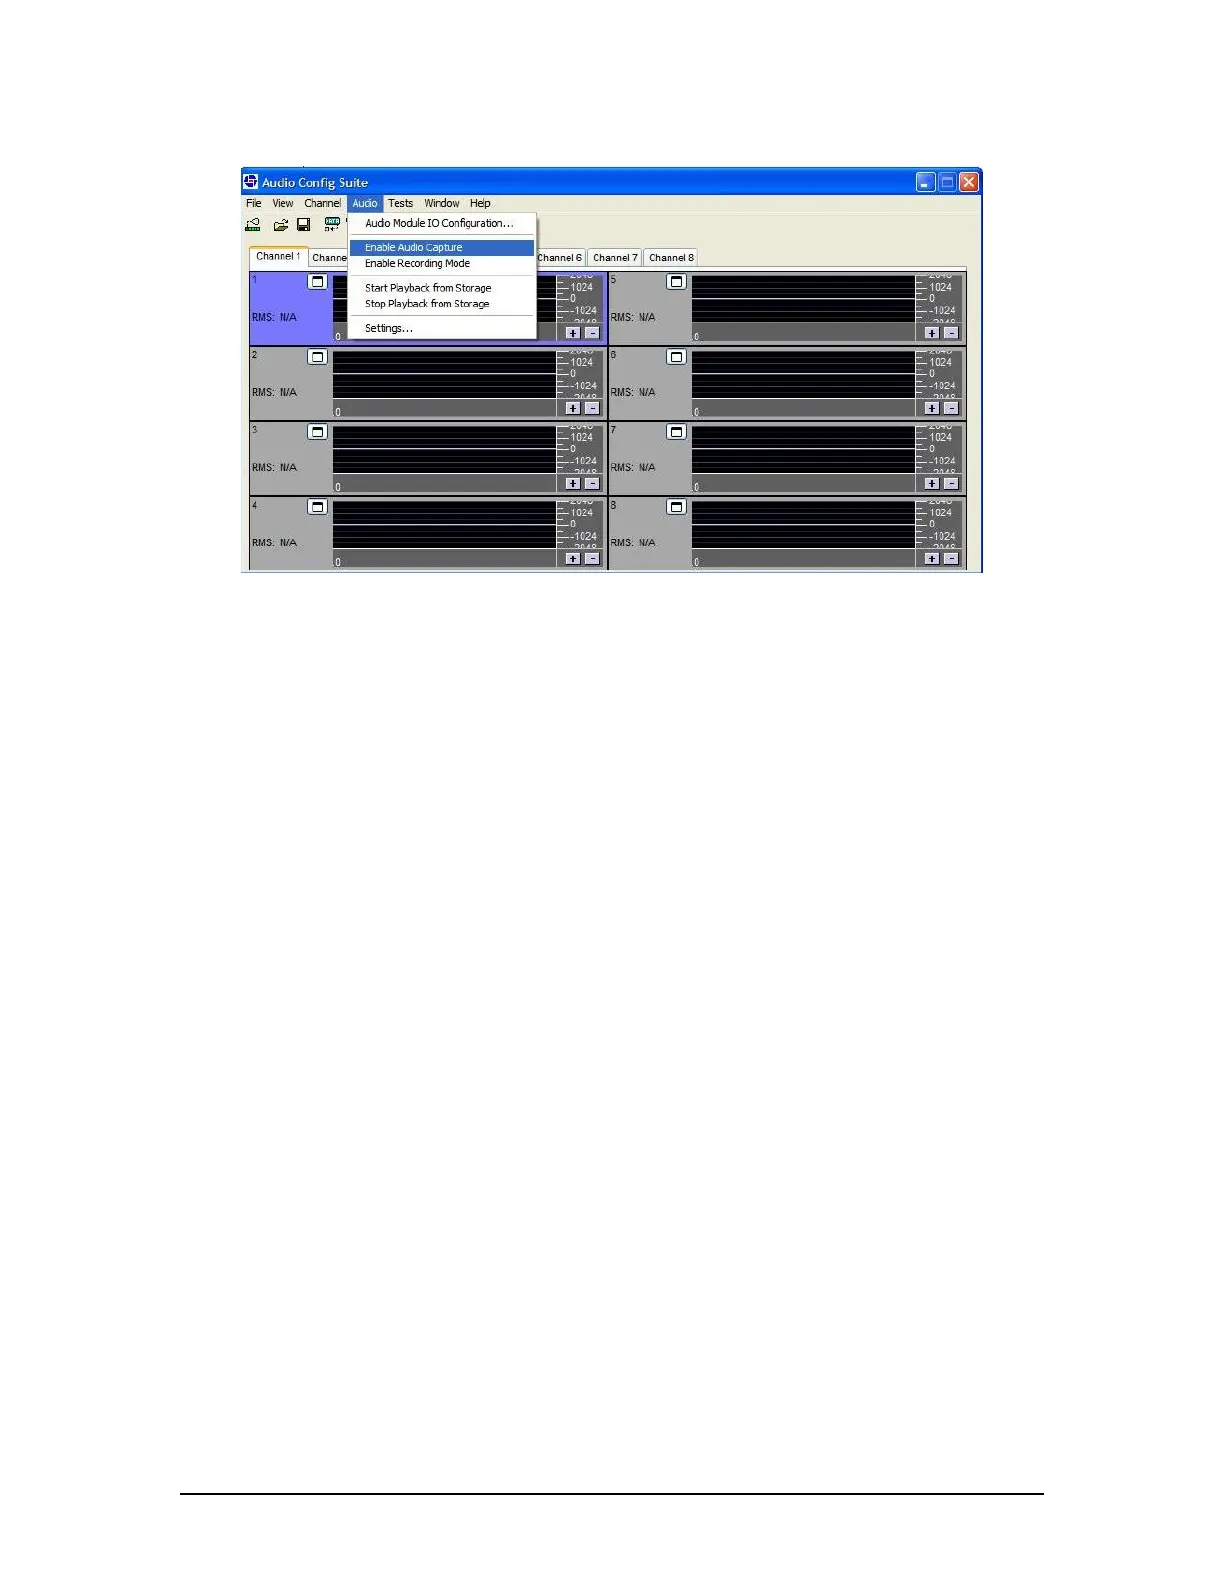
Figure 8-24 - Enable Audio Capture.
8.4.5 Manual Audio Configuration
The Audio Diagnostics application is the most effective way to configuring the VDR’s audio
information, but this audio information can also be manually configured.
8.4.5.1 Testing Microphones
The VDR automatically performs a microphone self-test routine soon after the Record
Application is started up. The service technician may also force an audio self-test to be performed
when the Record application is in either the Audio Test Mode or the Record mode.
1. Under the Tests menu, select Buzzer Tests as shown in Figure 8-25 – Select Buzzer
Tests;
2. In the Buzzer Tests window choose a single buzzer test selection OR Repetitive Buzzer
Test selections as per Figure 8-26 - Select Buzzer.
NOTE: The Buzzer Test window includes a slider control to adjust the buzzer/chirp length
from its standard length of 30 ms. Rutter recommends that this setting be maintained.
Changing this setting can interfere with MIC test operation. For example, the software will
hear a 100 ms buzzer/chirp as high background noise and abort audio tests.
3. When valid Detection Threshold values are set and the Audio I/O Configuration is
satisfactory, a full microphone test can be performed. Under Buzzer Tests, select
Perform Full MIC Test to open the Log Window seen in Figure 8-27 -.Microphone Test
Log Window. It shows the status of the Full MIC test.
4. Copy this log window to the clipboard as documentation.
5. For information on determining the correct detection threshold see Section 8.4.6 –
Detection Threshold for sample calculations.
VDR-100G3/G3S Installation Manual 06/10/2008
8-27