Chapter 5: OPERATION
5. FAILURE OUTPUT DETECTION
5-36
[Example]
Assuming a Shorted Speaker Line on 3F has been detected:
Step 4. Press the Failure Output Reset key
.
All of the failure LEDs will be extinguished.
and
or
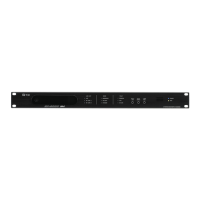
3F Speaker Short key
Failure Confirmation key
3F Speaker Short key
Failure Confirmation key
Failure Output Reset key
Failure LED
Flashes
Failure LED
Flashes
Failure LED
Lights
Failure LED
Unused
Lights
30
13
30
13
14
Step 2. Press either the Speaker Short key
or the Failure
Confirmation key
to acknowledge the failure.
The buzzer stops and the failure LED changes from
flashing orange to steady orange.
Step 3. Investigate and correct the problem.
Connect a PC to the VX-2000, investigate the cause
of the failure by reading out the log, and correct the
problem.
If necessary, check all connections using the PC
software. For log readout and connection check, refer
to
p. 11-7.
Tip
For most failure indications, the failure LED automatically
extinguishes when the cause has been corrected. For
certain other failure indications, such as power amplifier
failure or speaker shorts, the LED does not automatically
extinguish. In such cases, Failure Output Reset needs
to be performed.
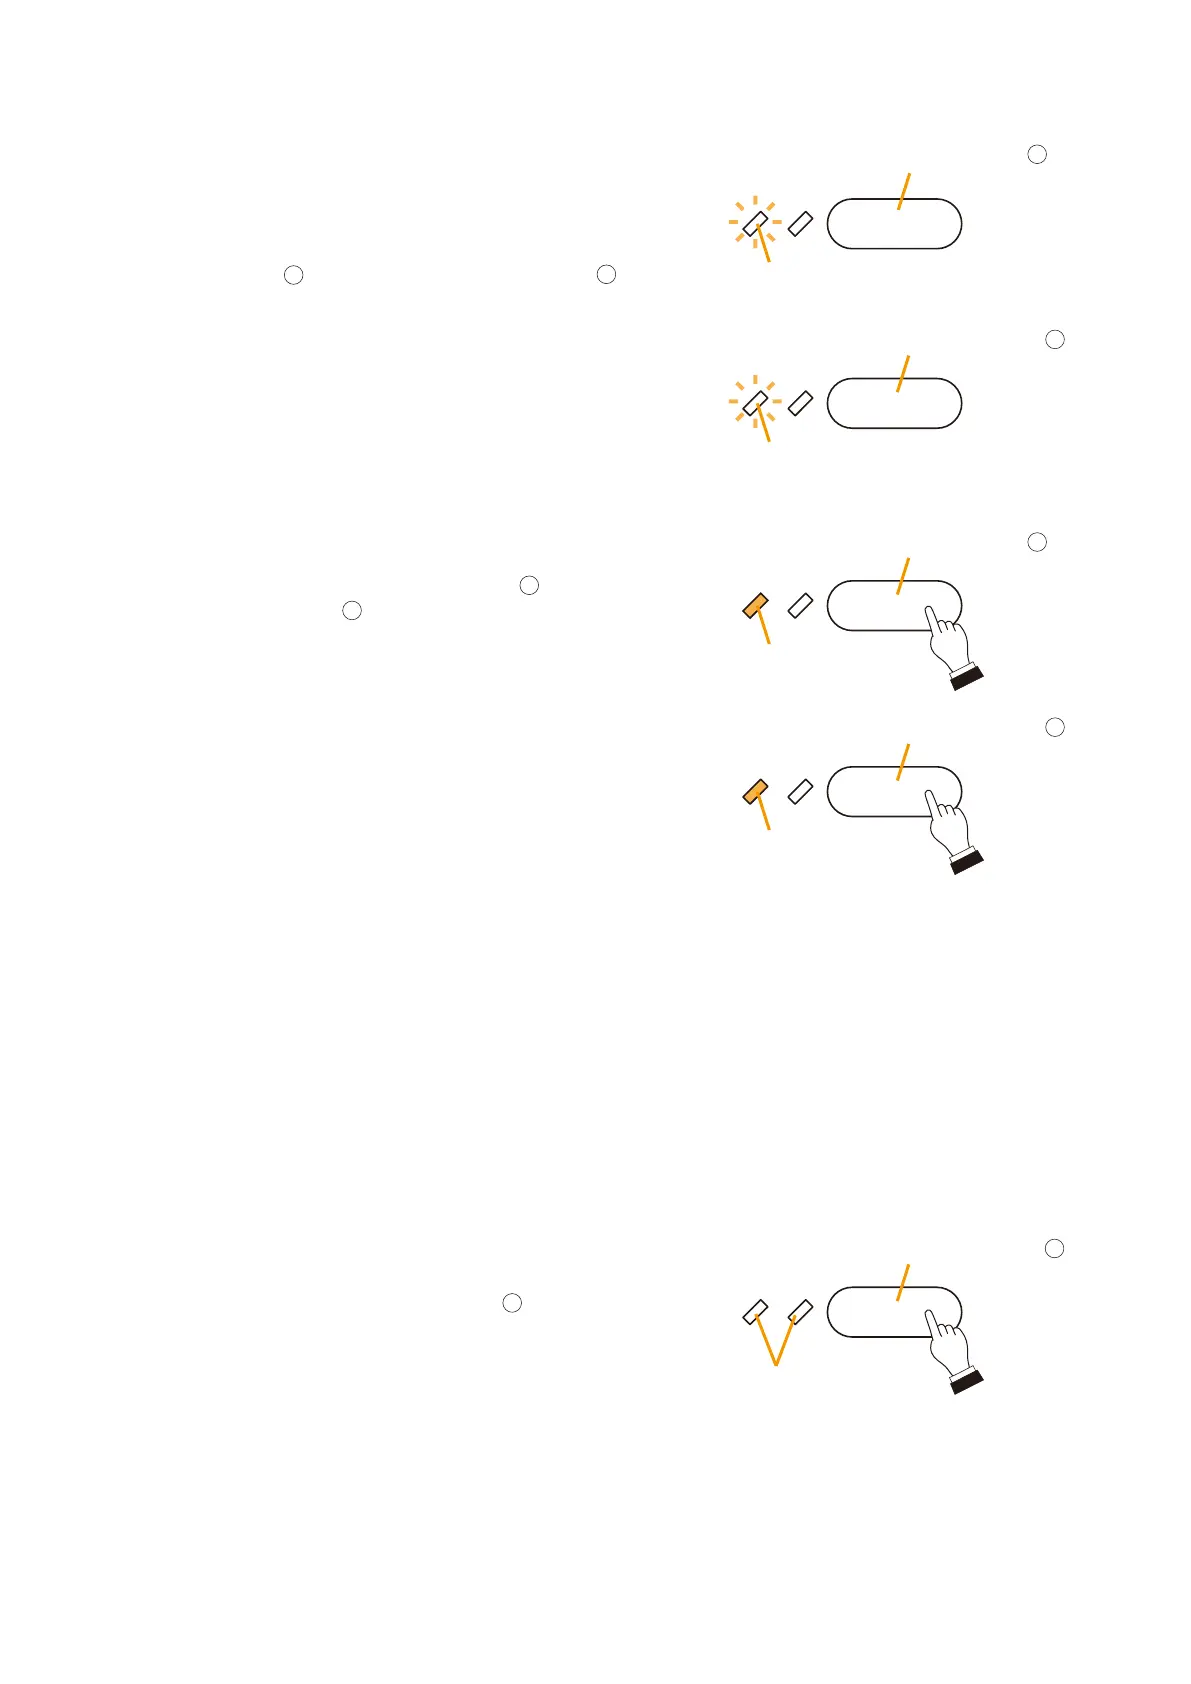
Step 1. When a failure is detected, a buzzer sounds, and both
left-side Failure LEDs located next to the 3F Speaker
Short key
and Failure Confirmation key
flash
orange.
Note
Make sure that the system's power is switched OFF if there is a chance of bodily contact with the internal
components or live parts of the equipment when investigating the cause of a failure. For procedures regarding
switching off the system power, refer to the Instruction Manual attached to the VX-2000DS/3000DS.