Only trained and qualified personnel should be allowed to install, replace, or service this equipment.
Statement 1030
Warning
Installation of the equipment must comply with local and national electrical codes. Statement 1074Warning
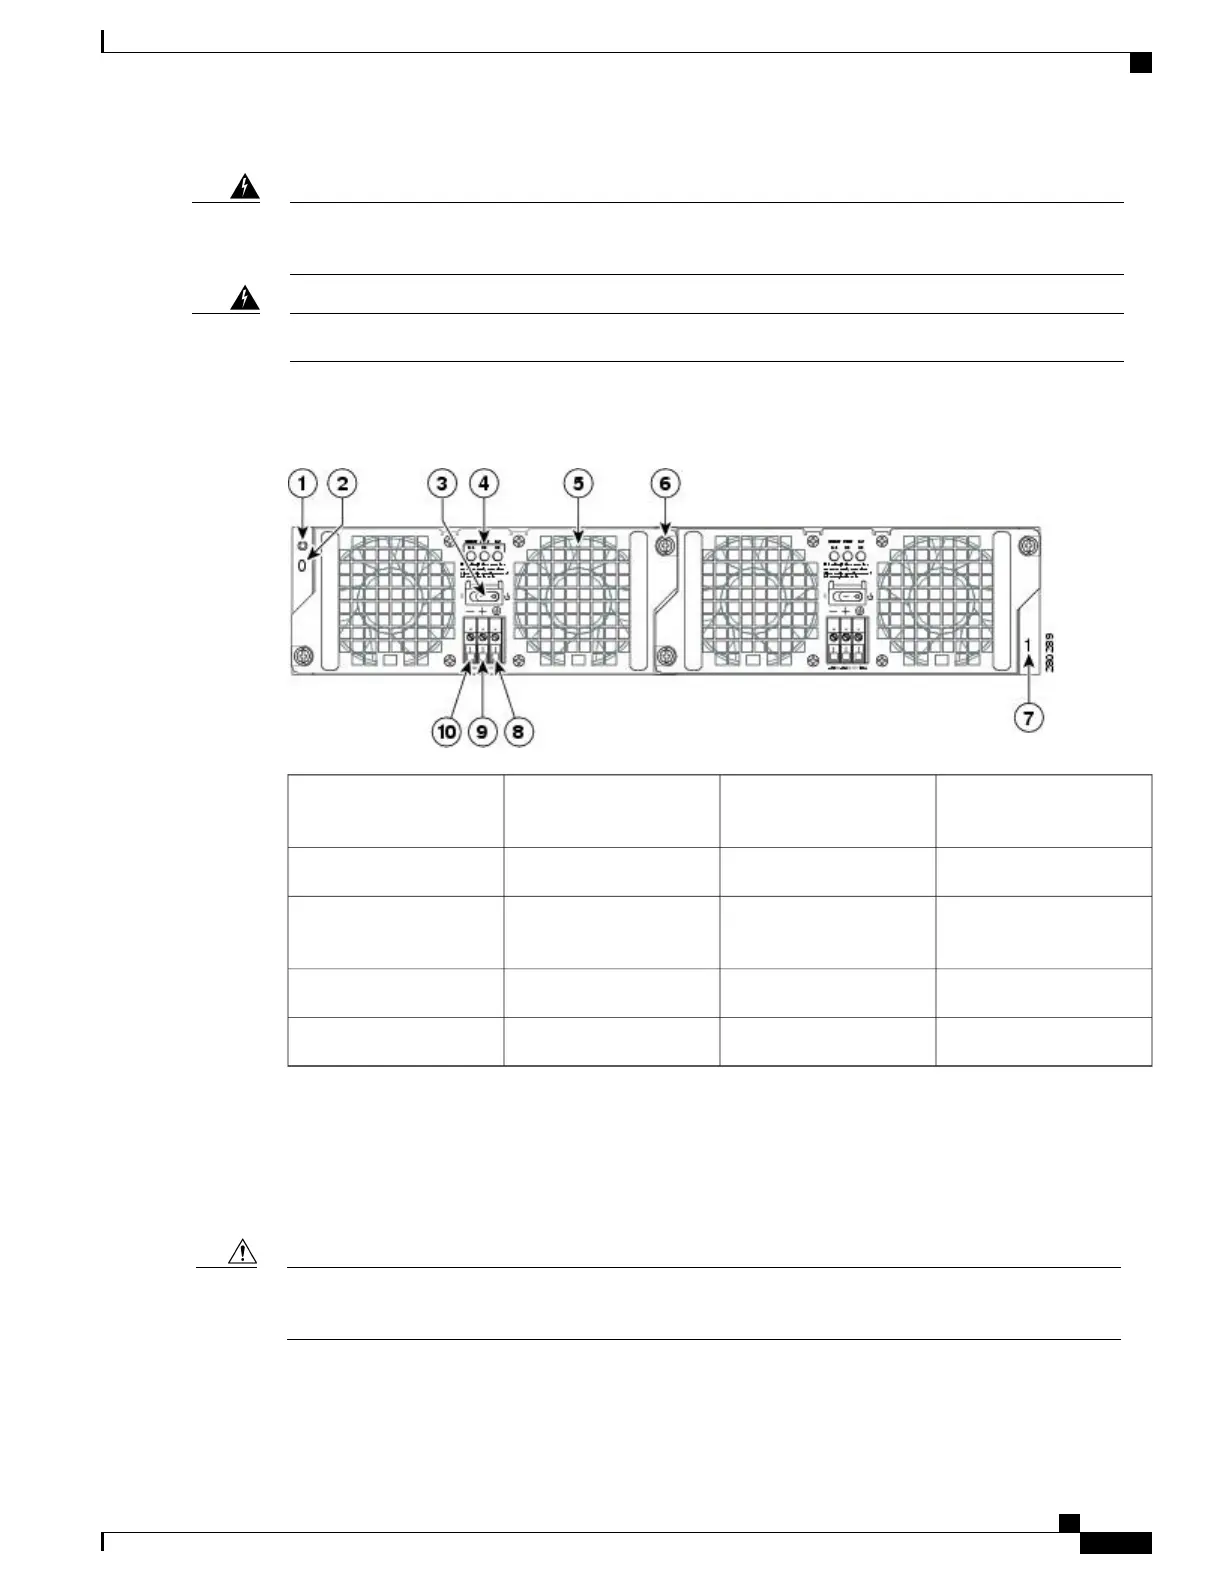
The following figure shows the –48 VDC power supply and components for the Cisco ASR 1002 Router.
Figure 281: Cisco ASR 1002 Router
–
48 VDC Power Supply
Power supply captive
installation screw
6Power supply ESD socket1
Power supply slot 1 label7Power supply slot 0 label2
Ground (GND)8Power supply switch
Standby/On (|)
3
Positive lead9Power supply LEDs4
Negative lead10Fan5
Removing the –48 VDC Power Supply from Cisco ASR 1002 Router
Before you can remove a –48 VDC power supply from the Cisco ASR 1002 Router, you must remove input
power going to the power supply.
Make certain that the chassis ground is connected before you begin removing and installing the power
supply.
Caution
To remove the –48 VDC power supply from the Cisco ASR 1002 Router, follow this procedure:
Cisco ASR 1000 Series Router Hardware Installation Guide
571
Removing and Replacing FRUs from the Cisco ASR 1000 Series Routers
Removing and Replacing a –48 VDC Power Supply in Cisco ASR 1002 Router
 Loading...


