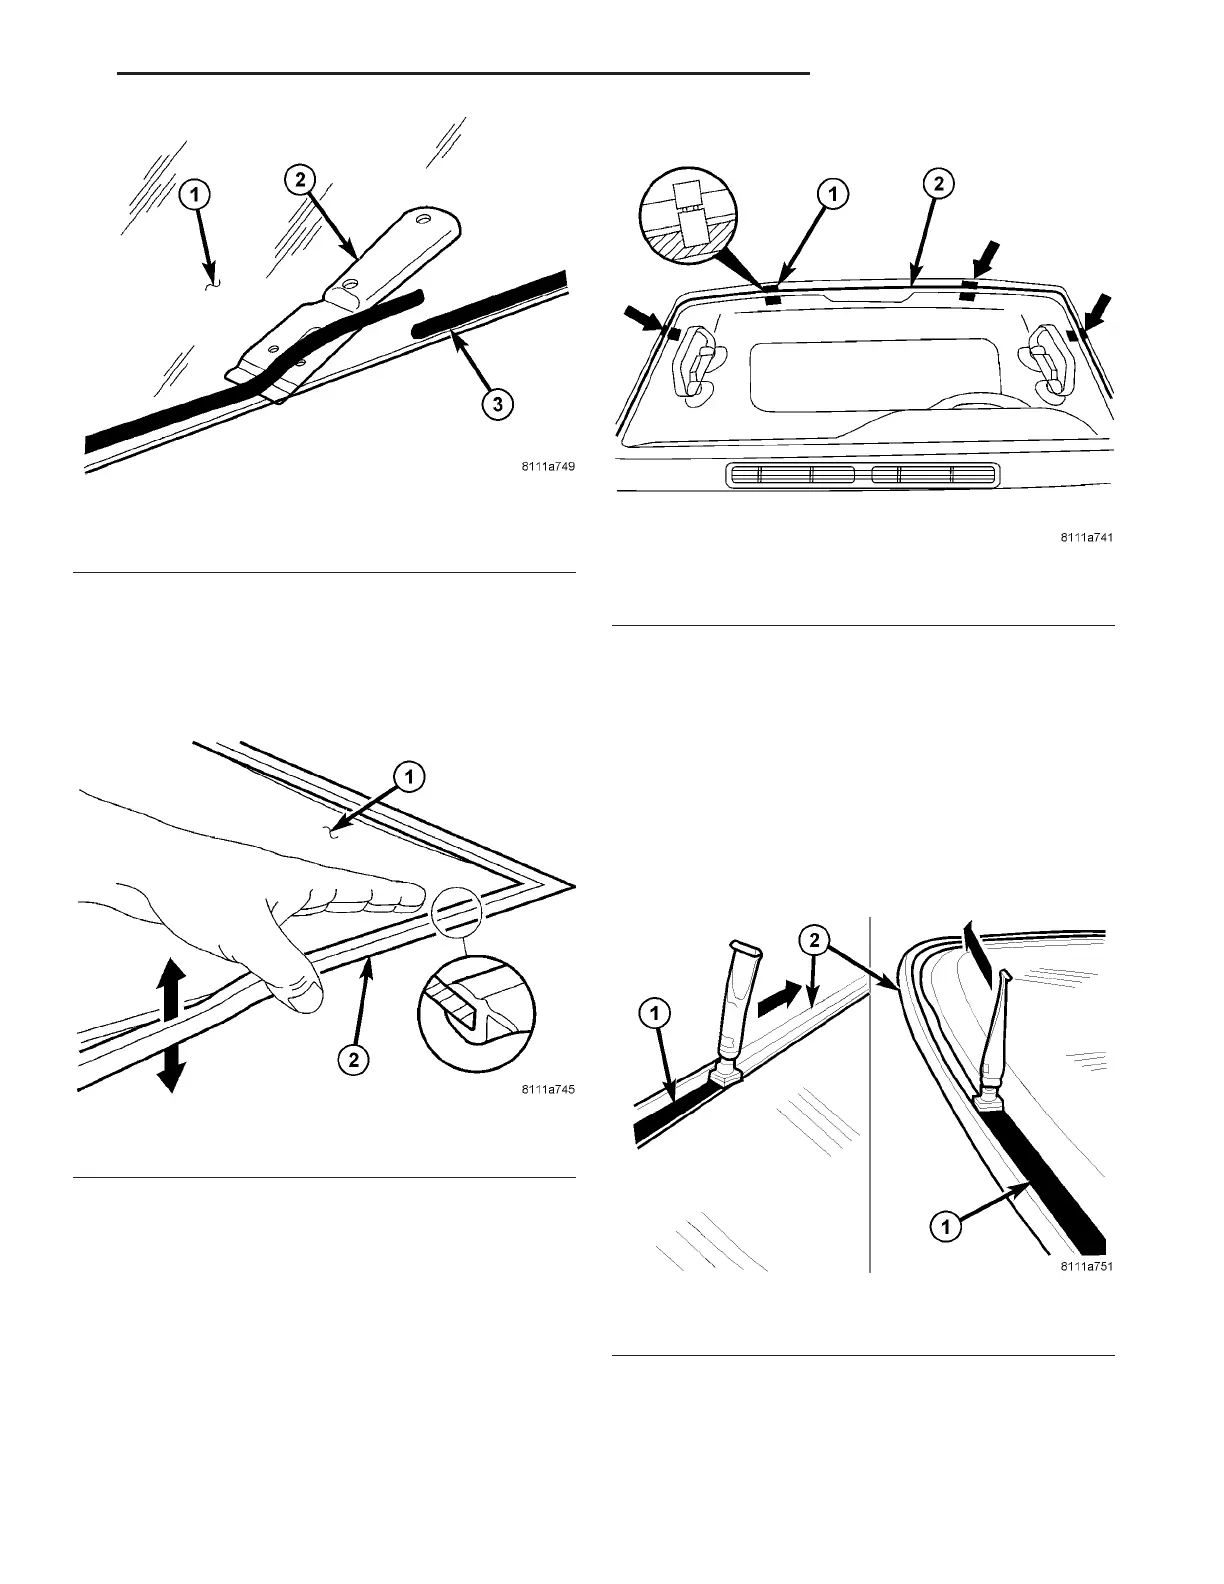
(2) Position windshield sea l onto windshield sta rt-
ing at one corn er and qu ickly moving u p and down.
(Fig. 7)
CAUTION: Never moisten windshield seal with lubri-
cants to facilitate installation.
(3) Position windshield in center of windshield
openin g.
(4) Apply a dh esive tape to th e locations sh own t o
aid with final insta lla tion . (Fig. 8)
(5) Verify win dshield gap is par allel to wit h win d-
shield.
(6) Cut tape with a sharp knife and rem ove wind-
shield.
(7) Clean an d dry ar ea of glass to be r e-glu ed wit h
a su itable glass prepa rat ion solvent and r ag.
(8) Usin g a flash light, ver ify that glass primer is
with out dama ge.
(9) Re-prim e any da maged area. If old a dh esive
has been exposed for mor e than 12 hou rs, entire
adhesive a rea needs t o be re-primed. (Fig. 9)
(10) Allow prim er to air dry for at least 10 min-
utes.
(11) Usin g a flash ligh t, verify that gla ss prim er is
with out dama ge.
Fig. 6 WINDSHIELD ADHESIVE PREPARATION
1 - WINDSHIELD
2 - SCRAPER
3 - OLD ADHESIVE
Fig. 7 WINDSHIELD SEAL INSTALLATION
1 - WINDSHIELD
2 - WINDSHIELD SEAL
Fig. 8 WINDSHIELD POSITIONING
1 - TAPE
2 - WINDSHIELD FRAME
Fig. 9 WINDSHIELD PRIMER
1 - PRIMER
2 - WINDSHIELD SEAL
VA STATIONARY GLASS 23 - 87