each cir cuit and identify th e circuit tha t is t he source
of the high-am perage IOD. If t he amper age r eadin g
rema ins high aft er removing and r eplacing each fuse
and cir cuit br eaker, discon nect th e wire harness fr om
the gener ator. If t he amperage r eadin g now becomes
very low or nonexistent, refer to Char ging Syst em for
the proper charging system dia gnosis an d testing
pr ocedures. After the high -amperage IOD has been
correct ed, switch th e multi-m eter to progressively
lower a mperage scales and, if n ecessary, repeat t he
fuse and circu it brea ker rem ove-an d-r eplace process
to iden tify and correct a ll sources of excessive IOD. It
is now sa fe to select th e lowest millia mpere scale of
the m ult i-met er to check the low-amper age IOD.
CAUTION: Do not open any doors, or turn on any
electrical accessories with the lowest milliampere
scale selected, or the multi-meter may be damaged.
(6) Observe t he mult i-met er rea ding. Th e low-am -
perage IOD should not exceed th irt y-five m illiam-
peres (0.035 am pere). If th e curr ent draw exceeds
thirty-five m illiamperes, isolate each circuit using th e
fuse and circu it brea ker rem ove-an d-r eplace process
in Step 5. The mult i-met er reading will drop t o
with in the accepta ble limit when t he source of th e
excessive cu rren t dr aw is disconn ected. Repair this
circuit as requir ed; wh ether a wirin g sh ort, in correct
switch a djust ment, or a com pon ent failure is at fa ult.
STANDARD PROCEDURE - USING MICRO 420
BATTERY TESTER
Always use the Micr o 420 Instr uction Man ual tha t
was supplied with t he test er as a reference. If t he
In st ruction Ma nua l is n ot available the following pro-
cedure can be used:
WARNING: ALWAYS WEAR APPROPRIATE EYE
PROTECTION AND USE EXTREME CAUTION WHEN
WORKING WITH BATTERIES.
BATTERY TESTING
(1) If t estin g th e battery OUT-OF-VEHICLE, clean
the ba tter y terminals with a wire brush before test -
ing. If th e battery is equ ipped with side post termi-
nals, install and tighten the supplied lead terminal
st ud ada pt ers. Do not use steel bolts. Fa ilu re to prop-
erly insta ll the stu d adapt ers, or u sing stu d adapt ers
that are dir ty or wor n-out ma y resu lt in false test
readings.
(2) If testing the battery IN-THE-VEHICLE , make
certa in a ll of the vehicle accessory loa ds are OFF,
includin g th e ignit ion. Th e p r e fe r re d t e s t p o s i ti o n
is at the battery terminal. If the battery is not
accessible, you may test using bot h the positive a nd
nega tive ju mper posts. Select TESTING AT J UMP ER
POST wh en connect ing to t hat loca tion .
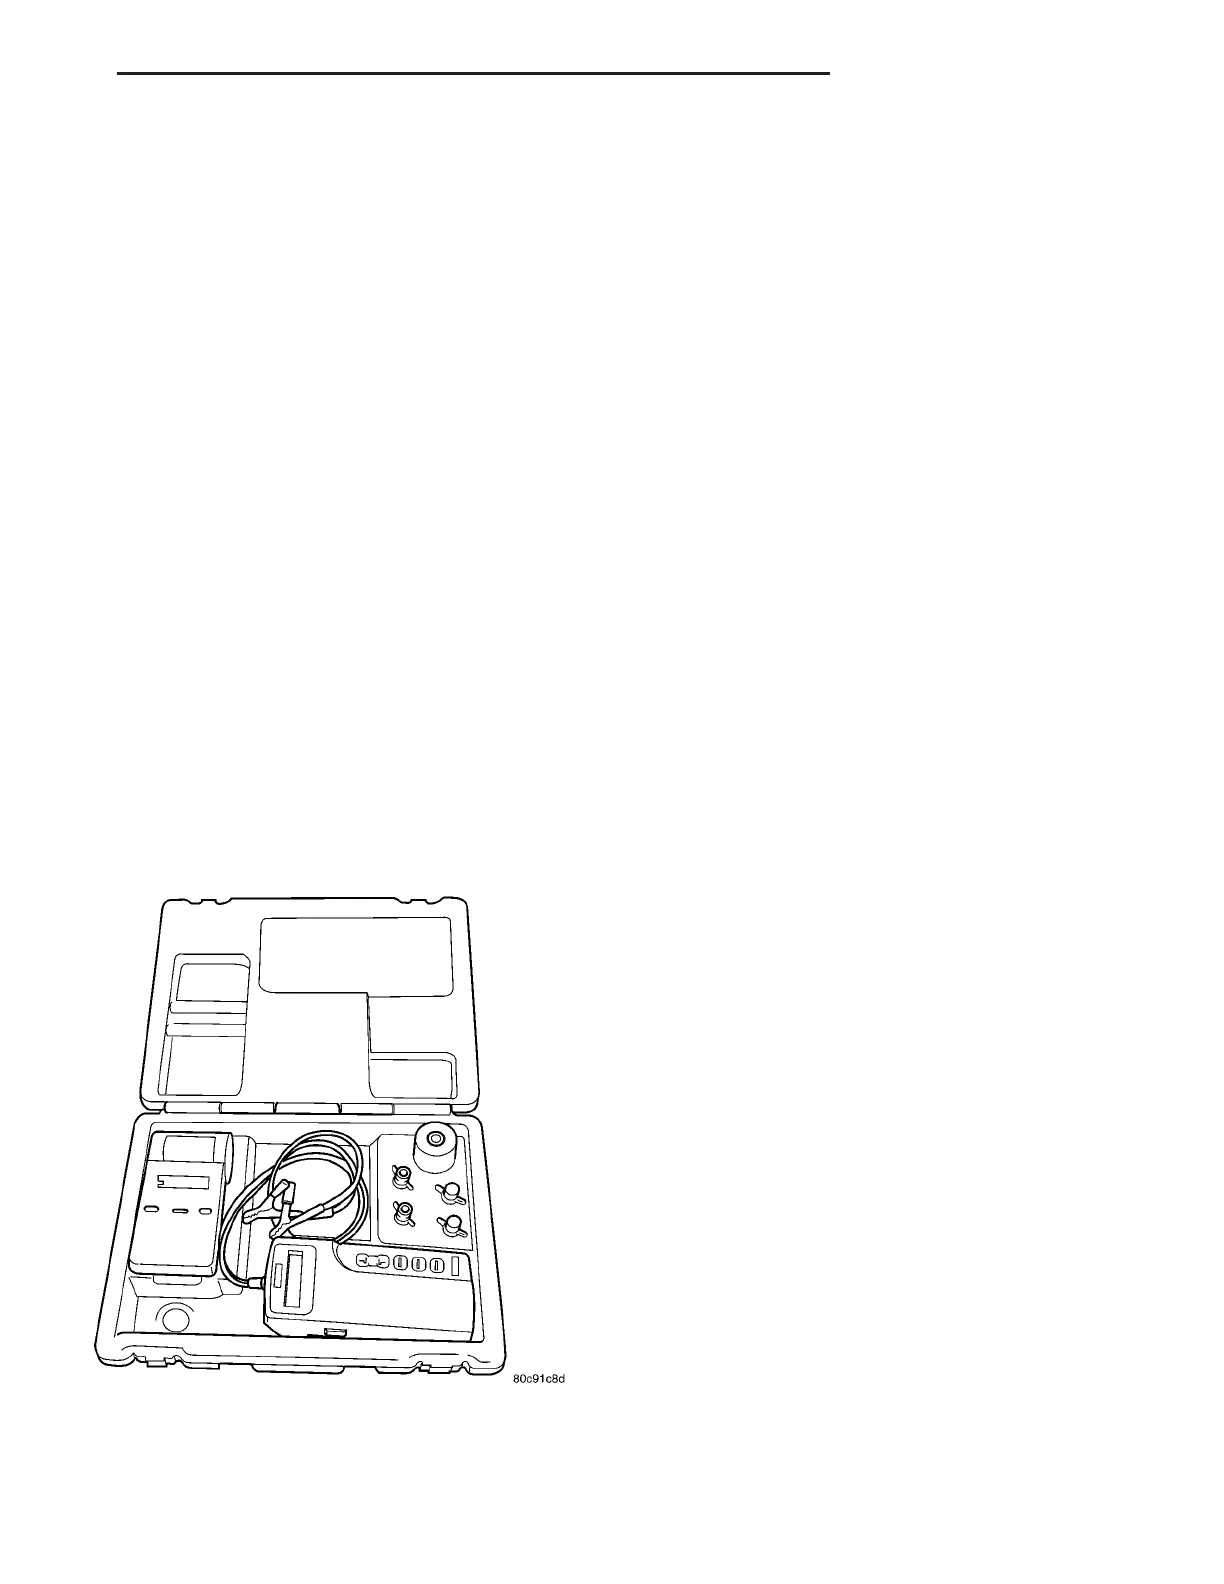
(3) Connect t he tester (Fig. 6) to the bat tery or
jumper posts, the red cla mp to positive (+) an d the
black clam p to negat ive (–).
NOTE: Multiple batteries connected in parallel must
have the ground cable disconnected to perform a
battery test. Failure to disconnect may result in
false battery test readings.
(4) Usin g the ARROW key select in or out of vehi-
cle test ing and press E NTER t o make a selection.
(5) If n ot selected, ch oose t he Cold Cran kin g Amp
(CCA) bat tery rating. Or select th e appr opr iate ba t-
tery r ating for your a rea (see menu). The tester will
then run its self program med test of the battery and
display the result s. Refer to the test resu lt table
noted below.
CAUTION: If REPLACE BATTERY is the result of the
test, this may mean a poor connection between the
vehicle’s cables and battery exists. After discon-
necting the vehicle’s battery cables from the bat-
tery, retest the battery using the OUT-OF-VEHICLE
test before replacing.
(6) While viewing th e bat tery test result, press the
CODE button and th e tester will pr ompt you for the
last 4 digits of the VIN. Use the UP /DOWN ar row
butt ons to scroll to the corr ect chara cter; t hen press
ENTER to select a nd move to t he next digit. Th en
pr ess th e ENTE R bu tton to view th e SERVICE
CODE. Pressing the CODE bu tton a second time will
retu rn you to the t est results.
Fig. 6 Micro 420 Battery Tester
VA BATTERY SYSTEM 8F - 11