Litens Decoupler
(1) Disconn ect nega tive battery cable.
(2) Remove gen erat or and accessory dr ive belt.
Refer to Gener ator Rem oval.
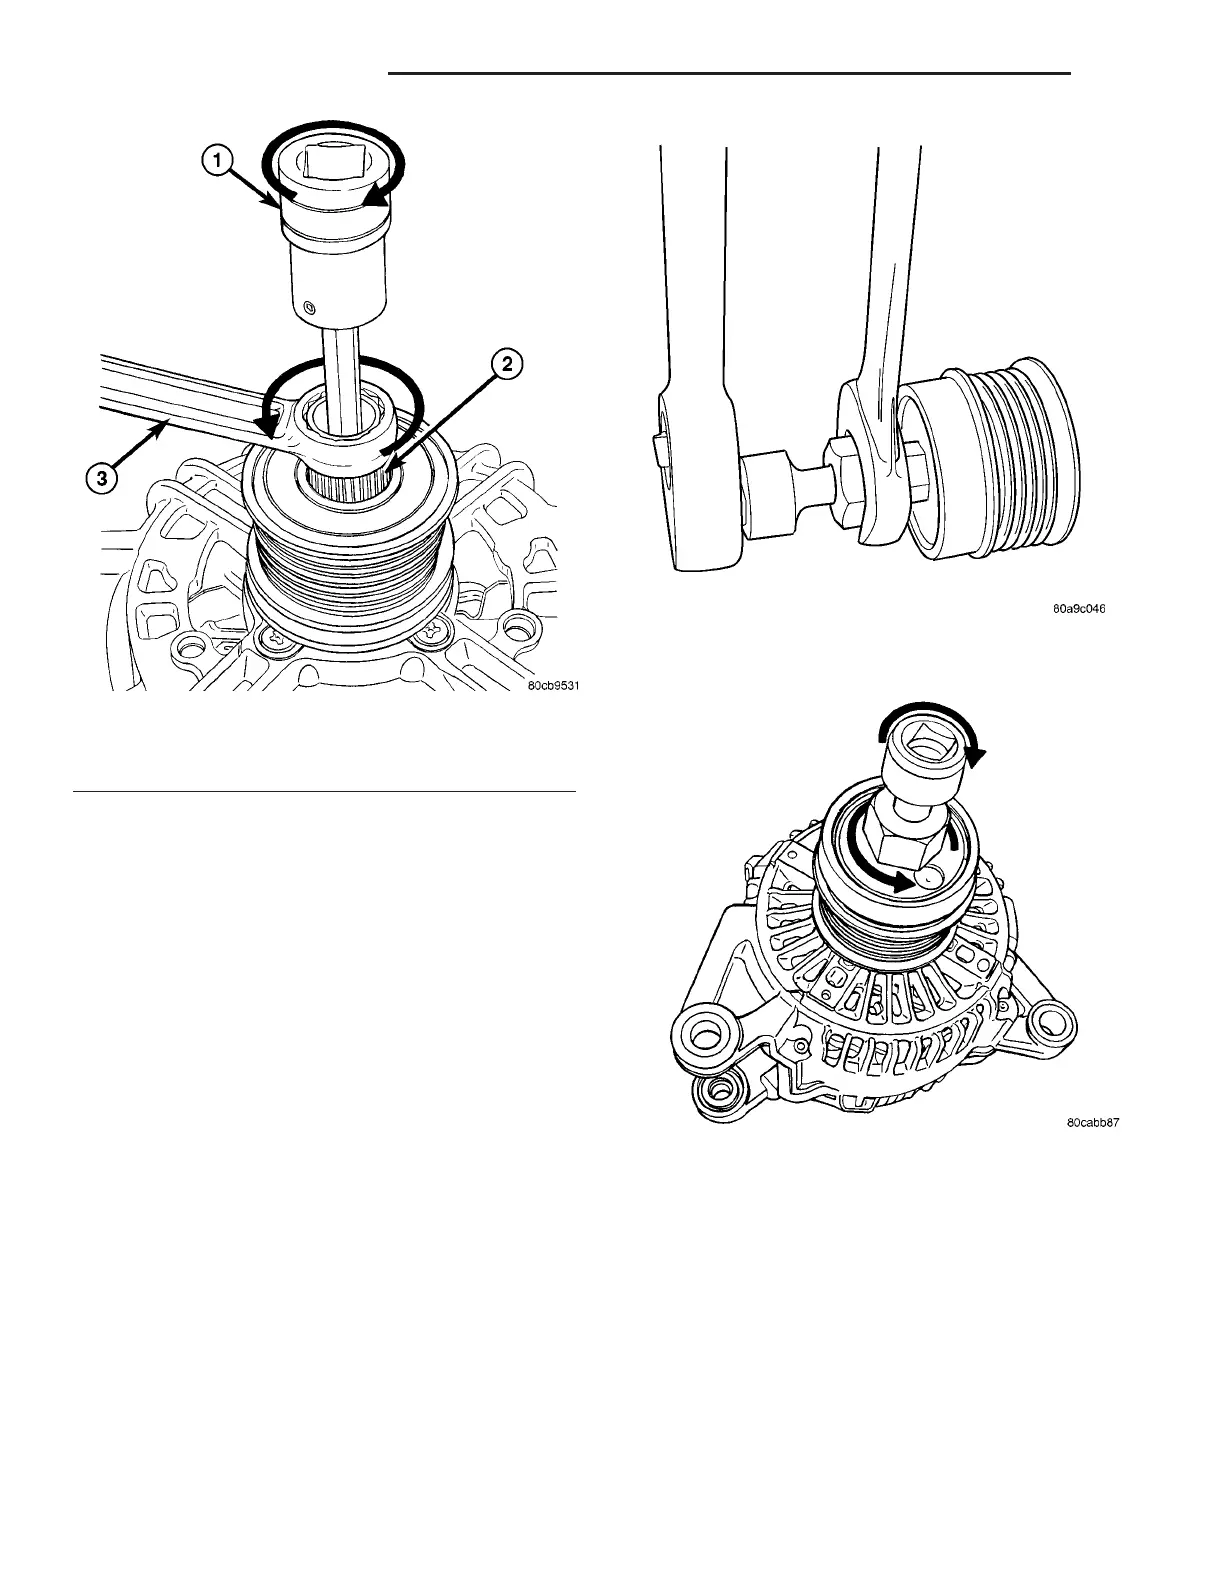
(3) Position Special Tool #8433 (Fig. 10) int o
decoupler. Align to hex end of gener ator sha ft.
(4) The gen erat or sha ft uses conventional right-
hand thr eads t o attach decoupler. To break decoupler
loose from generator th reads, rot ate en d of tool clock-
wise (Fig. 11).
(5) After br eaking loose with t ool, unthread decou-
pler by han d fr om gener ator.
INSTALLATION
INA Decoupler
(1) Thread decoupler pulley on to gener ator sh aft
by hand (right -han d t hrea ds).
(2) Position Special Tool #8823 (VM.1048) in to
decoupler (F ig. 5).
(3) Deter mine if end of generator shaft is h ex
sh aped (Fig. 6) or is splined (Fig. 7). If h ex is used,
inser t a 10MM deep socket int o tool #8823 (VM.1048)
(Fig. 12). If splined, insert a 5/16” 6-point h ex driver,
or a 10MM 12-point triple squar e driver into tool
#8823 (VM.1048) (Fig. 13).
Fig. 9 DECOUPLER REMOVAL (INA-SPLINED)
1 - DRIVER
2 - TOOL #8823 (VM.1048)
3 - 17 MM WRENCH
Fig. 10 # 8433 TOOL AND LITENS DECOUPLER
Fig. 11 DECOUPLER REMOVAL (LITENS)
8F - 22 CHARGING SYSTEM VA