Repairing/Replacing Internal Components
9-16 DSX™ System Service Manual
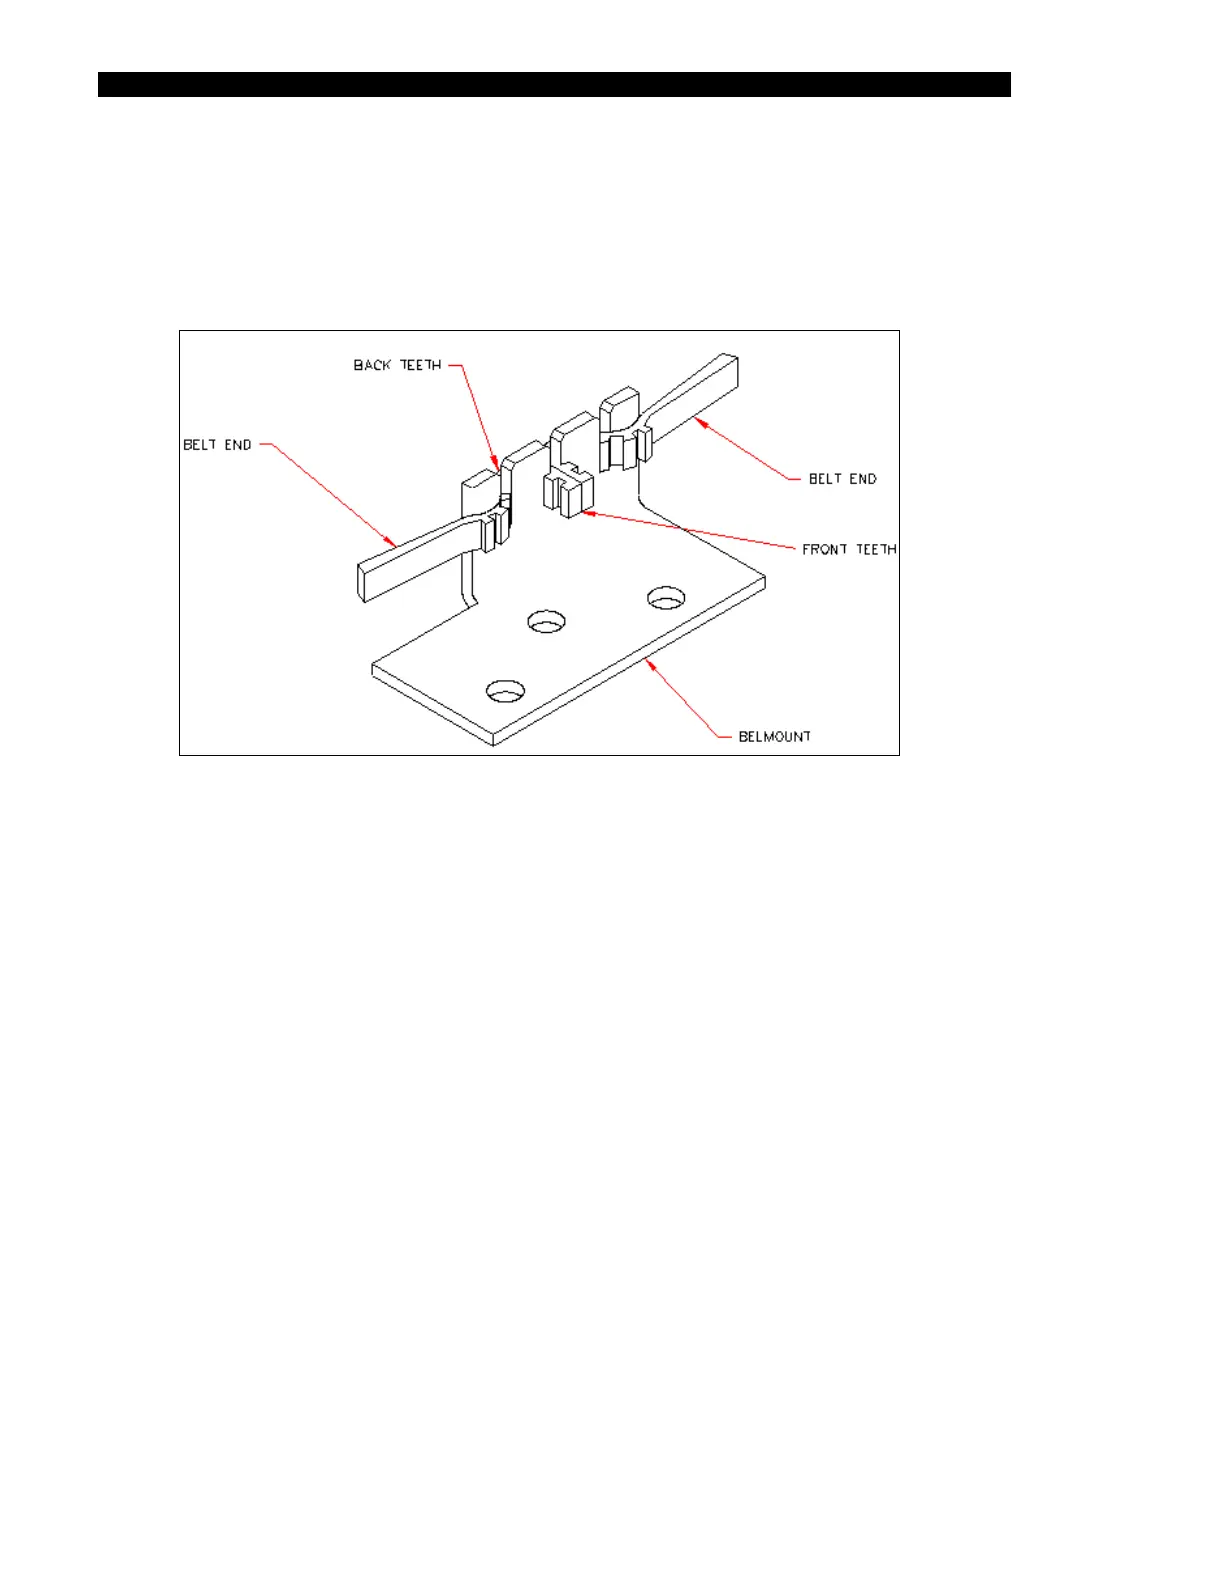
To Install a New Belt:
1 Cut a 24.7” length of belt (Part No. 40000100) and install it into the belt mount
(Part No. 220000790) as shown in Figure 9-16. Make sure that there are two front
teeth installed and four back teeth installed.
Figure 9-16 Belt Mount
2 Attach the belt mount assembly to the Plate Carrier Assembly (Figure 9-15).
3 Loosen the motor from the chassis (Figure 9-14) by slightly unscrewing the four 4
M3 x 6mm socket head cap screws.
4 Wrap the belt around the middle idler, around the back idler, and around the front
idler (Figure 9-14), then loop it around the motor assembly. Pull motor to right until
tight and tighten the screws.