GE HEALTHCARERAFT LOGIQ™ S7 EXPERT/PRO
DIRECTION 5460683, REVISION 3 DRAFT (JUNE 25, 2014) SERVICE MANUAL
8-58 Section 8-13 - Replacement of OPIO and Related Parts
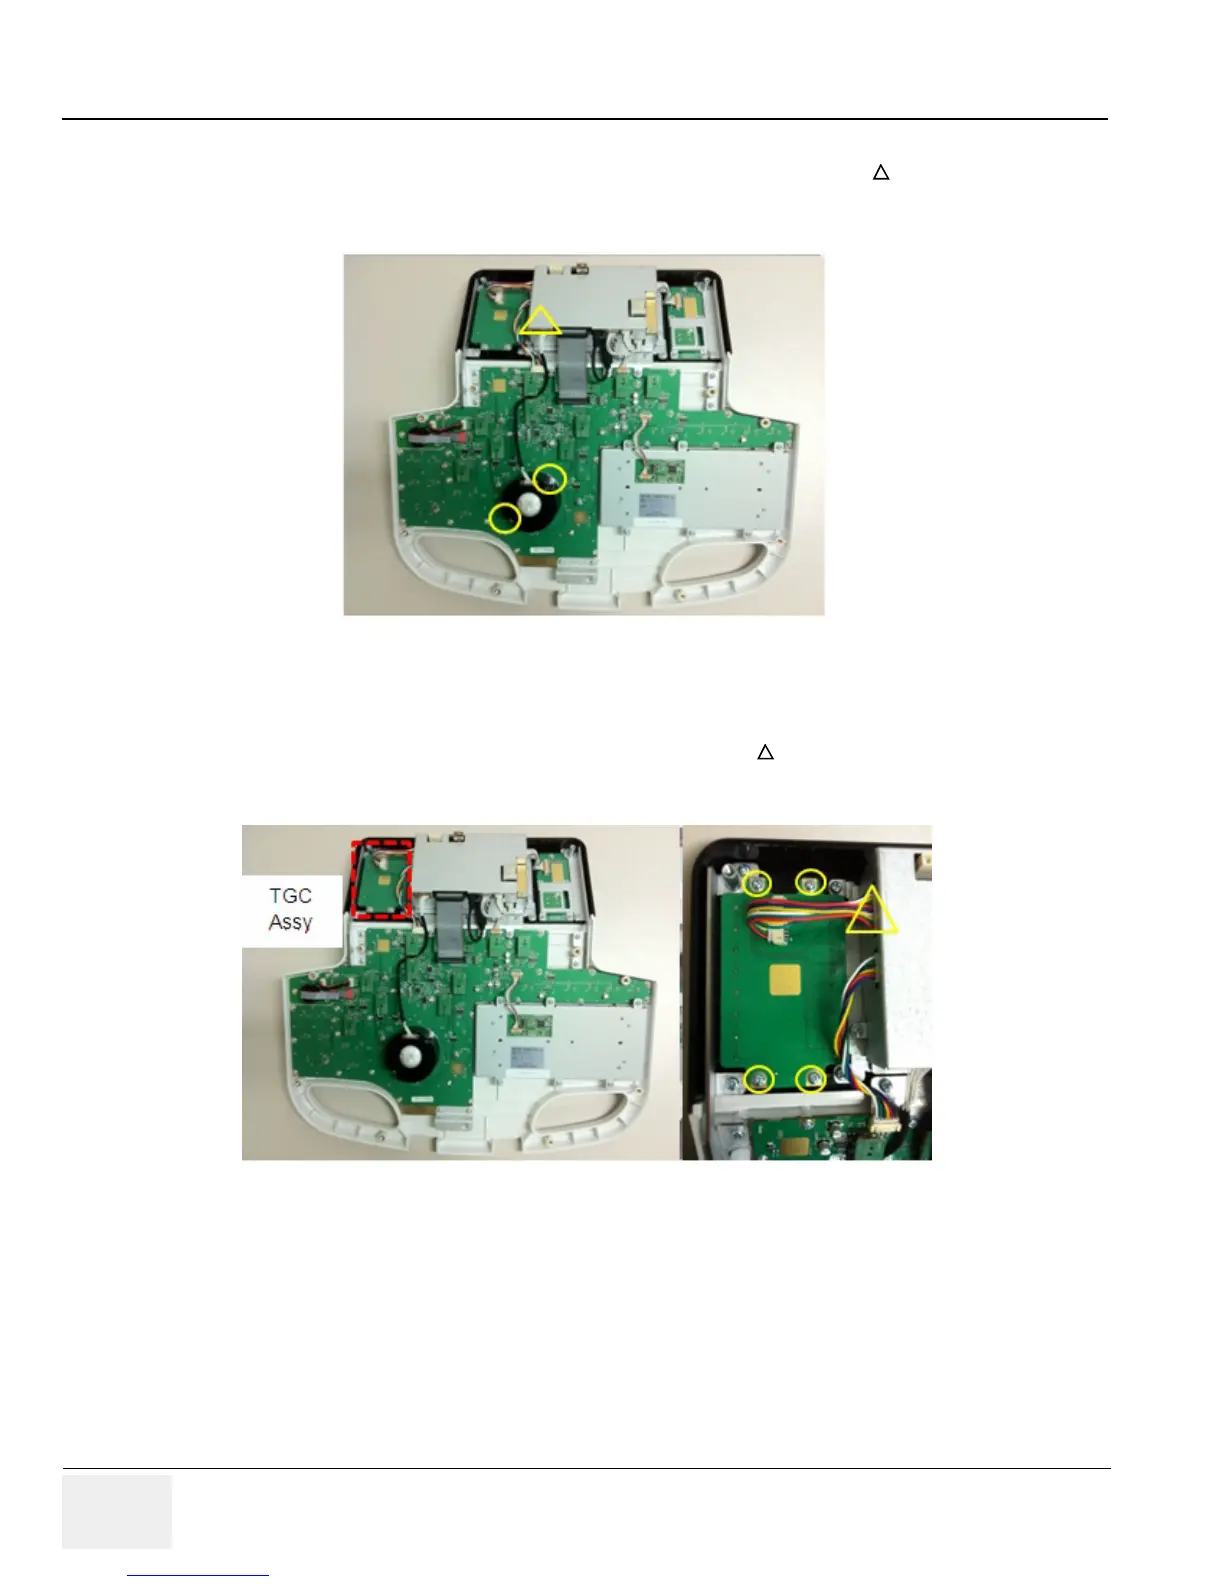
8-13-3-4 Removal Procedure - Trackball
1.) Remove a connector from back of the LCD Touch Panel Assy (marked below).
2.) Remove 2 screws around trackball.
3.) Slowly lift up trackball from OP Panel.
Figure 8-49 Trackball
8-13-3-5 Removal Procedure - TGC Assy
1.) Remove TGC Knobs.
2.) Remove a connector from back of the TGC Assy (marked below).
3.) Remove 4 screws around TGC Assy.
4.) Slowly lift TGC Assy from OP Panel.
Figure 8-50 TGC Assy
 Loading...