EasyManuals Logo

GE LOGIQ S7 Pro User Manual

GE LOGIQ S7 Pro
435 pages
To Next Page IconTo Next Page
To Previous Page IconTo Previous Page
Page #305 background imageLoading...
Page #305 background image
GE HEALTHCAREDRAFT LOGIQ™ S7 EXPERT/PRO
DIRECTION 5460683, REVISION 3 DRAFT (JUNE 25, 2014) SERVICE MANUAL
Chapter 8 - Replacement Procedures 8-77
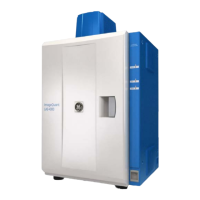
Figure 8-78 Aligning EEPROM
NOTE: Inserting EEPROM in wrong direction will result in permanent damage to EEPROM or to GFS board.
Proceed with caution.
6.) Verify tips of all 8 pins are aligned with U32 socket.
7.) Gently push down EEPROM to its position.
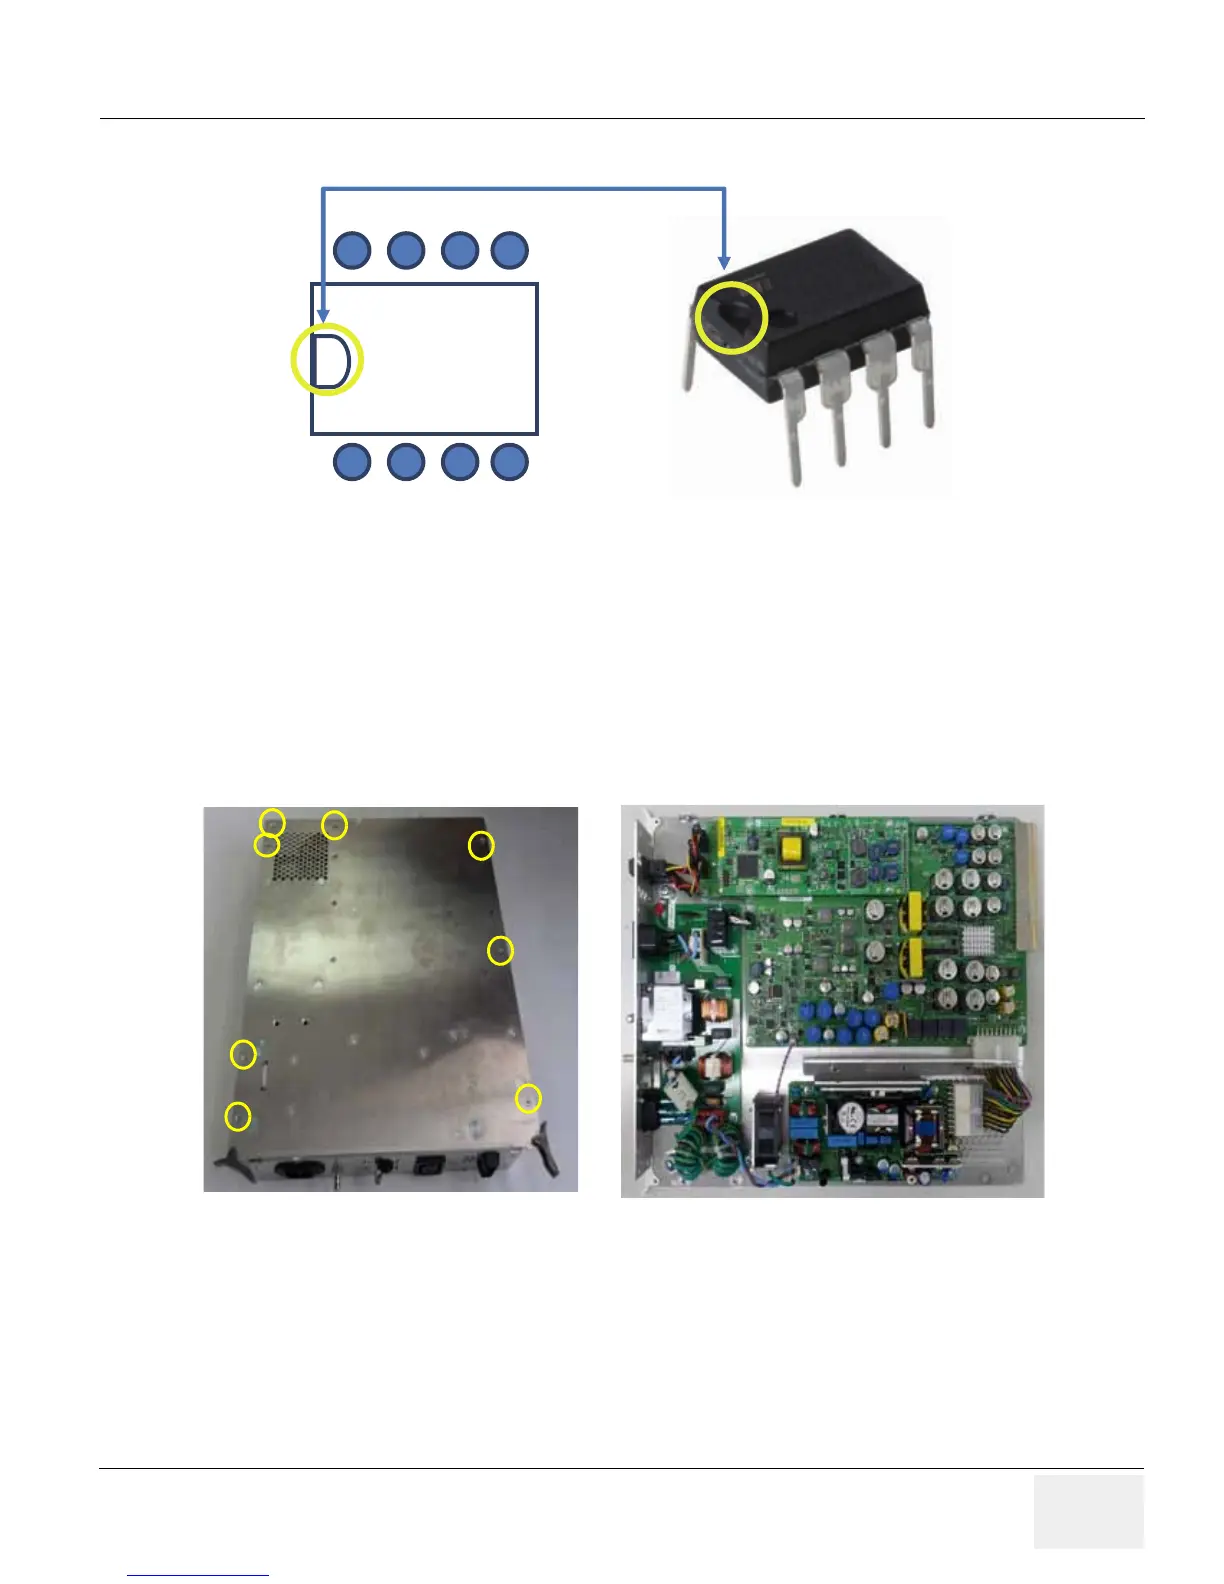
8-16-4-4 Separating DC4D Unit from CPS (for R1.x.x only)
1.) Unscrew 14 screws to remove the CPS Cover.
Figure 8-79 Removing the CPS Cover
Alignment marks
U32 Socket
(print mark)

Table of Contents

Questions and Answers:

Question and Answer IconNeed help?

Do you have a question about the GE LOGIQ S7 Pro and is the answer not in the manual?

GE LOGIQ S7 Pro Specifications

General IconGeneral
BrandGE
ModelLOGIQ S7 Pro
CategoryLaboratory Equipment
LanguageEnglish

Related product manuals