GE HEALTHCARERAFT LOGIQ™ S7 EXPERT/PRO
DIRECTION 5460683, REVISION 3 DRAFT (JUNE 25, 2014) SERVICE MANUAL
8-116 Section 8-26 - Replacement of Peripheral Cable Assy
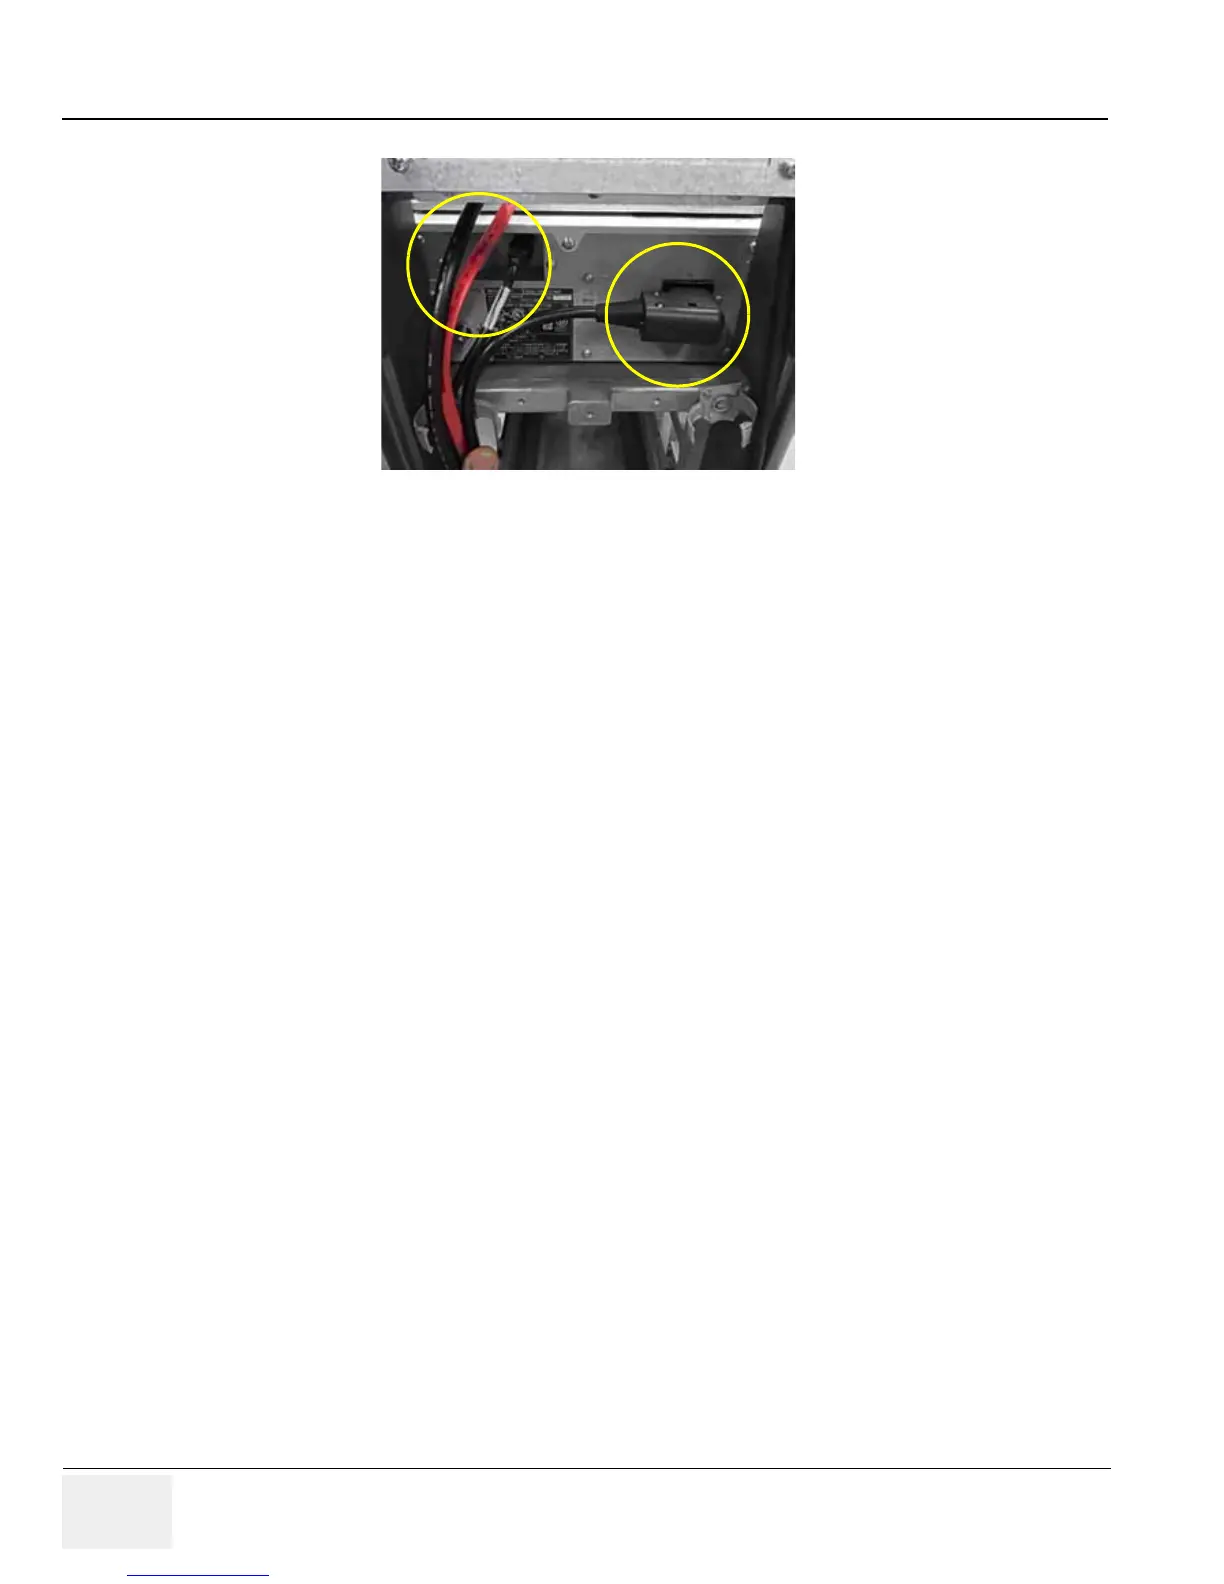
3.) Remove the printer USB and power cable connectors from the printer.
Figure 8-129 Remove printer USB and power cable connectors from printer
8-26-2-4 Installation Procedure
1.) Parts to be installed in reverse order of removal.
8-26-2-5 Functional Check
Test 1: Print an image by pressing the button P1 on the operator panel. (P1 key should be configured
correctly)
Verify1: - Verify that image can be printed.
Verify2: - Verify that printed image has no distortion as compared the image on screen.

 Loading...