HOOD
TABLE OF CONTENTS
page page
HINGE
REMOVAL . . . . . . . . . . . . . . . . . . . . . . . . . . . . . 51
INSTALLATION . . . . . . . . . . . . . . . . . . . . . . . . . 51
HOOD
REMOVAL . . . . . . . . . . . . . . . . . . . . . . . . . . . . . 51
INSTALLATION . . . . . . . . . . . . . . . . . . . . . . . . . 51
ADJUSTMENTS
ADJUSTMENT . . . . . . . . . . . . . . . . . . . . . . . . 52
LATCH
REMOVAL . . . . . . . . . . . . . . . . . . . . . . . . . . . . . 52
INSTALLATION . . . . . . . . . . . . . . . . . . . . . . . . . 52
LATCH RELEASE CABLE
REMOVAL . . . . . . . . . . . . . . . . . . . . . . . . . . . . . 52
INSTALLATION . . . . . . . . . . . . . . . . . . . . . . . . . 52
LATCH RELEASE HANDLE
REMOVAL . . . . . . . . . . . . . . . . . . . . . . . . . . . . . 52
INSTALLATION . . . . . . . . . . . . . . . . . . . . . . . . . 52
PROP ROD
REMOVAL . . . . . . . . . . . . . . . . . . . . . . . . . . . . . 53
INSTALLATION . . . . . . . . . . . . . . . . . . . . . . . . . 53
SAFETY LATCH
REMOVAL . . . . . . . . . . . . . . . . . . . . . . . . . . . . . 53
INSTALLATION . . . . . . . . . . . . . . . . . . . . . . . . . 54
HINGE
REMOVAL
NOTE: It is not necessary to remove the hood to
replace one or both hinges. The hinges can be
replaced one at a time.
(1) Open hood an d support a s n eeded.
(2) Usin g a grease pencil or equivalent, ma rk th e
position of the h inge on the h ood and cowl.
(3) Remove the two hood n uts.
(4) Remove the two cowl bolts and remove hinge.
INSTALLATION
(1) Position hinge on vehicle and align refer ence
marks.
(2) In st all cowl bolts a nd tighten to 23 N·m (17 ft .
lbs.).
(3) In st all hood nut s and tighten t o 23 N·m (17 ft .
lbs.).
(4) Check a nd adjust hood if necessar y. (Refer to
23 - BODY/HOOD/HOOD - ADJ USTMENTS)
HOOD
REMOVAL
(1) Raise and support hood.
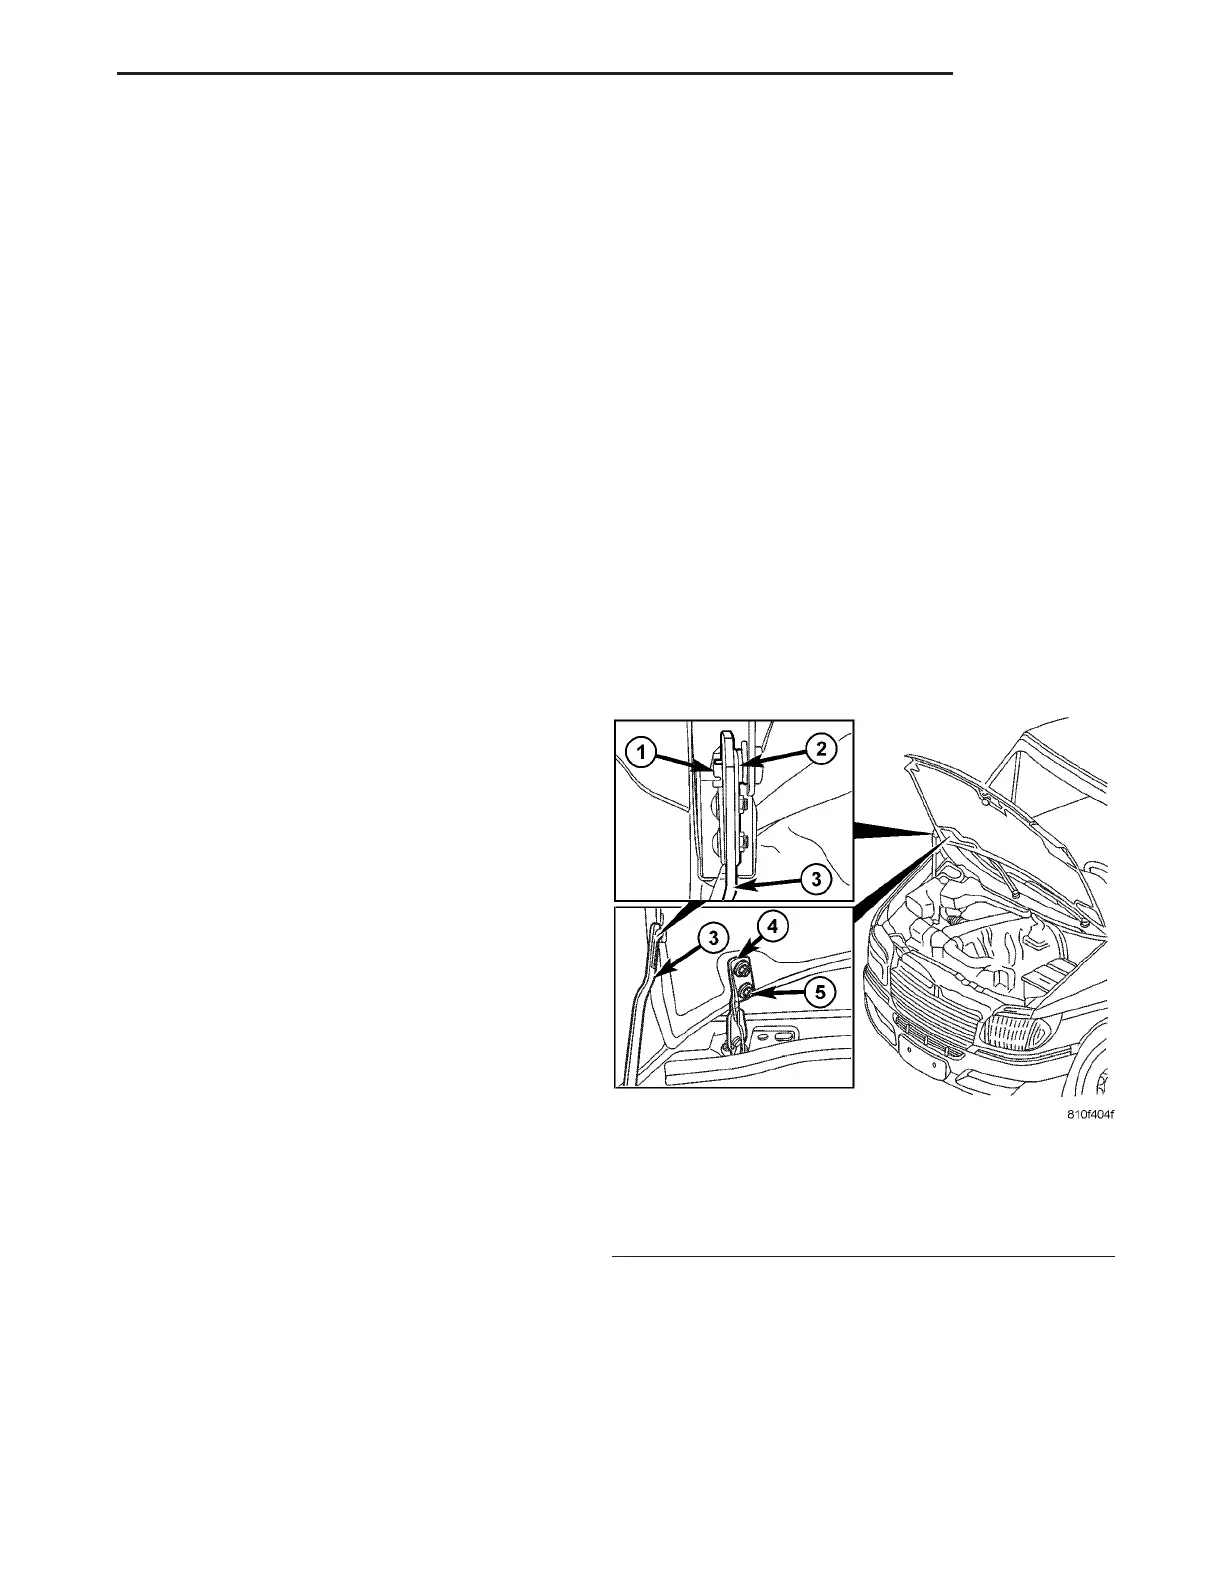
(2) Remove the pr op r od reta ining clip. (F ig. 1)
(3) Sepa rat e the pr op and spring from the hood.
(4) Usin g a grea se pencil or equivalent , mark loca-
tion of hood hinges on hood for insta lla tion align-
ment.
(5) Remove nuts att aching h inges to h ood.
(6) With the aid of a helper, rem ove hood from
vehicle.
INSTALLATION
(1) Position hood on hinges.
(2) In st all nut s finger-t igh t.
(3) Connect sprin g a nd prop onto hood an d install
the retaining spring.
(4) Align hin ges wit h insta lla tion reference marks
and tight en bolts to 23 N·m (17 ft. lbs.).
(5) Check and adjust as necessa ry. (Refer to 23 -
BODY/HOOD/HOOD - ADJ USTMENTS)
Fig. 1 HOOD
1 - PROP ROD RETAINING CLIP
2 - PROP SPRING
3 - PROP ROD
4 - HINGE
5 - NUTS (2)
VA HOOD 23 - 51