INSTALLATION
(1) Route the seat belt th rough the trim and
mount the trim panel.
(2) Seat the mounting clips fully.
(3) Position the door opening wea ther st rip back
alon g the mounting fla nge.
(4) In st all the seat belt and m ounting bolt.
(5) Tighten t he bolt to 35 N·m (26 ft. lbs.).
BU LK H EAD T RI M PAN EL
REMOVAL
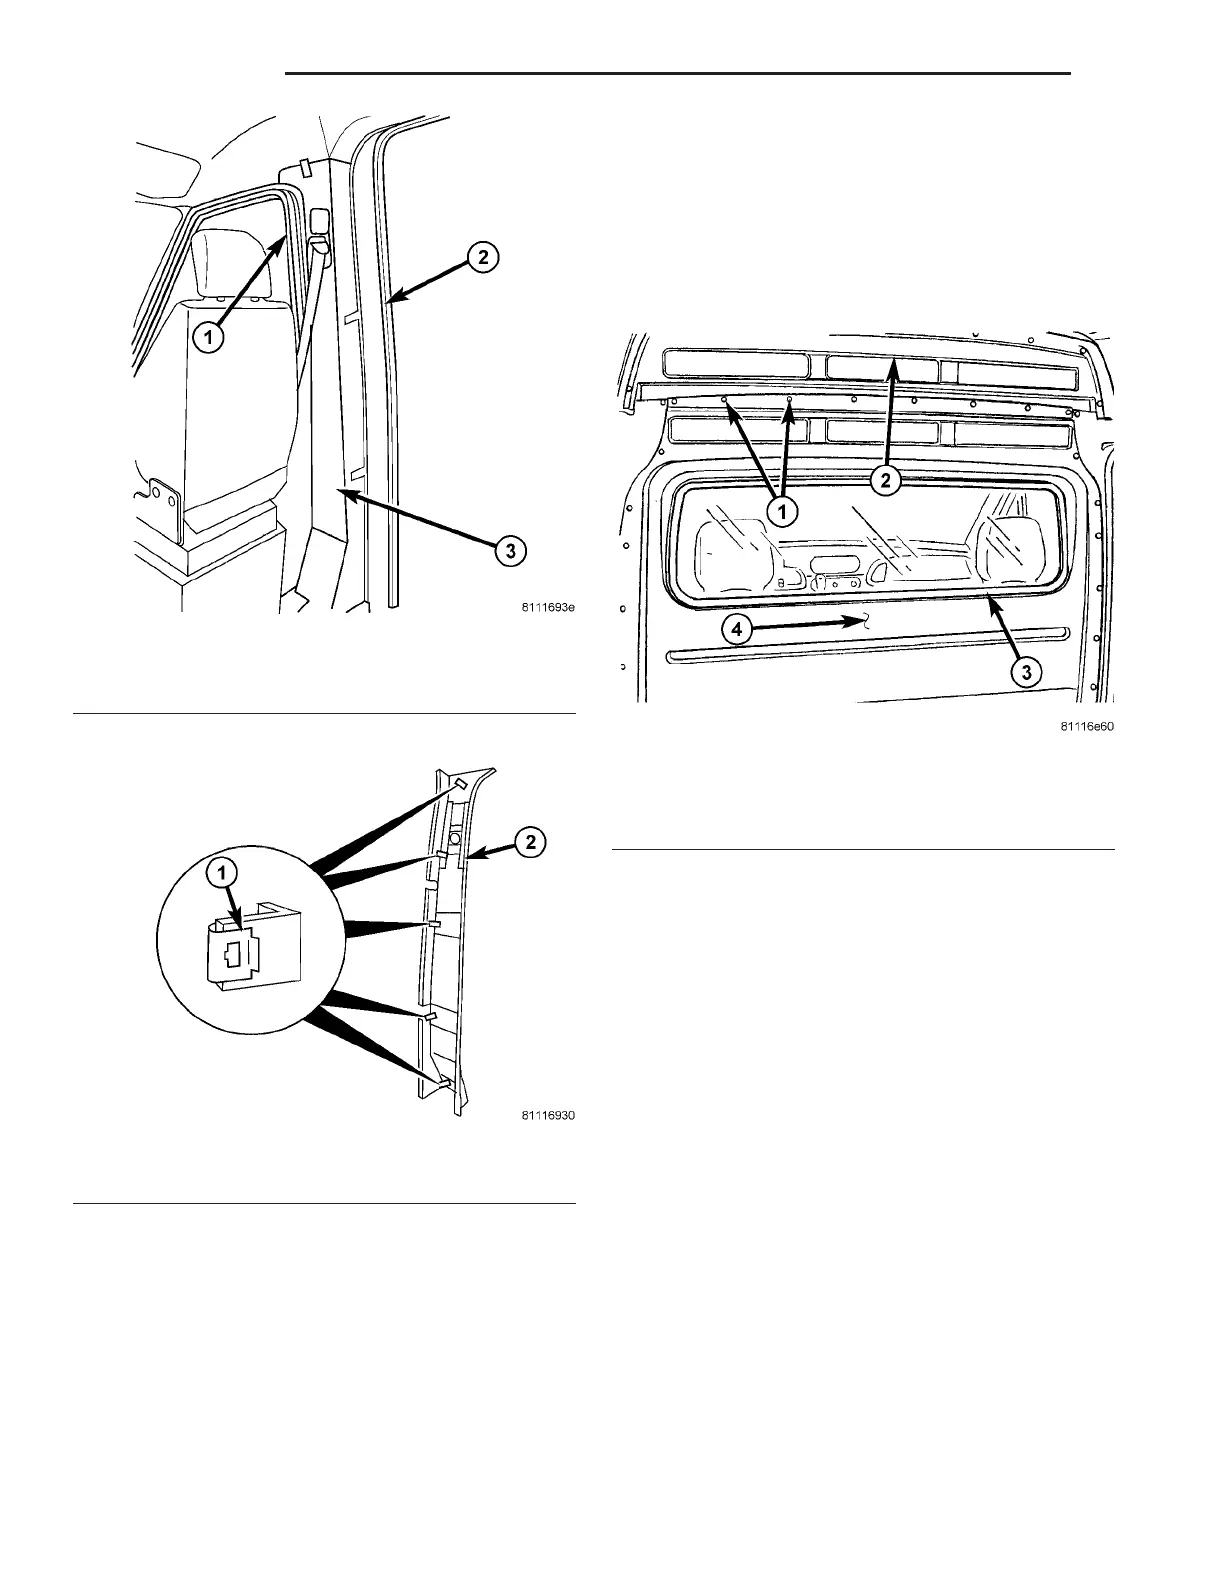
(1) Remove the rivets an d rem ove the lower panel.
(Fig. 7)
(2) Remove the r ivet s a nd remove the u pper
panel.
INSTALLATION
(1) In st all the upper panel and repla ce rivets.
(2) In st all the lower panel a nd replace rivet s.
CARPET S AN D FLOOR M AT S
REMOVAL
Cargo / Passenger Van - Front
(1) Remove t he stepwell scuff pads. (Refer to 23 -
BODY/INTERIOR/STEPWELL SCUF F PADS -
REMOVAL)
(2) Remove the t hree bolts an d tray behin d driver s
seat .
(3) Remove cup holder. (Refer to 23 - BODY/IN-
STRUME NT PANE L/CUP HOLDER - RE MOVAL)
(4) Remove the jack stor age cover.
(5) Remove carpet /mat.
Passenger Van - Rear
(1) Remove sea ts. (Refer t o 23 - BODY/SE ATS/
SE AT - REAR - RE MOVAL)
(2) Remove the scr ews and ret ain ing strips.
(3) Remove the seat striker assemblies.
(4) Remove carpet /mat.
Fig. 5 B-PILLAR TRIM
1 - FRONT DOOR WEATHERSTRIP
2 - B-PILLAR
3 - B-PILLAR TRIM
Fig. 6 B-PILLAR TRIM MOUNTING CLIPS
1 - RETAINING CLIPS (5)
2 - B-PILLAR TRIM
Fig. 7 BULKHEAD TRIM PANEL
1 - RIVETS
2 - UPPER PANEL
3 - PANEL GLASS
4 - LOWER PANEL
23 - 72 INTERIOR VA