INSTALLATION
Passenger Van
(1) Position trim panels and seat pu sh-pin fasten -
ers fully.
(2) In st all d-pillar tr im, if necessary. (Refer to 23 -
BODY/INTERIOR/D-PILLAR TRIM - INSTALLA-
TION )
(3) In st all seats, if necessa ry. (Refer to 23 - BODY/
SE ATS/SEAT - INSTALLATION)
Cargo Van
(1) In st all panelin g an d r eplace rivets.
(2) In st all tie down rings and bolts, if equ ipped.
REAR V I EW M I RROR
REMOVAL
(1) Slide m irror off su pport br acket.
INSTALLATION
INSTALLATION
(1) In st all the support bra cket if necessary. (Refer
to 23 - BODY/INTERIOR/RE AR VIEW MIRROR -
INSTALLATION - SUPPORT BRACKE T)
(2) Slide m irror onto support bracket fully.
INSTALLATION - REAR VIEW MIRROR SUP-
PORT BRACKET
(1) Mark the posit ion for the mirror bracket on the
outside of the windshield glass with a wa x pencil.
(2) Clean the br acket contact area on the glass.
Use a mild powdered cleanser on a cloth sat urated
with isopropyl (ru bbing) a lcohol. Fina lly, clea n the
gla ss with a paper t owel dampened with alcohol.
(3) Sa nd the sur face on the su pport bra cket with
fine grit-sandpa per. Wipe th e bracket su rface clea n
with a paper t owel.
(4) Apply accelerat or to the surfa ce on the bracket
according t o the following in structions:
(a) Crush th e via l to sa tura te the felt applicator.
(b) Remove the pa per sleeve.
(c) Apply accelera tor to the cont act su rface on
the bracket.
(d) Allow the accelera tor to dry for five minut es.
(e) Do not touch the bra cket contact sur face
after t he accelerator ha s been applied.
(5) Apply adhesive accelera tor t o the bra cket con-
tact sur face on th e win dshield glass. Allow the accel-
erat or to dry for on e minut e. Do not touch the glass
contact su rface after t he accelera tor ha s been
applied.
(6) In st all the br acket a ccording to th e following
instr uctions:
(a) Apply one drop of a dh esive at the center of
the bracket contact-sur face on t he windshield
glas s .
(b) Apply an even coat of adhesive to the contact
su rface on t he bracket.
(c) Align the bracket wit h the m arked position
on the windshield glass.
(d) Press and hold the bracket in pla ce for a t
least one min ute.
NOTE: Verify that the mirror support bracket is cor-
rectly aligned, because the adhesive will cure rap-
idly.
(7) Allow the adh esive to cure for 8-10 minut es.
Remove a ny excess adhesive with an alcohol-damp-
ened cloth.
(8) Allow t he adhesive to cure for an addit ional
8-10 minutes before inst alling the mir ror.
ST EPWELL SCU FF PADS
REMOVAL
(1) Remove screws an d remove seat bracket if nec-
ess a r y.
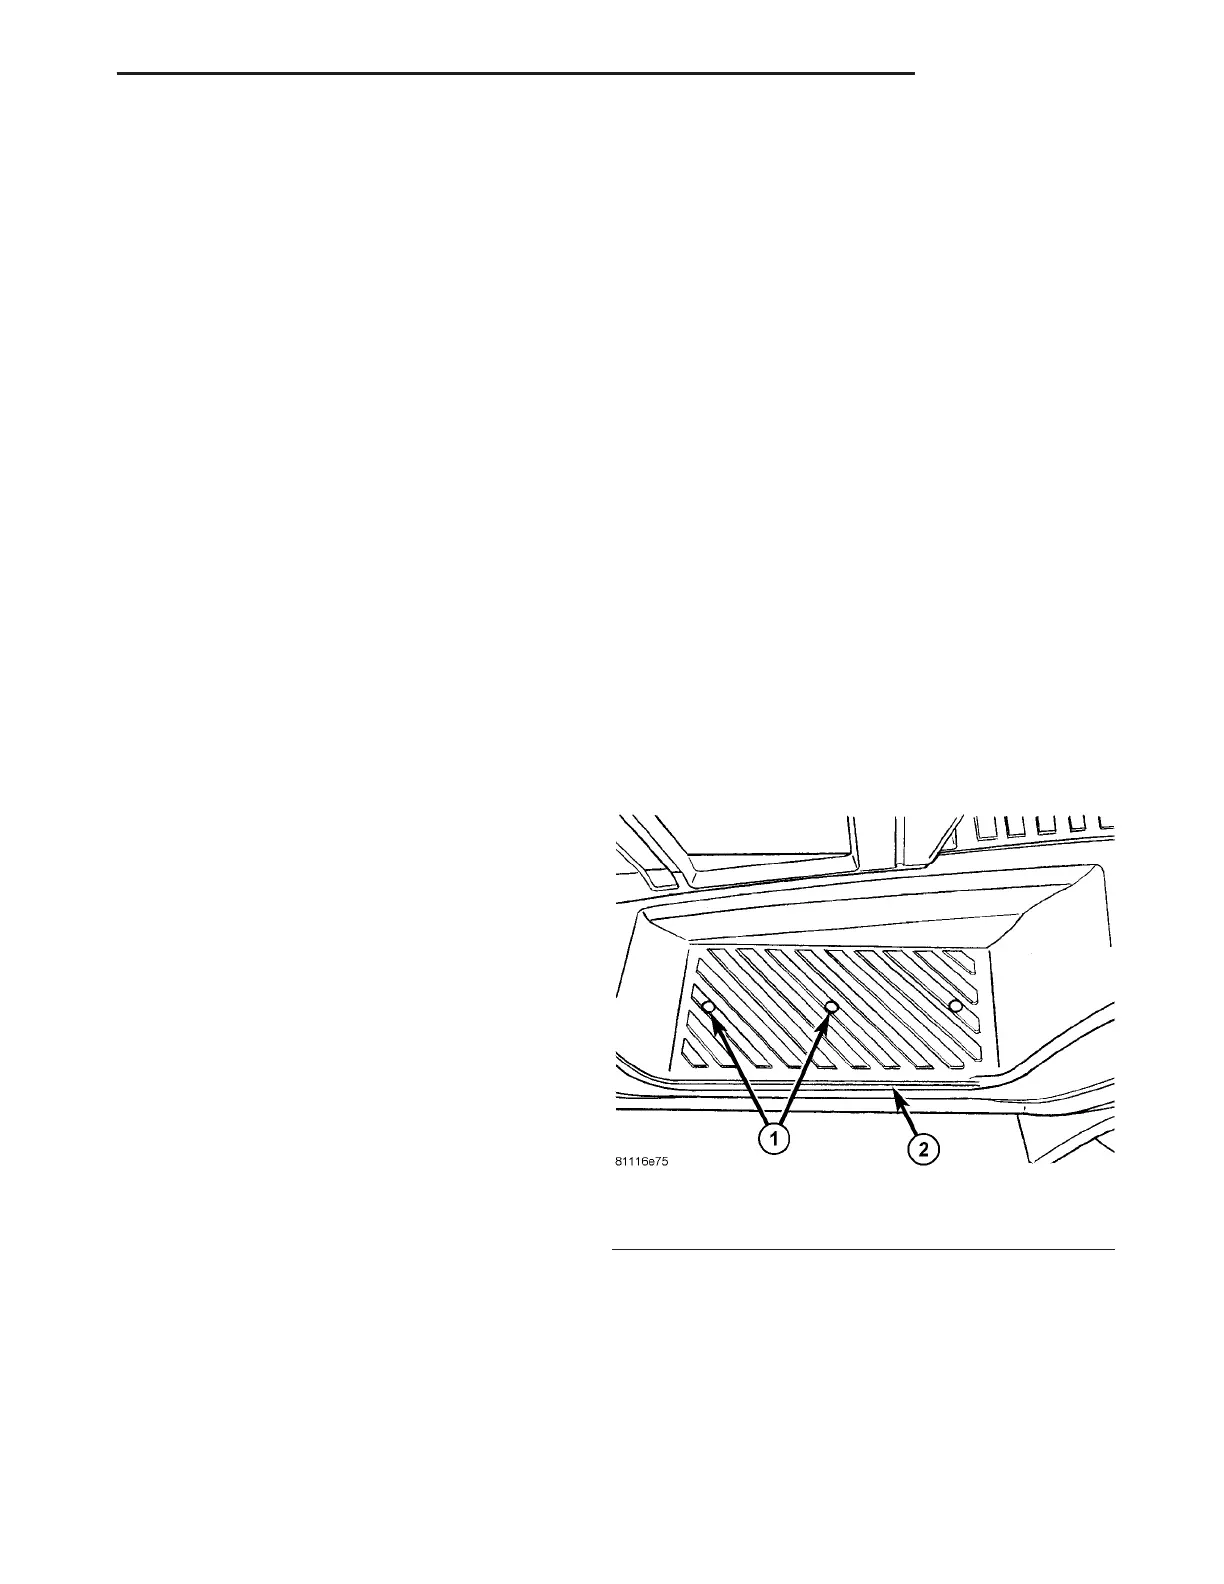
(2) Remove trim plugs and screws. (Fig. 8) and
(Fig. 9)
(3) Remove stepwell scuffs.
Fig. 8 STEPWELL SCUFF PADS
1 - TRIM PLUGS
2 - STEPWELL
VA INTERIOR 23 - 75