(3) Lift windshield int o place in the center of the
windshield open ing an d use t he tape as a guide to
aid inst allation of the windshield int o the center of
the cu tout.
(4) Carefully lay down windshield and press on.
CAUTION: It is no longer possible to move the
windshield after installation. The windshield should
never be pressed into place by more than one per-
son, because the windshield can break if pressed
simultaneously on both sides.
CAUTION: Roll down the left and right front door
glass and open the rear glass slider (if available)
before installing windshield to avoid pressurizing
the passenger compartment if a door is slammed
before urethane is cured. Water leaks can result.
(1) In st all th e rea r view mir ror. (Refer to 23 -
BODY/INTERIOR/REAR VIEW MIRROR - INSTAL-
LATION )
(2) In st all the headliner. (Refer to 23 - BODY/IN-
TERIOR/H EADLINER - INSTALLATION)
(3) In st all the wiper arm s. (Refer to8-ELECTRI-
CAL/WIPE RS/WASHERS/WIPER ARMS - INSTAL-
LATION )
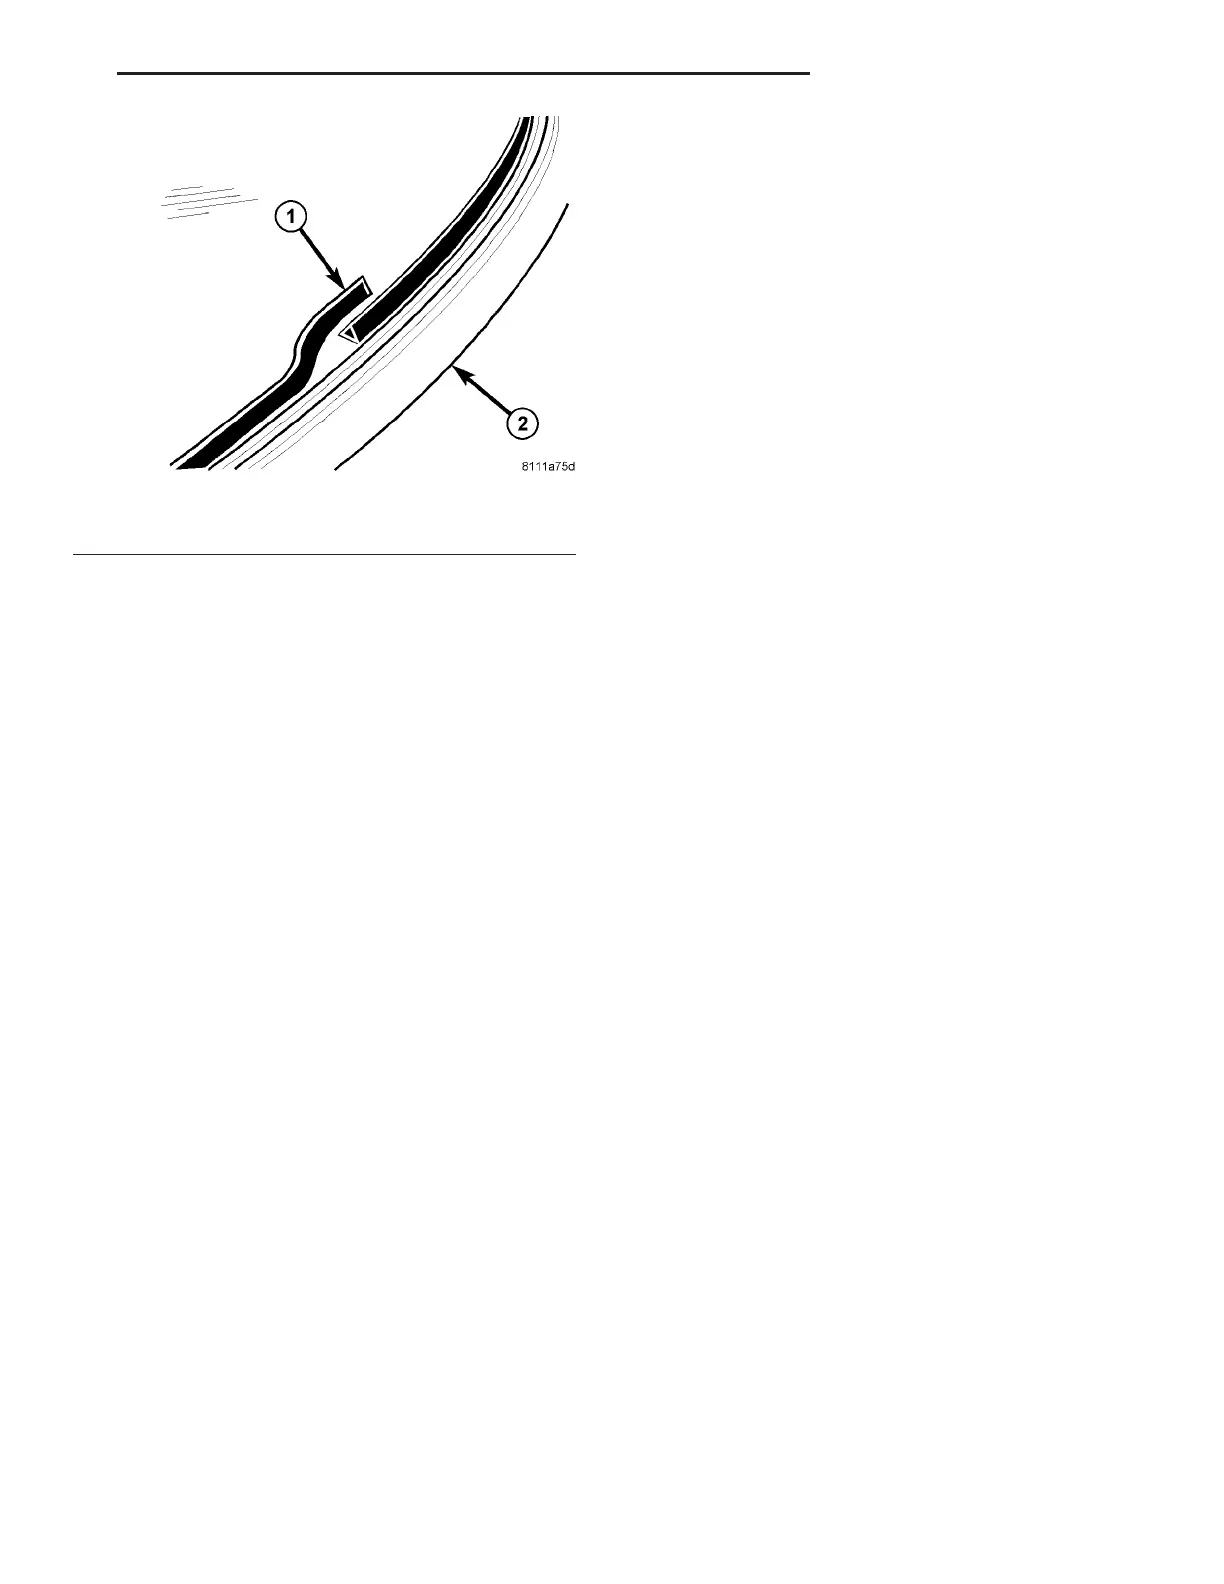
Fig. 13 WINDSHIELD ADHESIVE OVERLAP
1 - ADHESIVE BEAD
2 - WINDSHIELD SEAL
VA STATIONARY GLASS 23 - 89