The X Axis Drive Assembly
7-48 DSX™ System Service Manual
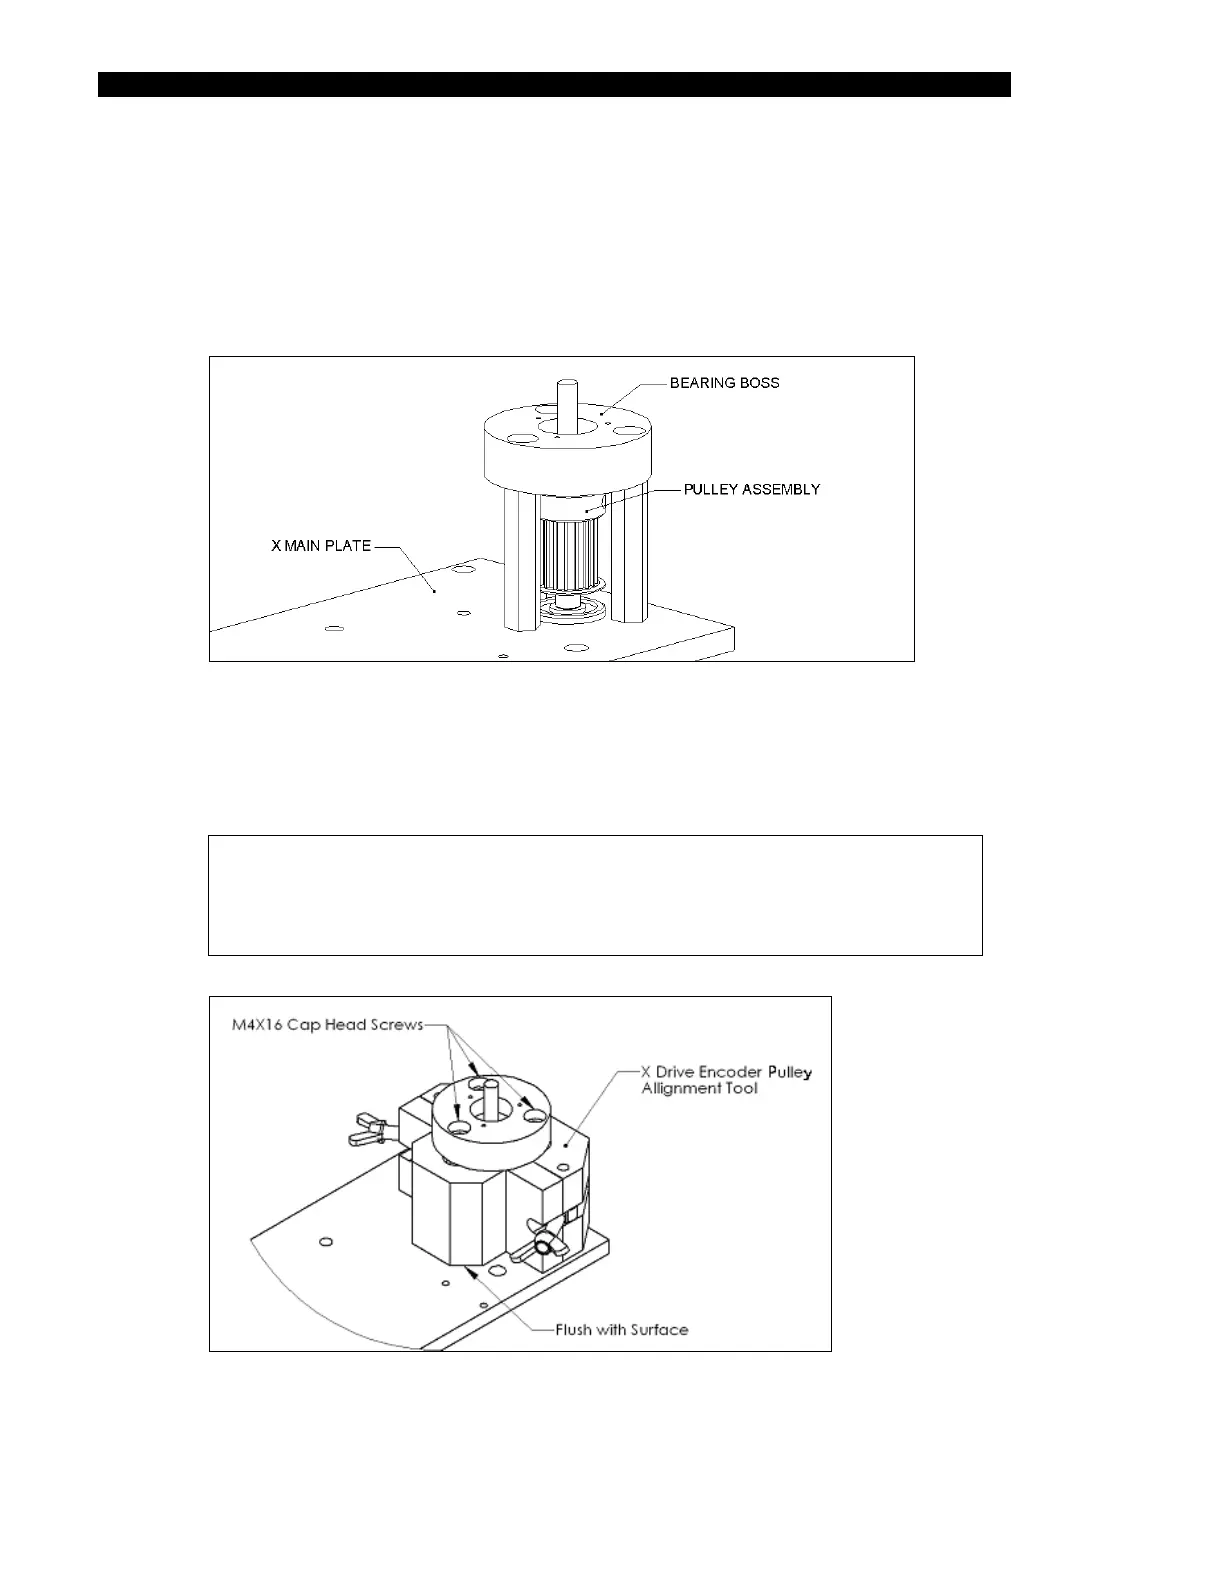
To Install a New Idler Pulley Assembly:
1 Position the new Idler Pulley Assembly onto the X main plate so that the bottom
bearing of the new Idler Pulley Assembly is resting in the counter-bore of the
X main plate (Figure 7-59). Insert, but do not tighten, the three M4X16 cap head
screws that secure the X Idler Pulley Assembly to the three standoffs.
Figure 7-59 Mounting the Idler Pulley Assembly Onto the X Main Plate
2 Place the X Drive Encoder Pulley Alignment Tool (DSXFIX035) around the Idler
Pulley assembly as shown in Figure 7-60. Hold the bottom of the tool flush with
the X Main Plate, then tighten the wing nuts of the fixture.
Note: The Alignment Tool (DSXFIX035) has a clearly marked top and
bottom orientation. To ensure the tool is assembled correctly, check
to see that the smaller relief that is cut into the center hole of the
fixture is at the top when the tool is assembled on the X Plate.
Figure 7-60 Positioning the Alignment Fixture Around the Pulley Assembly