Replacing External Components
13-8 DSX™ System Service Manual
To Replace the Dispense Pump Assembly:
1 Remove the dispense bottle assembly (Figure 13-1) from the system.
2 Remove the three screws (and accompanying washers) that secure the electrical
cover to the dispense pump assembly (Figure 13-1).
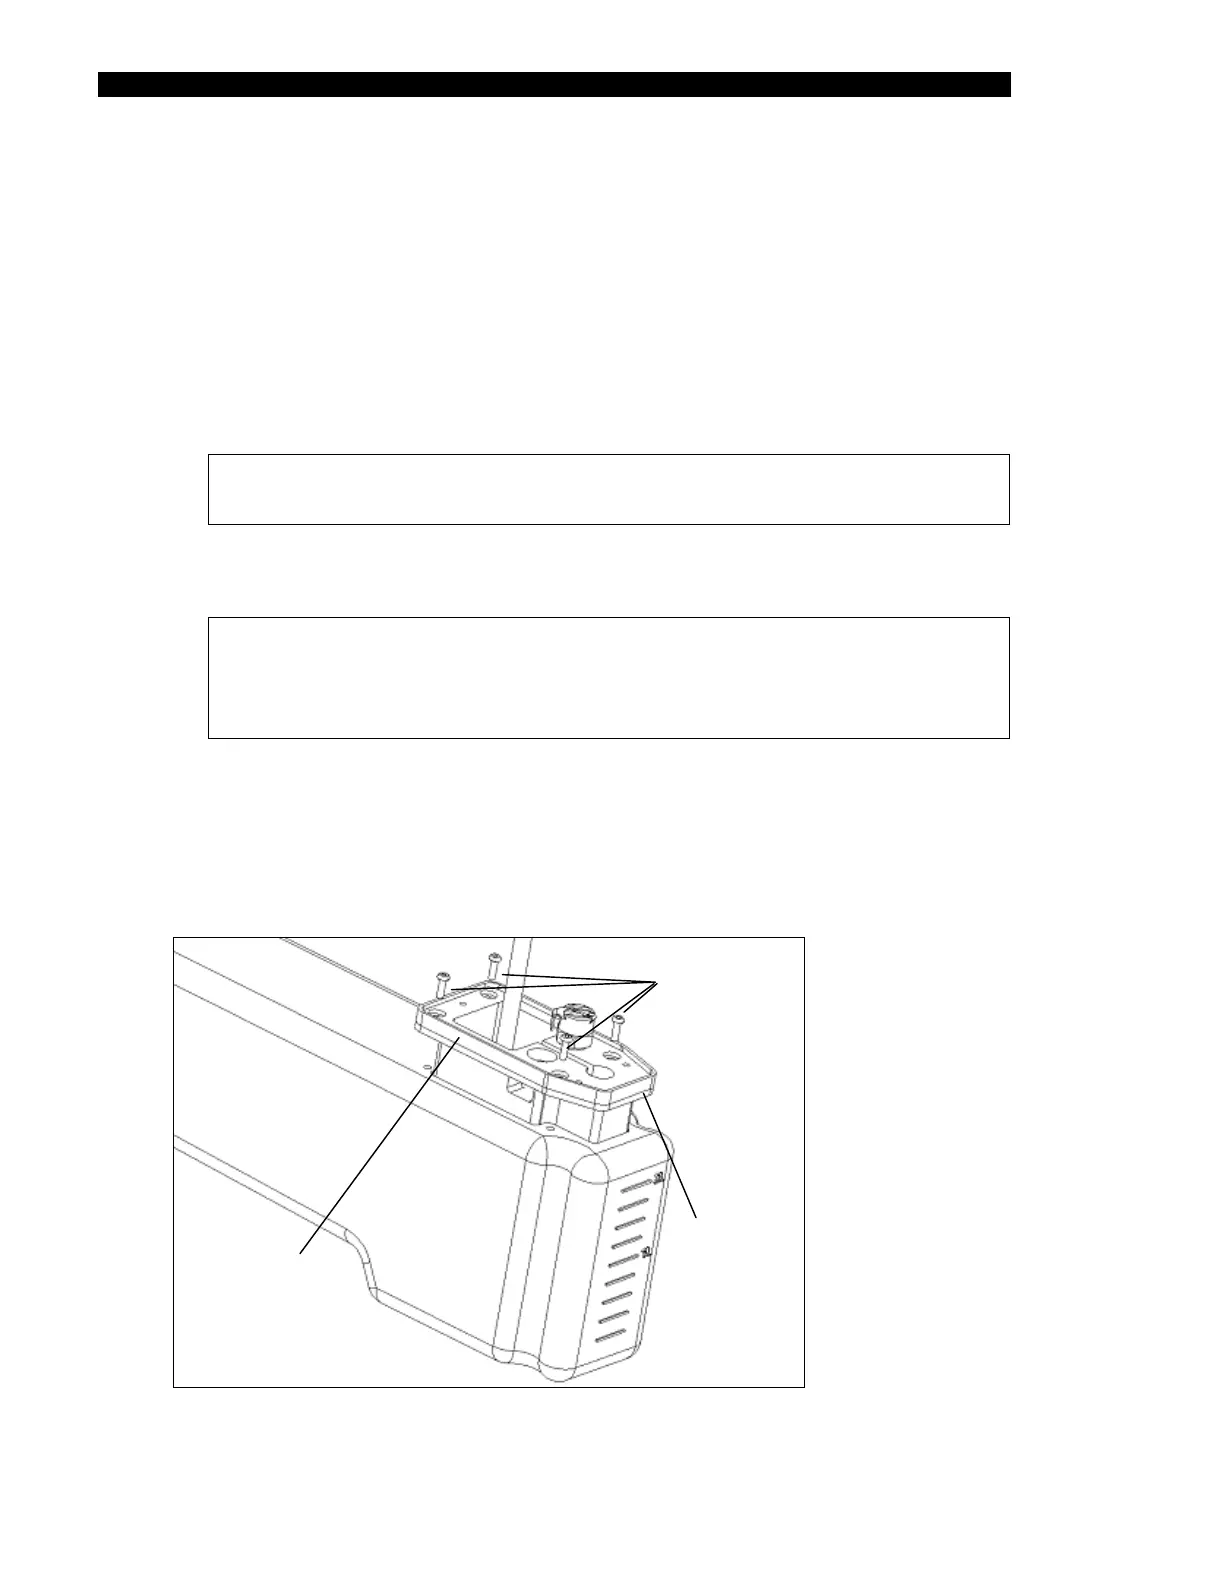
3 Peel off the internal gasket that was located between the pump assembly and the
electrical cover. The pump assembly mounting screws are now accessible
(Figure 13-2).
Note: The mounting screws are sealed in place with silicone rubber
cement (RTV). This must be removed using a spatula or similar tool.
4 Remove the four mounting screws. Then lift the dispense pump assembly off the
dispense bottle.
Note: When removing the pump assembly, the rectangular plate that
secures the mounting screws may fall out of its position inside the
dispense bottle. If necessary, keep the rectangular plate in position by
inverting the bottle when replacing the pump assembly (see below).
5 Obtain the replacement pump assembly. Holding the dispense bottle upside down
so that the rectangular plate stays in position, secure the pump assembly to the
dispense bottle using a 3 in.lb. torque driver.
6 Seal the mounting screws are sealed in place with silicone rubber cement (RTV).
Then replace the internal gasket and electrical cover.
Mounting
Screws
Pump
Assembly
Bottom
Gasket
Figure 13-2 Dispense Pump Assembly