Post-Service Checkout Protocol
3-8 DSX™ System Service Manual
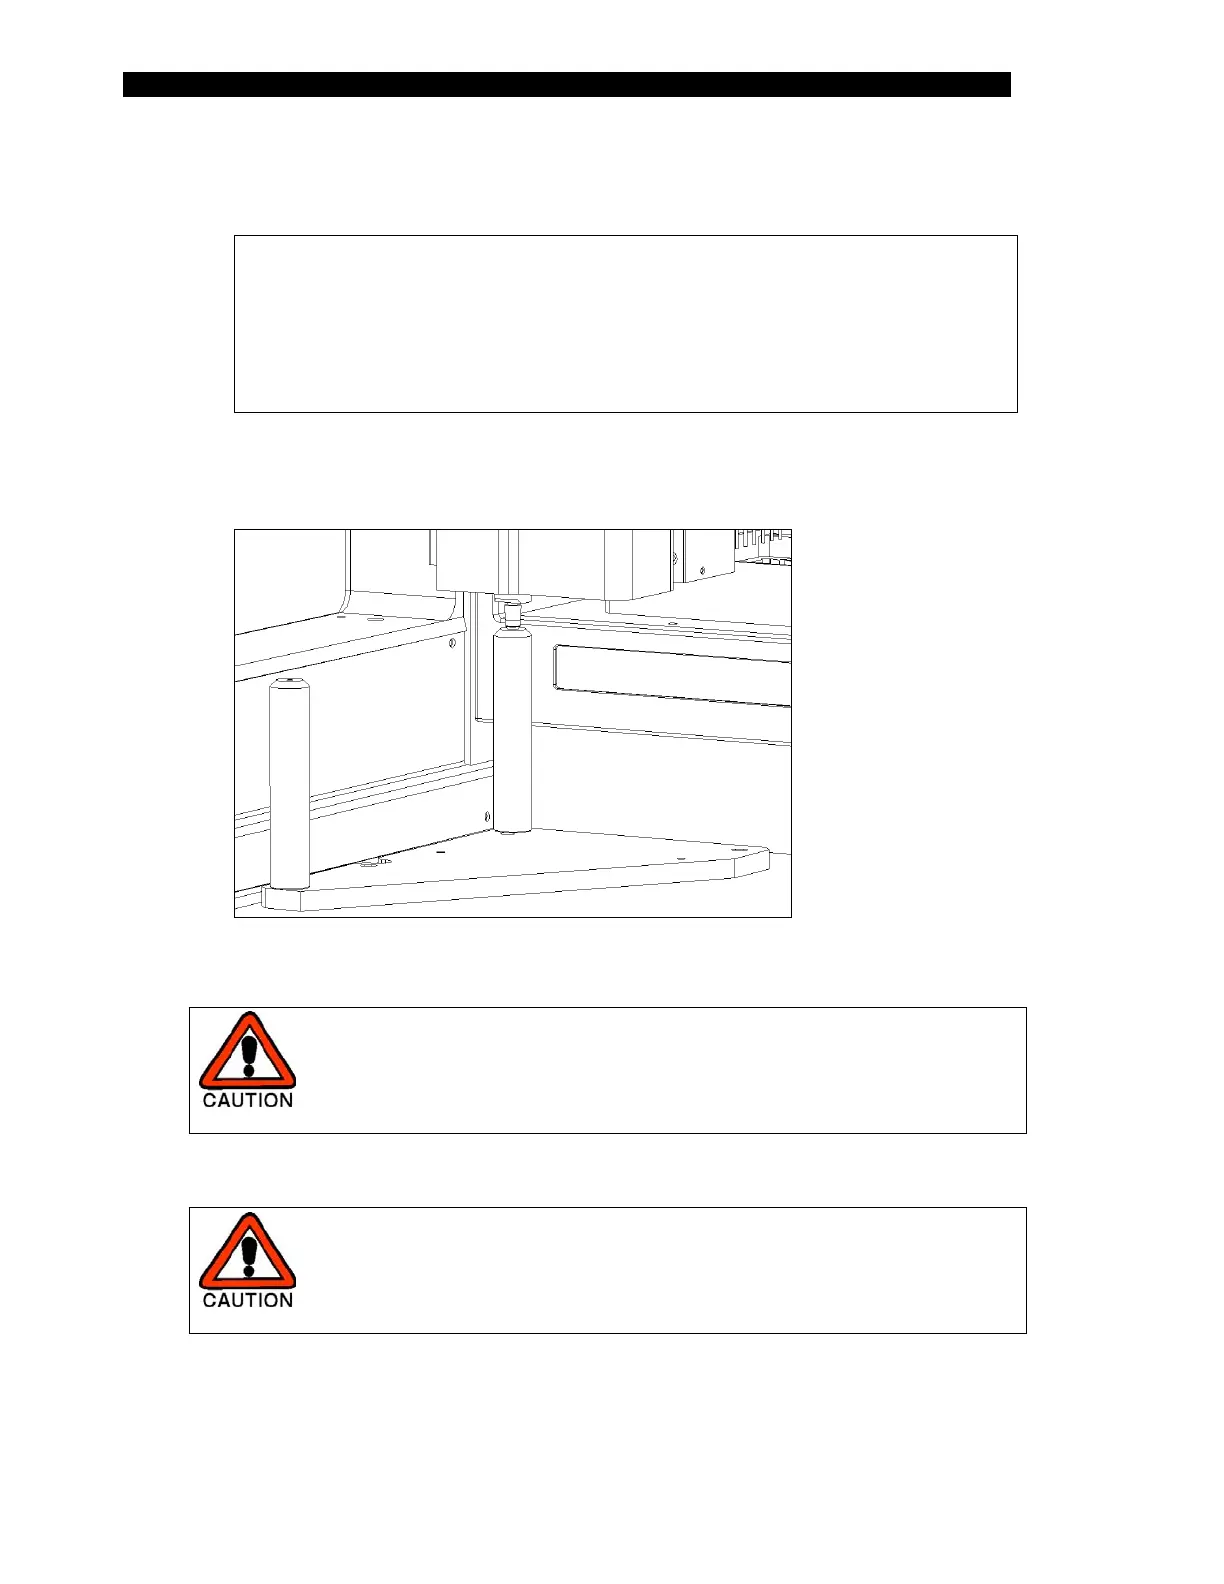
4 Manually move the Pipette assembly to the rear pillar and insert the spigot of
the pipette into the alignment hole on the post (Figure 3-3).
Note: The pipette spigot must enter the alignment hole vertically
(directly overhead) without any left-to-right or front-to-back side
movement. Move the x-arm or y-arm assemblies if necessary and
push on the pipette only from the top. Check for correct alignment
several times and hold the pipette spigot in the alignment hole (without
compressing the spigot spring) while pressing "OK".
Figure 3-3 Positioning of the Pipette Spigot in the Rear Pillar
CAUTION: WHEN YOU MOVE THE ARM IN A GIVEN DIRECTION
(e.g. IN THE Y DIRECTION), BE SURE TO MOVE IT BY HOLDING
IT NEAR WHERE IT IS ATTACHED TO THE REST OF THE
SYSTEM RATHER THAN AT THE END OF THE ARM.
5 Press OK
CAUTION: THE SYSTEM WILL MOVE THE PIPETTE TIP
AUTOMATICALLY. TAKE CARE THAT YOUR HANDS, FACE,
ETC., ARE NOT IN THE WORKSPACE AREA DURING THIS
OPERATION.
6 The program will alert you to move the pipette tip to the front and repeat steps
4 and 5.