246
Macros
Setting Up Macros
Macro Record
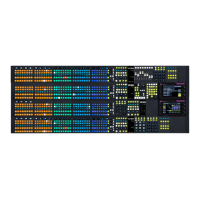
To start recording a macro press {Macro Record} button on the GUI panel. This button will now
go Green indicating a macro is ready to start recording. The macro recording and button delays
will only be activated after the first function (button press) has been entered. Once the macro
recording has started the {Macro Record} button will go Red. While recording a macro
different menus on the GUI can be entered to gain access to any menu-related functions. Once
the macro is completed press the {Macro Record} button again and this will end the macro
and the button to an unlit state.
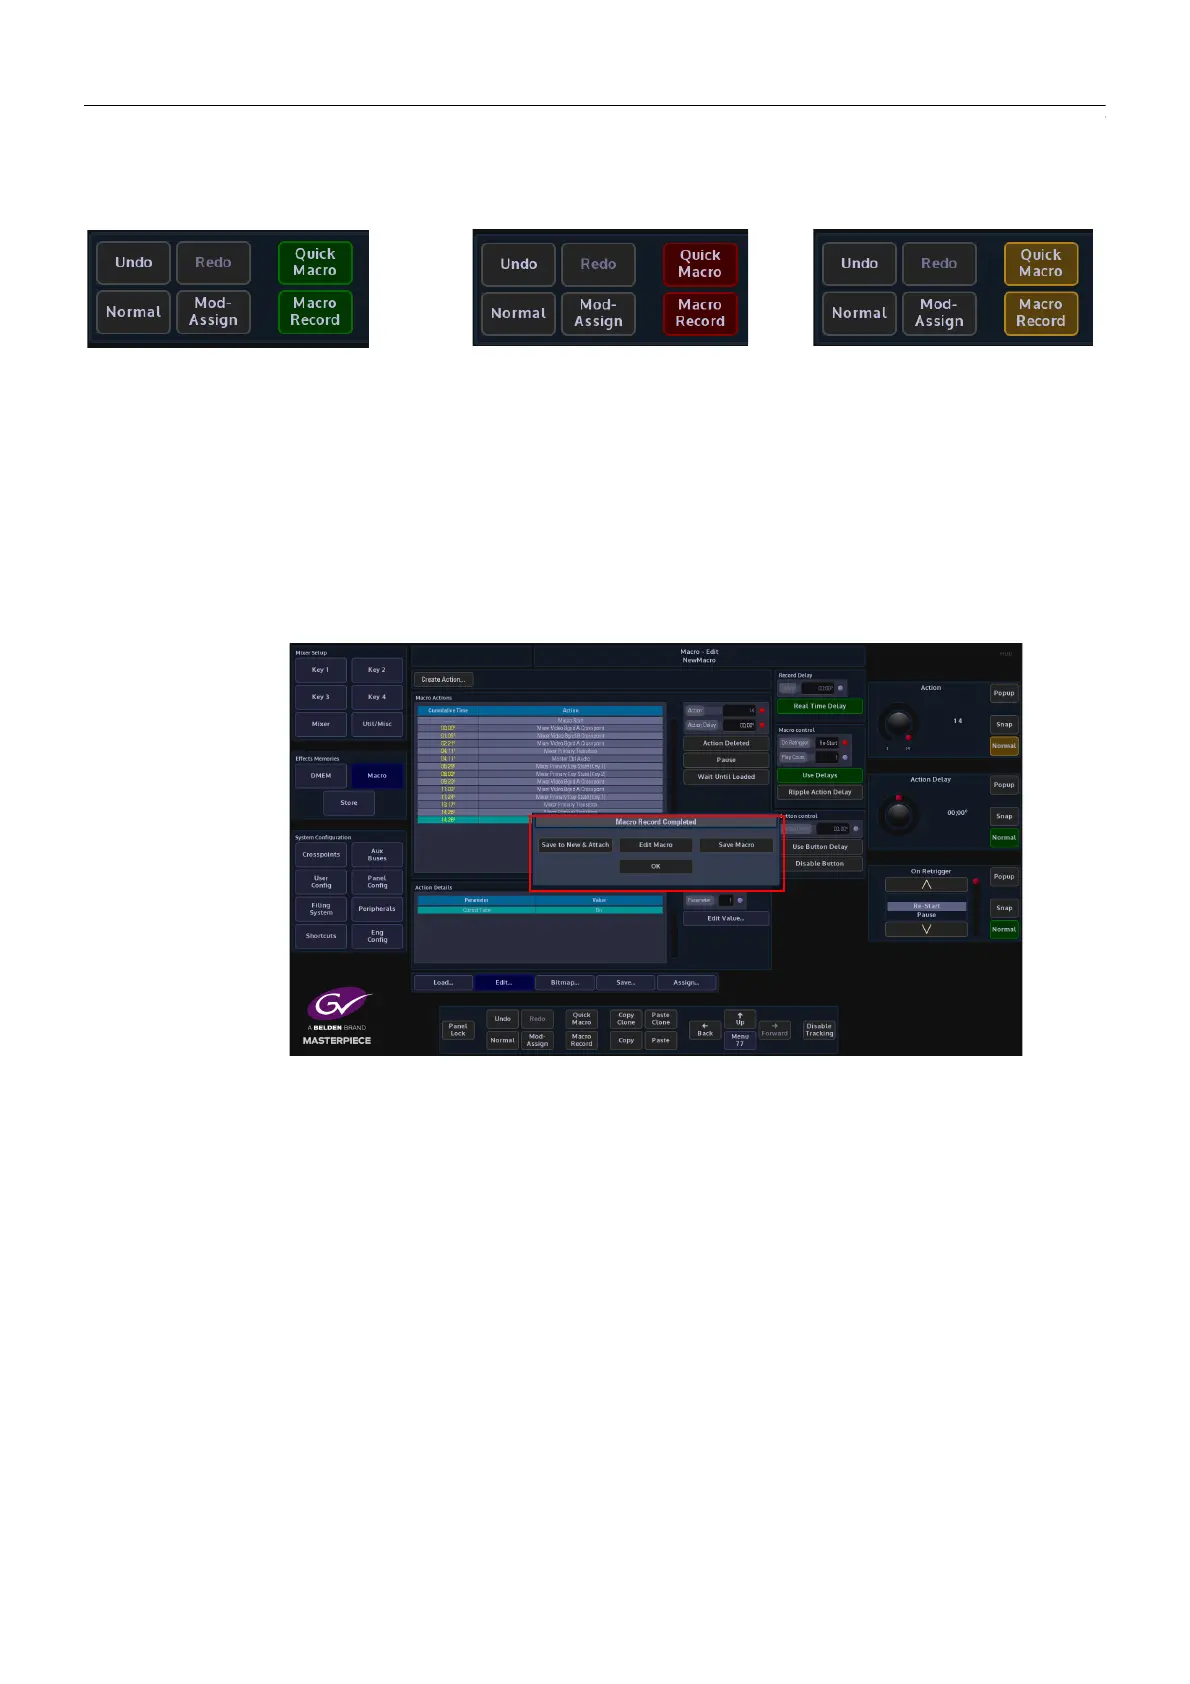
When the Macro has stopped recording a dialog box will appear with options to:
• Save to New & Attach - this will save the macro to the next available free slot in the
saved macro table (this can be seen in the “Macro Save” menu.
When this button is touched, the control surface goes dark (the Grass Valley as using
the “Attach” function in the “Macro Assign” menu), and allows you to attach the macro
to one of the OLED buttons. The OLED button will display the macro file number, when
attached, the Macro Save menu will open and the saved macro file is highlighted in the
saved macro file table.
• Edit Macro - this will allow you to edit the macro in the Macro Edit menu.
• Save Macro - this saves the macro into the next available free slot in the saved macro
table (this can be seen in the “Macro Save” menu. The Macro Save menu will open and
the saved macro file is highlighted in the saved macro file table.
• OK - this will also go to back to the Macro Edit menu where the macro can be edited
before saving.
Macro Ready
To Record
Macro
Recording
Macro
Paused
 Loading...